Spring has finally arrived!
And with the entrance of spring comes the yearly ritual of spring cleaning, but if I’m being honest, I really don’t enjoy cleaning. Although the feeling of accomplishment I get after things are clean is absolutely wonderful and highly addicting, the process of cleaning is something that just doesn’t come easily to me. Add in there the fact that I can’t function in a dirty environment, and you’ll get a glimpse of the complicated and tormented relationship I have with cleaning. Because of this constant internal tension, I am always on the lookout for quick, efficient, and easy ways clean my house, especially for the heavy-duty type of cleaning required in the spring.
One of the things that helps me when I have a long cleaning to-do list is to start with and spend the most of my energy on the items that will make the biggest impact. Sometimes the things are easy, and sometimes they’re hard, but they’re always things that I will see the biggest difference when completed.
So I have applied this logic and created a 3-part series for Spring Cleaning the Top 10 filthiest places in the home. This list is based on the NSF’s 2011 study on the dirtiest places in the home. Keep in mind that this list is in descending order, so it begins with the places research has shown to be the most disgusting and germ-laden. Focusing on these areas will definitely give you the biggest impact to the overall cleanliness of your home.
How To Spring Clean The 10 Dirtiest Places In Your Home – Part 1
What You’ll Need:
- Plain 3% Hydrogen Peroxide
- All Purpose Hydrogen Peroxide Cleaner
- Fragrance Free Liquid Castille Soap
- Hydrogen Peroxide Wipes
Other Helpful Tips
If you see excessive bubbling and foaming when you soak items in hydrogen peroxide, it might be wise to continue soaking or washing that item in a fresh solution of peroxide. The bubbling means that the peroxide is working, but it also means that it is getting “used up”. Refreshing the solution ensures that there is plenty of peroxide to finish the job.
Now let’s hit these germs hard, shall we?
#1 Dish Sponges and Rags

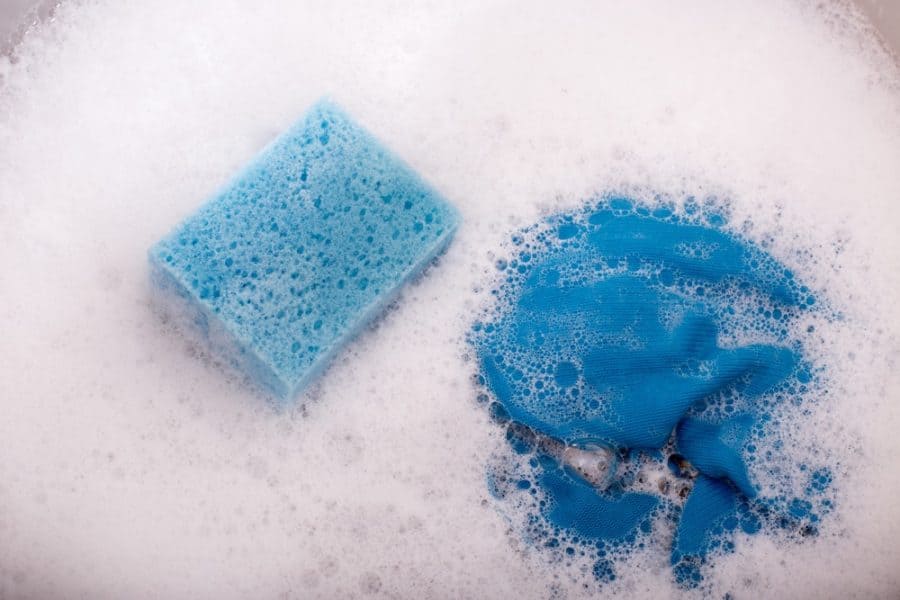
In the NSF study, dish sponges and rags were found to have the overall highest household concentration of yeast, mold, staph, and coliforms. Coliforms are particularly nasty because they’re part of a family of bacteria that include E. Coli and Salmonella.
Cleaning dish rags and sponges is ridiculously simple and easy. First, make sure that all the food particles are gone. It might be easiest to wash them in the washing machine, but hand washing will suffice. Next, soak those bad boys overnight in straight 3% hydrogen peroxide, and rinse thoroughly in the morning. You’ll probably notice your sponges and rags foam like crazy when immersed in the peroxide, especially if you don’t routinely clean your kitchen using the sponge or rag with a disinfectant. But not to worry, the excessive foaming means that the peroxide is killing lots of germs!!!
#2 Toothbrush Holder
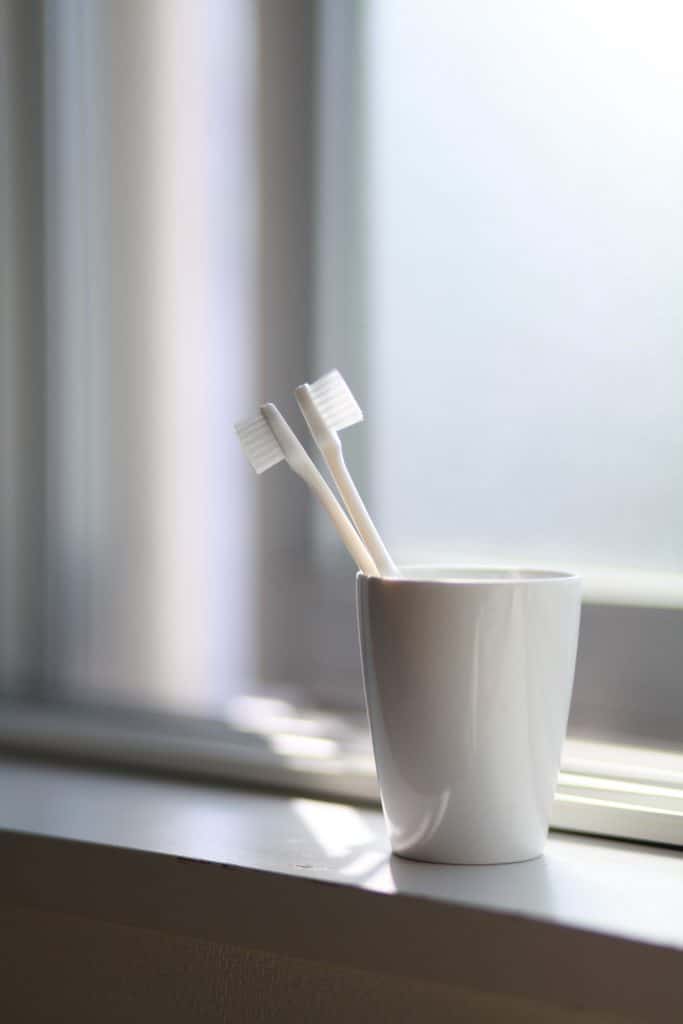
It’s no surprise that the toothbrush holder is second on the list of the germiest places in the home since the toothbrush is used to clean what is arguably the germiest place on our body – the mouth. The mouth has been found to have around 615 different types of bacteria, some of which have been linked to ailments such as heart disease, kidney disease, and even arthritis.

Because oral health has been linked to our overall health, it’s extremely important to keep these germs in check by routinely cleaning not only the holder, but toothbrushes too.
To thoroughly clean the toothbrush holder, wash it first in hot soapy water to remove all of the gunk and debris that may be sitting in the bottom or collecting around the sides. Next, fill it to the brim with 3% hydrogen peroxide solution and let it sit for an hour. Rinse it well and let it air dry. I highly recommend doing this at least once a week.
To deep clean your toothbrush, hold it under running hot tap water for at least 30 seconds. It’s important for the water to be as hot as you can get it, so be careful not to scald yourself during this step. Next, fill a cup with enough 3% hydrogen peroxide that will completely immerse the toothbrush bristles. Soak the toothbrush head down in the peroxide for at least an hour. Since toothbrushes are notoriously filthy, you may want to consider increasing the peroxide strength if you have a stronger version available.
Next, rinse the toothbrush in your hottest tap water for about 20 seconds. (If you increased the peroxide strength in the previous step, be sure to rinse thoroughly or you risk frying your gums next time you brush!) Rinsing your toothbrush in super hot tap water not only washes away the dead bacteria, but it also helps the toothbrush to dry more quickly. The faster your toothbrush dries, the fewer the opportunities bacteria will have to grow on and between the bristles.
For everyday maintenance, I highly recommend a holder that is less prone to collecting germs and aids in killing the multitude of pathogens that collect on toothbrushes. UV toothbrush sanitizes are great at killing germs, and they do it in a way that doesn’t use dangerous chemicals. Toothbrush sanitizes like this one are great because they automatically expose toothbrushes to the UV rays for the optimal amount of germ-killing time. Plus, they keep toothbrushes protected from other bathroom sprays and germs.
#3 Pet Bowl
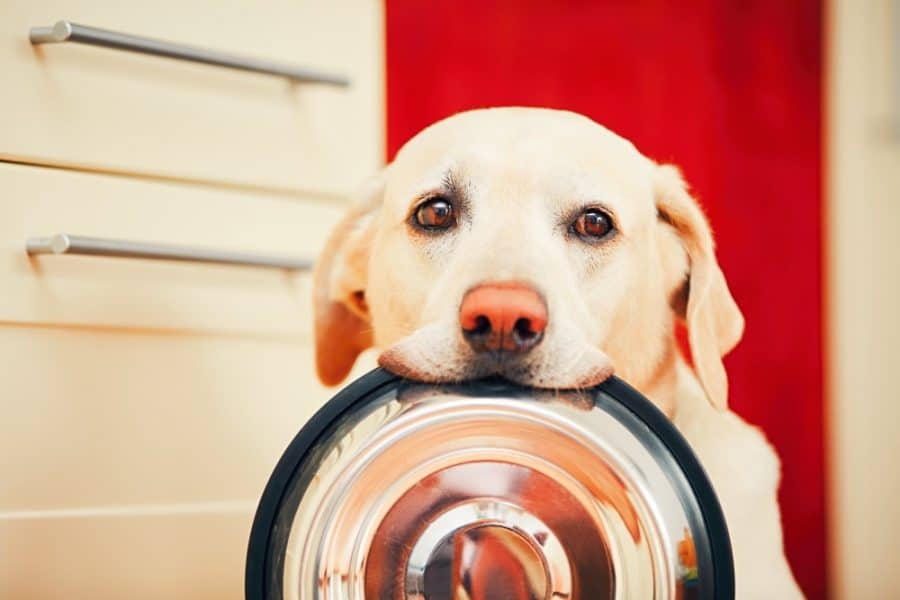
Next on the list of germiest places is the pet bowl. In the NSF study, pet bowls were found to have the highest percentage of E. Coli present, than any other household surface. No surprise here since pets routinely clean their bodies, including their paws and genitals, with their tongues, and then use those same tongues to eat and drink out of their bowls. And if your pet bowls are anything like mine, no matter how often I change the water, there always seems to be a curious layer of slime resting at the bottom (yuck!).

To thoroughly clean your pet’s bowl, wash the bowl in hot soapy water, being careful to remove all traces of food and residue. For this step I actually had to use a scouring pad to get all the crusted filth off the sides of my cats’ bowls. So depending on how often you deep clean your pet’s bowl, this step may require a bit of elbow grease. Next, fill the bowl to the brim with straight 3% hydrogen peroxide and let it sit for an hour. Rinse it thoroughly and fill it with fresh water or food.

That wasn’t so bad, now was it? Or maybe I’m the only one that needs a little self-encouragement! LOL! Stay tuned for Part 2 of the series – you won’t believe what else is and is not on the list!
Raven
This post contains some affiliate links, for your convenience. Click here to read my full disclosure policy.
Hi Anna,
I’ve been seeing your Pins around and had to come over! Love this post. I never think to clean the toothbrush holder! I will add that to my spring cleaning checklist! Thank you so much!