Hi, I’m Michele. I blog over at Shelstring and am so excited to be a new contributor here on Ask Anna! With back to school fast approaching, I have been getting ready since school supply sales started way back in July.
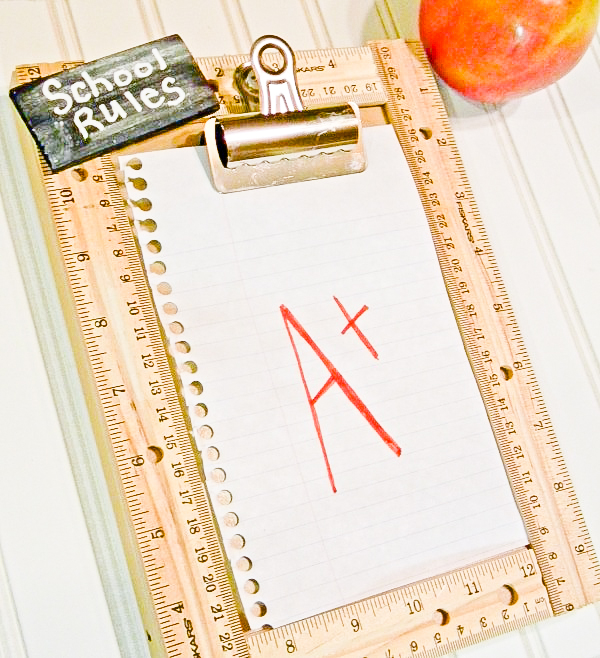
Having five children to get ready and a few health issues to conquer, it has been a good thing I started early. After preparing for so long, it was high time I do a fun craft project to get me excited for all the organization that goes along with gearing up for that special first day, and this was the perfect project to do just that!
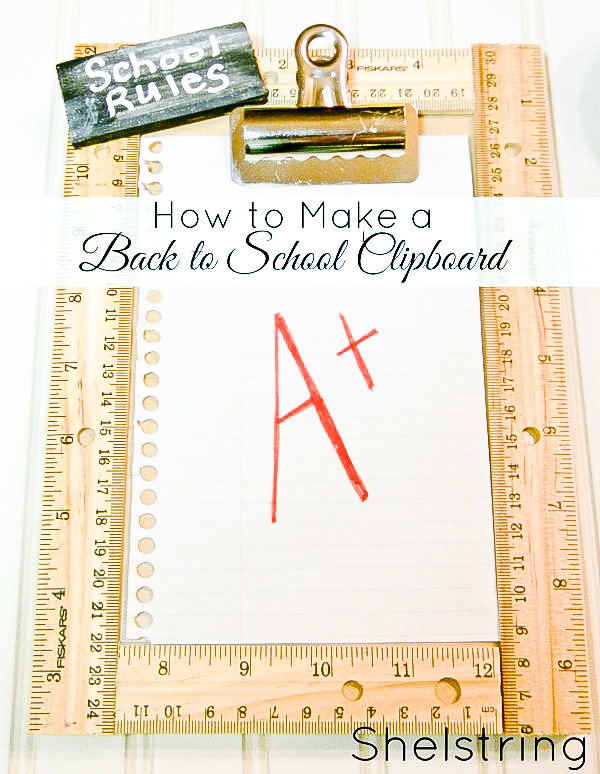
The complete investment of this project was $1, since I had all the supplies but the rulers already on hand, and a maximum of 20 minutes. The rulers were purchased at Wal-Mart for a whoppin’ 25 cents/piece. Now that’s do-able for any budget, right? If you have a yardstick on hand, that would work just as well, and cost even less. So, let’s get started, shall we?
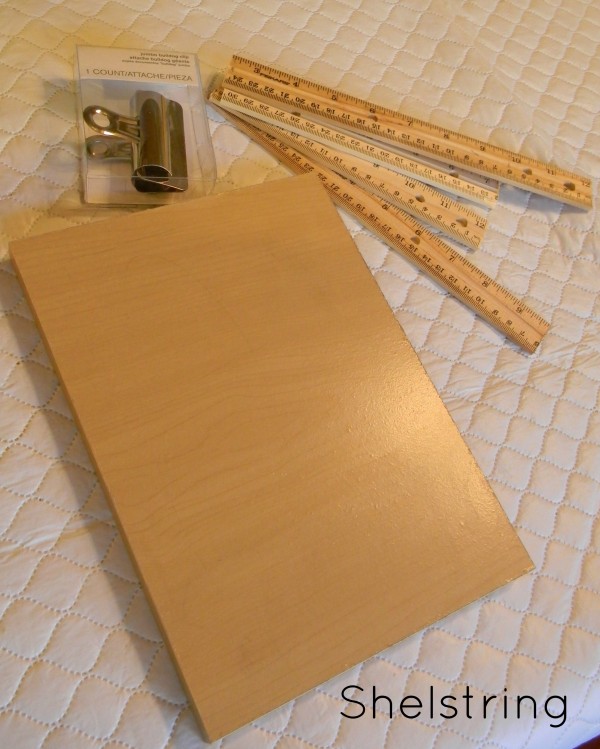
You will need-
- a board cut to desired size
- a clip and philips head screw with a large enough head to hold clip in place
- 4 rulers
- hot glue gun/sticks
- screw gun
- scrap chalkboard
- pencil for measuring
- saw for cutting rulers(I used a scroll saw)
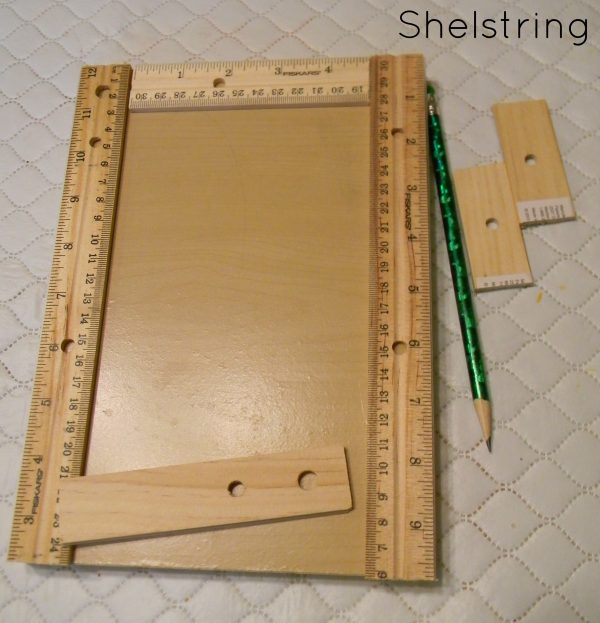
Measure and mark rulers with pencil, cutting with saw to desired lengths. Hot glue back of ruler and press securely in place on board.
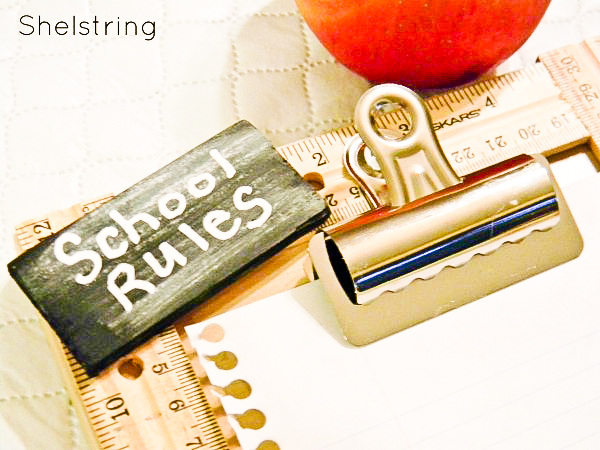
Secure clip in place with large philips head screw using screw gun. Glue mini scrap chalkboard in place (this one is hiding a gap-oops!)
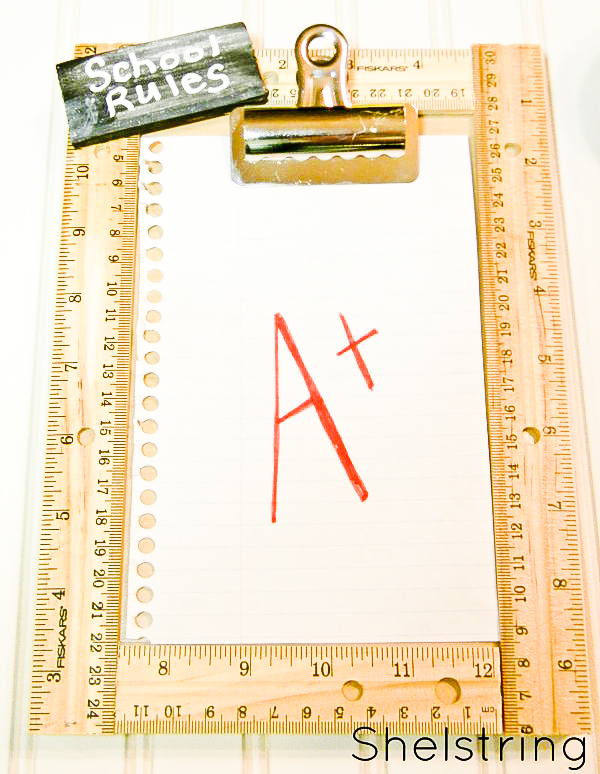
Give yourself an A+ for a job well done!
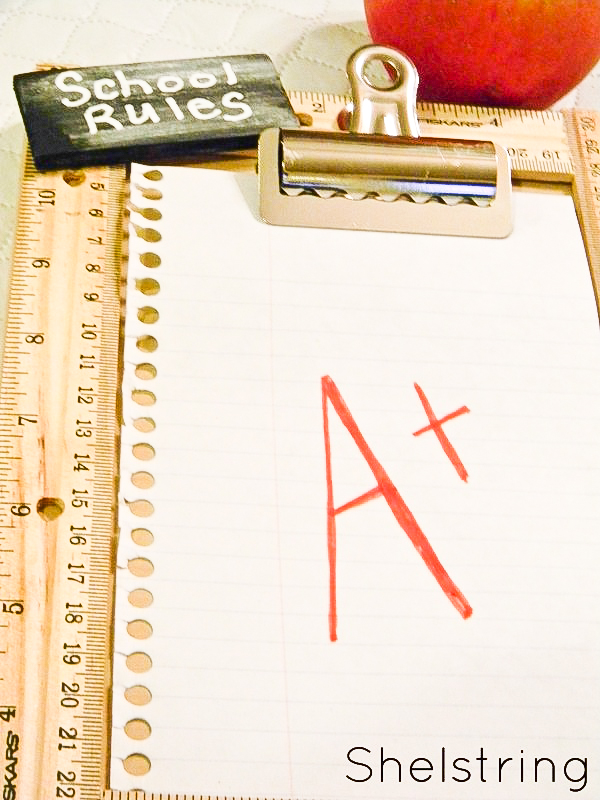
Stand back and look at your fun new clip board. This would be great as a teacher’s gift, a job chart to help children get ready, a homework board, or a great place to hold your to-do list.
That was a whole lot of fun, and barely took any time at all. I’m so glad you joined me here today and hope you will do it again soon!
Michele
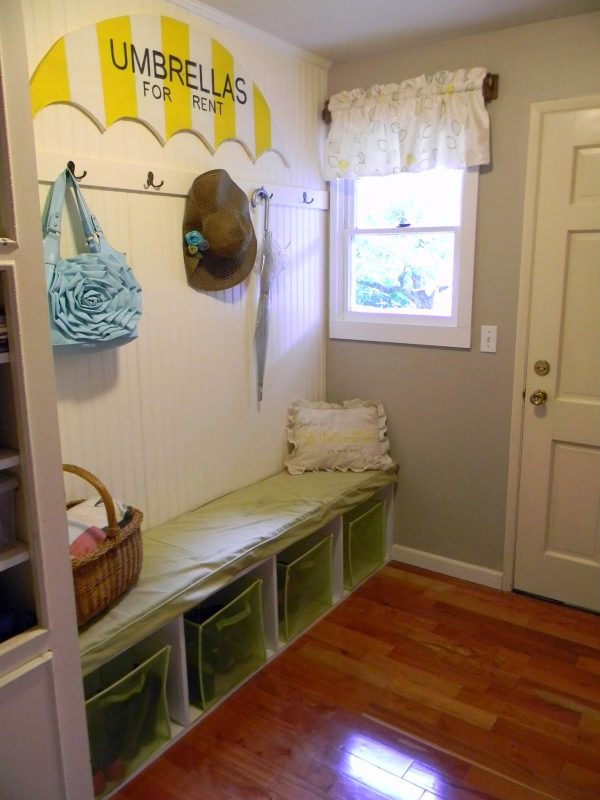
Head on over to Michele’s blog to see what other fun projects she’s been up to. Here’s a look at her recently made over mud room.
Love that clipboard! What a cute project!