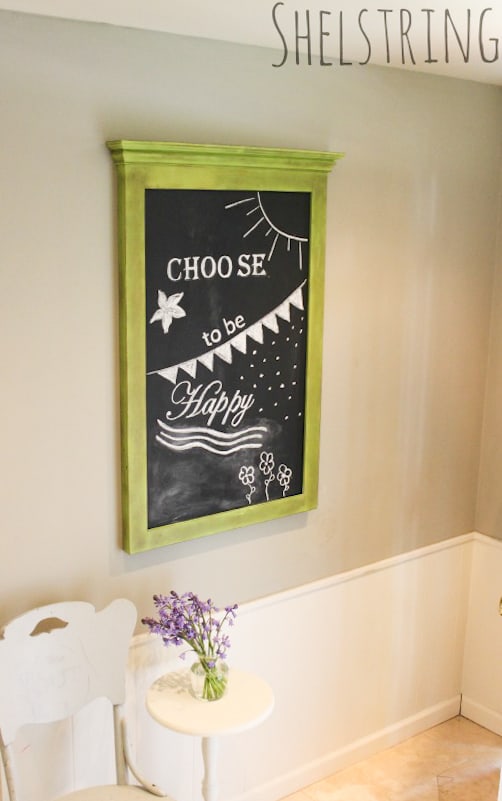
I just recently finished this chalkboard that I made from a mirror frame I found at a yard sale for $2. I was so excited to hang it in my entryway so that I could display messages for my family in a spot they could see first thing in the morning as they come down the stairs.
I’m sure that, if you are a Pinterest fan like me, you have seen many amazing chalkboards out there. The art can be incredible! Every time I go to write on my family menu board, I have visions of beautiful artwork. My chalkboard skills don’t even remotely compare to most I’ve seen and although I still don’t consider myself the most incredible chalkboard art creator, I have gathered some easy tips to make a prettier board possible.
My favorite part of any process is putting my creativity to work, that’s what makes this first step so much fun.
Step 1
Design your art on the computer. I use Microsoft word because it allows me to make my lettering as big as I want it.
Step 2
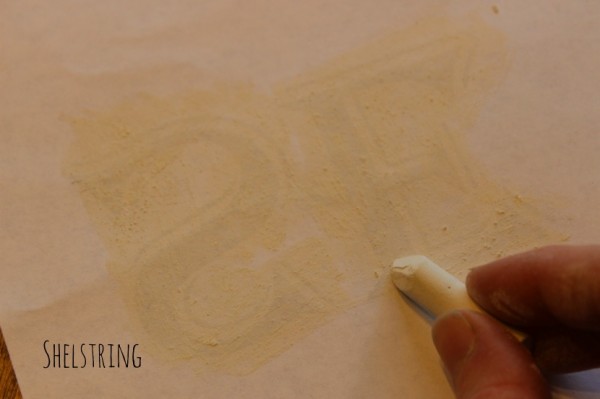
After you have designed what you want, print it. Next color all over the back of the wording with a piece of chalk. This will act as a carbon paper.
Step 3
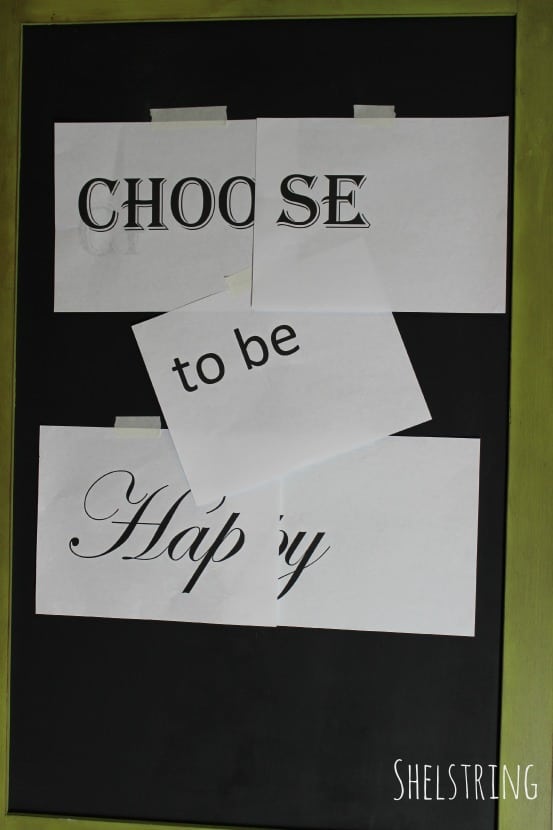
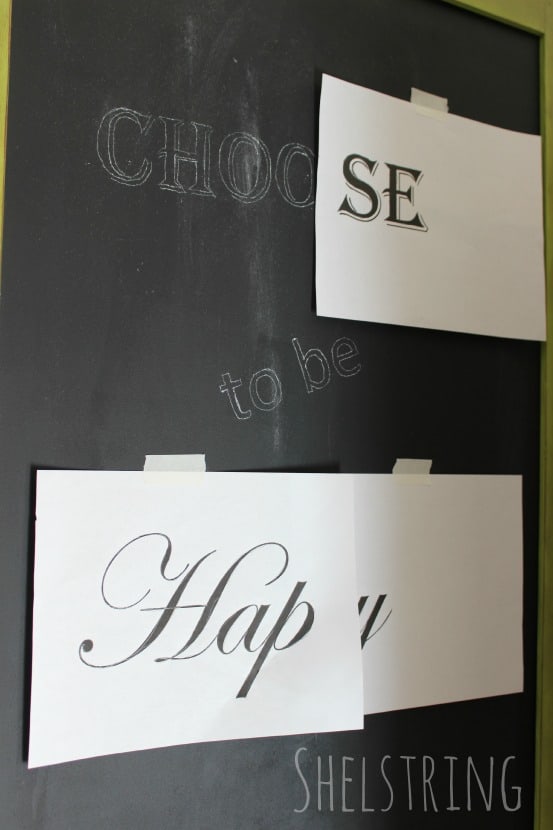
Next tape your image up on the board just the way you want it to look.
Step 4
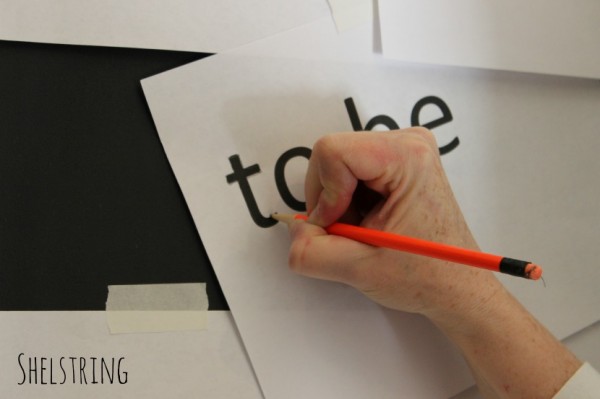
Draw over the image with a pencil or pen, checking occasionally to make sure it is copying.
You may need to trace over it again in some areas, so it’s a good idea to keep everything taped in place until you are sure it’s transferred well.
Step 5
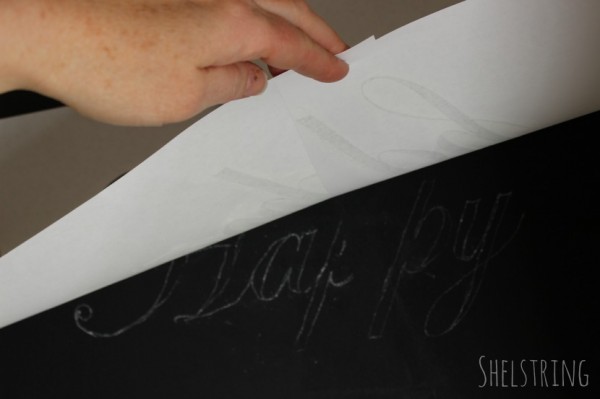
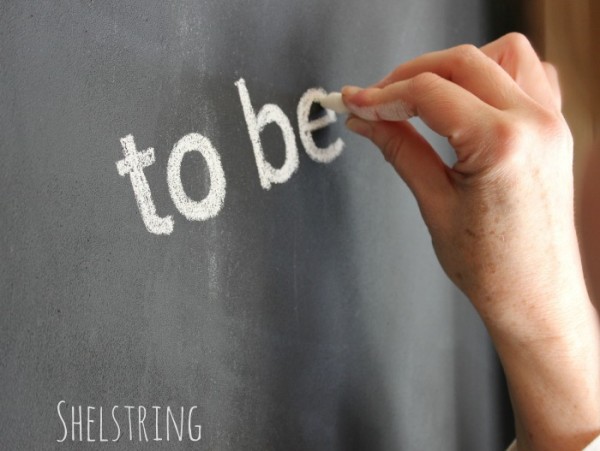
When you ‘re sure everything has transferred, remove the paper and start filling in with a piece of sharpened chalk. I use one of my children’s little pencil sharpeners to sharpen the chalk. This gives the chalk a nice tip to stay in the lines with. I have tried the chalkboard pens, and although they are neat, I found they don’t erase very easily. I had to repaint my chalkboard door in order to erase the lines. However, if you’ve had success with them, I’d love to hear about some good tips!
After your lettering is done, have fun adding in filler art. Banners, flowers, decorative lines, scribbles, anything goes. Getting the children involved is a lot of fun too. And voila, you are finished! Isn’t that so simple?!
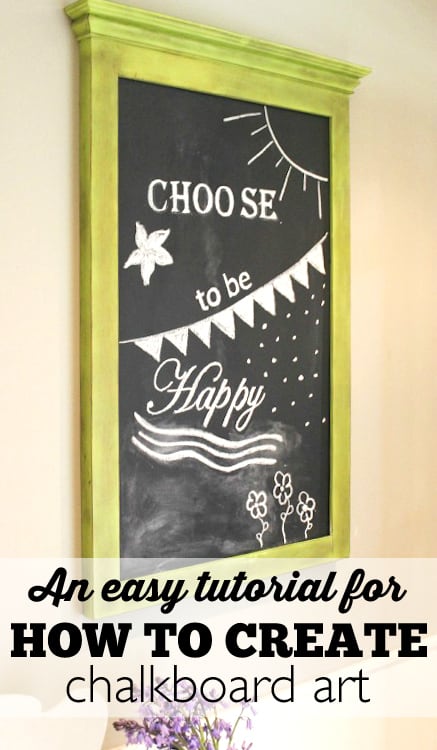
Although I probably won’t have the time to go through this process, every time I write on all my boards (like my menu), I wanted this one to look nice since it is in a location that all my family and any visitors will see every day. Seeing the chalkboard has been a sweet way to start our mornings. Now that you know how to create chalkboard art, what will be the first saying you choose to put on your chalkboard?
Michele
