Our house has come a LONG way in the past couple months. If you remember back we spent Thanksgiving on our subflooring and Christmas decor came with a side of Lumber Liquidators boxes. It’s been a long journey but I am so proud of how far we’ve come and I can’t wait to show you the process of our DIY hardwood floor installation!
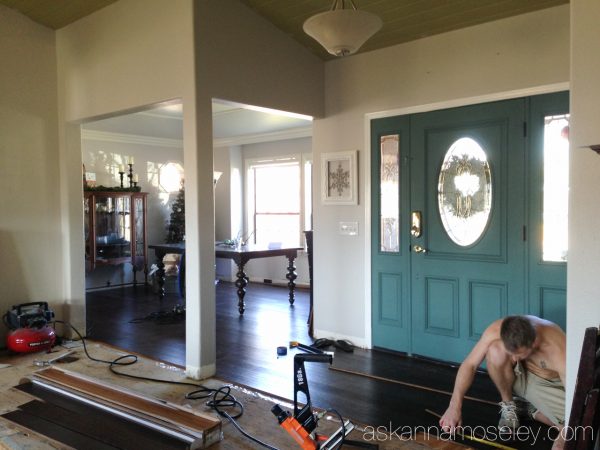
After living on subflooring for a few weeks I was BEYOND excited when the first couple boards were finally installed in the dining room. It took a long time to get the first couple boards down because they are some of the most important ones, if the first couple boards aren’t right, then the rest of the rooms would be “off” too.


It took a couple days to get this much progress done because my husband was only working on it in the evenings. But already I was beginning to see how much of a difference our new bamboo floors were going to make in the house!

We also chose the Eco Silent Sound Underlayment because our other wood floors had been pretty echo-y and I didn’t like it. I wanted our floors to sound solid and be quieter to walk on. I’m so glad we chose the Eco underlayment because it made a huge difference and it’s much quieter now. It’s also not as loud in my daughter’s room downstairs, when we are walking around upstairs.
I have to brag on my husband for a minute because he was amazing throughout this whole process. He spent every night working on the project and then he ended up taking off the entire week before Christmas to get the floors done before our annual Christmas wine party. He had never installed hardwood floors before but with the help of the How To tutorials on the Lumber Liquidators site, and a friend of ours that came over to help, he installed them perfectly! He worked tirelessly for hours and hours to get them done and he didn’t complain at all.
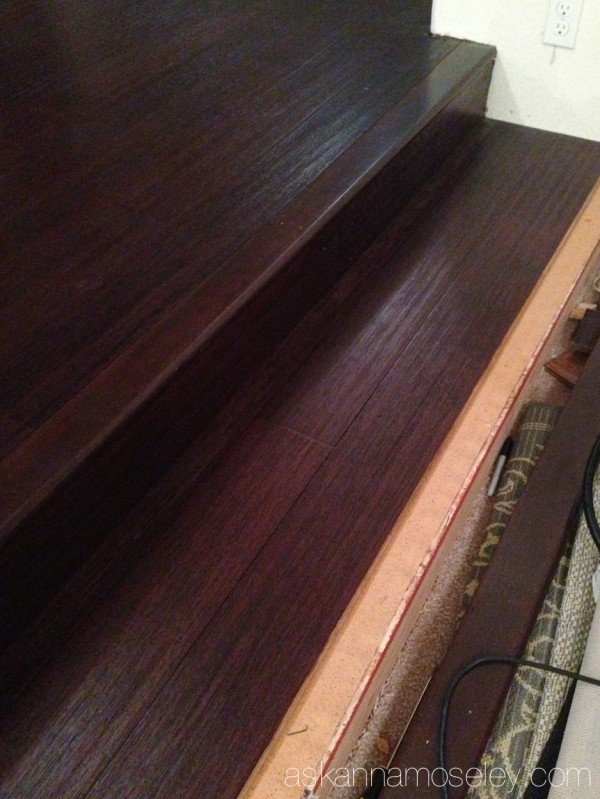
I also learned a ton about installing flooring, but the biggest lesson was in patience. Some spaces were installed quickly and then there were other, tricky spaces that took hours to install. We have a sunken living room so our entire living room has a stair around it. The stairs were a little tricky to install and the first night he worked on them it took him and a friend 3 HOURS to install this one little stair. I thought I was going to go crazy but once they had figured out how it was all supposed to work, the rest of the stairs went pretty quickly.
There were also a few days that I was able to get someone to watch Malea (she was on Christmas break) so I could help Matt. Things moved much quicker when he and I could work on it together because I did the installation and he did all the cutting and measuring. This was the first day I was able to help him and we ended up getting the entire kitchen and breakfast nook installed!

The other thing I learned throughout the process was how to have grace for my house being a mess. It’s hard not to be stressed by looking at the messes in these pictures, but through the process God gave me grace to endure my house as it was, and to focus on our beautiful new floors rather than the constant messes. That being said though I am really looking forward to a peaceful, mess-free Christmas next year!
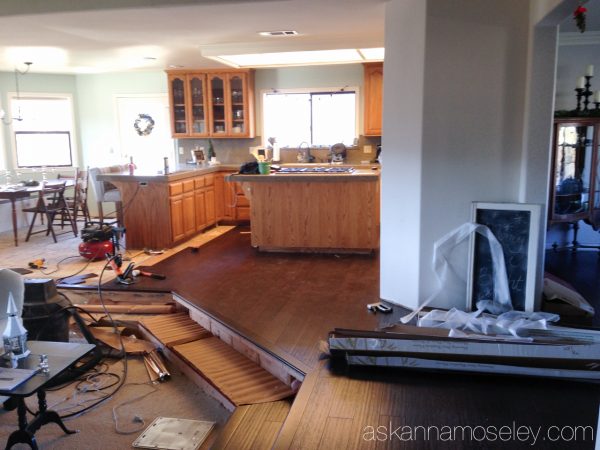
Here’s what we were able to finish on our first day working together! I can’t tell you how proud of myself I was for getting in there and nailing the boards in! It felt good to look up at the end of the day and see what we had accomplished!
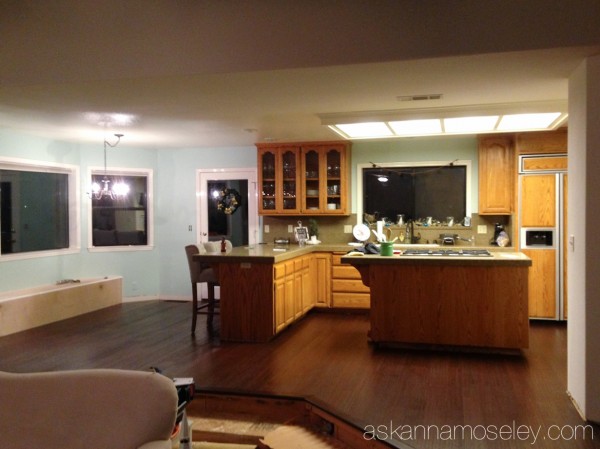
The next day (the day before our big party) we tackled our living room. I had left for a couple hours that morning and when I came back this is what was left of my living room! Matt and our friend had completely cleaned it out, except for the patch of carpet under the Christmas tree. At this point I was a little stressed that my house might be a disaster for our party but I buckled down and started working with the guys.
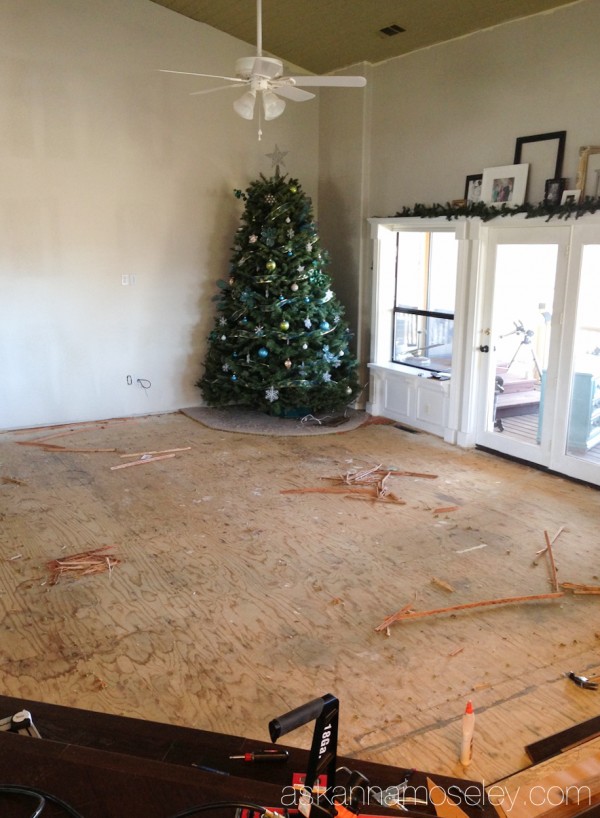
Matt did all the cutting and our friend and I did all the installation. I was impressed at how quickly a team of 3 could lay a living room floor! After a few hours we were half way done and I was starting to see a glimmer of hope for our party the next day.
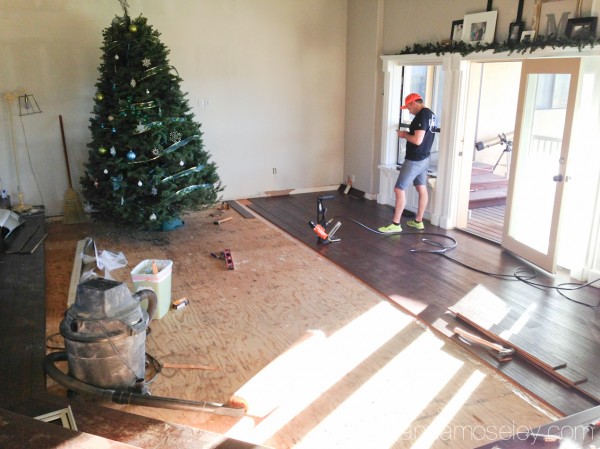
By the end of the night we had installed everything except the vertical pieces on the stairs and we had COMPLETELY transformed our living room. Eight hours earlier it had been covered in beige carpet from the 90’s and now it was covered in beautiful bamboo flooring!

Overall the installation process wasn’t very hard, it was just long and tedious. Installing just over 1400 square feet took us about 2 weeks but most of that was my husband doing it by himself.
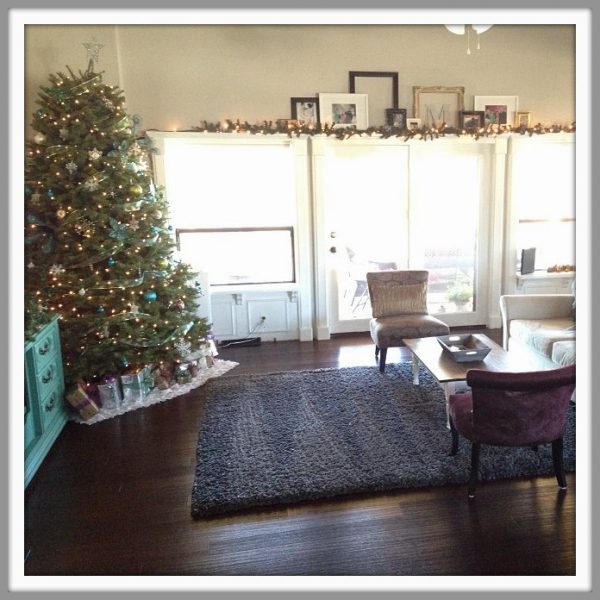
I am dying to show you the reveal of my floors but you’re going to have to come back on Friday to see all the pictures. I will however give you a sneak peek from my Instagram feed. If you follow me on Instagram you’ve probably seen a few sneak peeks but you’ll have to wait until Friday for the rest.
It looks beautiful! I’m so impressed that you guys took this project on by yourselves – especially for such a HUGE installation! It never ceases to amaze me the difference that hardwoods make in a home. Great job!
Thank you Jenny! 🙂
That must have been exciting to have done! It looks marvelous by the way you guys did a great job for sure!
How are you liking the floor now (12 months later)? My wife and I are looking at buying the same bamboo.
Thanks,
Matt
Hi Matt. We love the floors and get compliments on them from everyone! They are super durable and we have people over all the time so we’ve definitely put them to the test. 🙂 The one downfall, from traditional wood flooring, is that instead of denting they occasionally get scratched. I dropped the glass plate from our microwave on the floor (from 4’up) and it left a scratch in the floor. I filled it in with a stain pen from Minwax and it’s barely noticeable, but I still notice it. However with traditional wood floors you’d have a huge dent so it depends on your style. I like them and would absolutely recommend them and I’d install them again if I had to do it all over again. Oh, the other thing that was awesome (well sort of terrible at first) was when Lowes came to install our fridge they couldn’t get it out, but in the process broke the water line in the back but we didn’t know it. When we finally got the fridge out there was tons of water under the wood floors and after a few days they started curling up on the edges. We were so mad and thought we’d have to rip out that entire section of the kitchen BUT after a couple weeks the floors completely dried out and went back to normal! That would never happen with traditional wood. I think because it’s bamboo strands glued together that it’s much more absorbent and durable. I know this is a long response but I hope it helps you make your decision. 🙂
Your floors look great! I’m impressed you did them yourselves. I have a question about your different level of floors and using the same flooring. We have one step down in our house and people constantly trip because they don’t notice it. Have you had that issue and if so, what have you done?
We never had that issue, I think because the room was always really bright, but if you wanted to make it more noticeable I think it would look nice to do a different color trim piece on the top and bottom of the step.