Today is the second post of my 3-part series on how to spring clean the 10 dirtiest places in your home based on a 2011 NSF germ study. If you want to see what the top 3 dirtiest places are, click HERE to read that post.
Now let’s explore three more surprisingly dirty spaces that could use a thorough spring cleaning!
What You’ll Need:
- Plain 3% Hydrogen Peroxide
- All Purpose Hydrogen Peroxide Cleaner
- Fragrance Free Liquid Castille Soap
- Hydrogen Peroxide Wipes
- White Vinegar (optional)
Now, let’s get this party started!
#4 Coffee Reservoir

Coffee reservoirs were found to have the second highest concentration of yeast and mold (dish rags had the highest). I must say, that this one surprised me. It makes sense that a coffee reservoir would harbor germs because it’s constantly dark and moist, but I didn’t realize just how nasty it really is. When I think back on just how much coffee I drank from my former office’s free, but never-cleaned pot and brewer, I shudder.
While researching in preparation for writing this article, I did a bit of digging to see just what information is out there on the internet as it relates to cleaning a coffee pot. Every single article I found only mentioned running vinegar through the brewer, which is woefully inadequate for disinfecting purposes. Since vinegar is not very good at killing germs by itself, you’re going to need something with a little more oomph to get the job done (click here to read an article about an experiment that tested vinegar’s bactericidal properties). However, when you use vinegar in combination with hydrogen peroxide, it creates a very powerful disinfectant. But keep in mind that you cannot combine the two in the same bottle – you have to use one, and then the other. The order of use doesn’t matter; you just can’t use them together at the exact same time.
Here’s how to use vinegar and peroxide to clean your coffee maker. If you’re able, wash the reservoir out with hot soapy water (if not, then skip this step). Next, fill the reservoir with half 3% peroxide, and half water. Let it sit for about 30 minutes. Run that peroxide solution through your coffee maker and discard. You’ll probably notice that the water you’ve run through the machine fizzes and looks like seltzer water as the peroxide continues to kill germs.
Next, fill the coffee reservoir with half white distilled vinegar and half water, and run it through your coffee maker. It is important to use distilled vinegar for this step because it will remove any mineral deposits in your maker in addition to working with the peroxide to disinfect.
Finally, run clean water through your coffee maker. I did this about two times to make sure I got all of the vinegar and peroxide out of my machine. But definitely make sure you don’t leave any peroxide behind. Peroxide is a very strong oxidizer and can rust the internal metal parts of your coffee maker if it is left to sit for too long. This is why I like to do the peroxide first, so that it’s sure to be cleared out with the vinegar and clean water passes.
#5 Kitchen Sink
Fortunately, the germ counts for kitchen sinks dropped by nearly half from the coffee reservoirs in the study. But make no mistake, this area still needs a thorough cleaning!
To clean, wash the sink thoroughly to remove any food residue and generously spray it with 3% hydrogen peroxide. Let it sit for about 30 seconds before rinsing. Pyoure’s hydrogen peroxide cleaners remove food and contain peroxide, so they are a great one-step alternative.
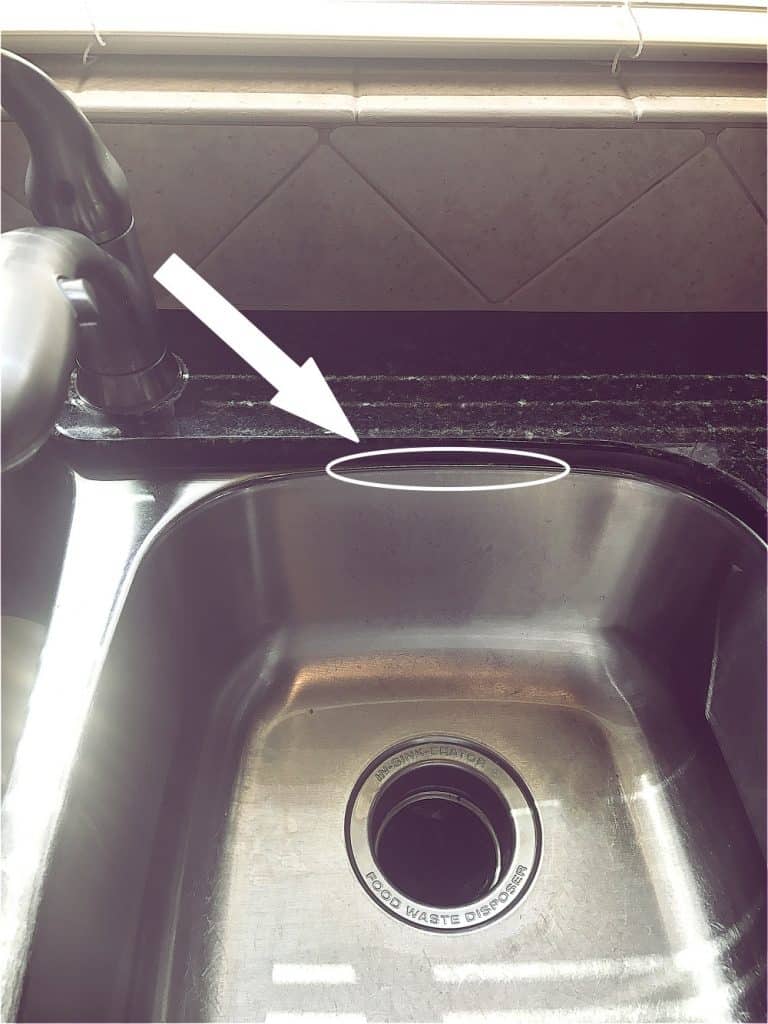
For under-mounted sinks, pay extra attention to the area where the sink meets the countertop (circled in the picture below):

This gap is an ideal place for bacteria to accumulate because its propensity to catch old food and moisture. For this area I highly recommend gently scrubbing out the crud and old food with a dish brush, and then spraying 3% peroxide in the crevice. Let the peroxide sit for at least 30 minutes before rinsing. If I see the peroxide foaming excessively while sitting, that lets me know that there is a large amount of bacteria present and I usually repeat the application a couple of times.
#6 Pet Toys

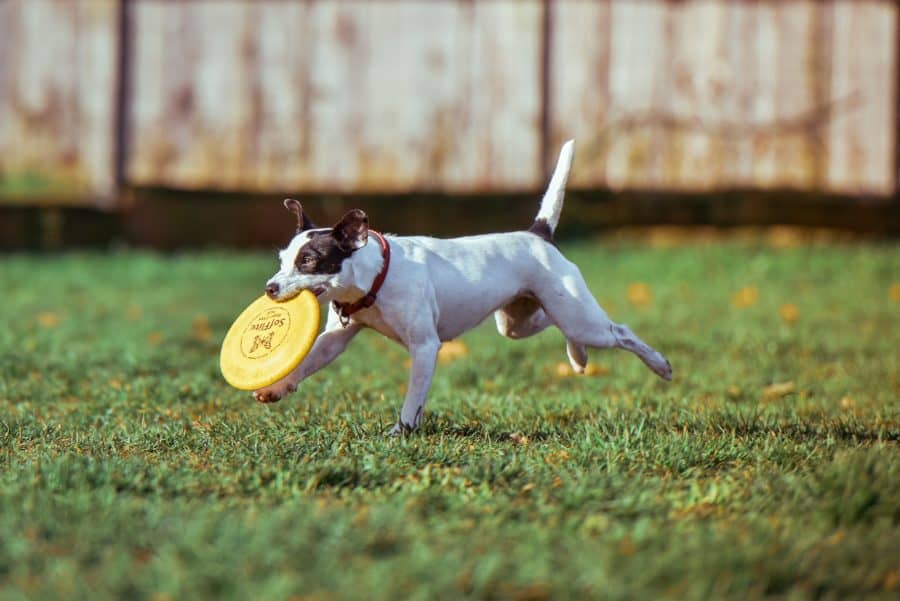
Here’s another pet item that made it to the top 10 list: pet toys. Since pets primarily play with their toys via their mouths and paws, you can totally see just how icky they can become after a while.
Interestingly, pet toys were found to have the highest overall concentrations of staph in the study. Staph is a family of bacteria that cause all sorts of nasty diseases. Although it does generally coexist peacefully on the skin of our pets and ourselves, if left unchecked, staph multiplies quickly and can wreak havoc on our bodies. The bacteria themselves, in addition to the toxins they produce, can cause boils, food poisoning, abscesses, and toxic shock syndrome, just to name a few.
To safely disinfect your pet toy, wash the toy thoroughly in warm soapy water and rinse. Next, let the toy soak in a solution of half 3% hydrogen peroxide and half water for 30 minutes, and rinse thoroughly. Remove as much excess water as you can, and let the toy air dry. (Added bonus: this cleaning reduces dust mites on soft toys too!)

And we’ve made it through the top 6 dirtiest places in our home! Stay tuned for the final four items to Spring Clean! How’s your cleaning coming along so far? Let us know in the comments below!
In case you missed the link at the top, click HERE to learn how to clean the top 3 dirtiest places in your house. 🙂
Raven
This post contains some affiliate links, for your convenience. Click here to read my full disclosure policy.
Save