Spring is finally here and even though our pool is still only about 55 degrees my daughter is already swimming (she’s nuts!). And I know that as the weather gets warmer more kids will join her and before I know it summer will be upon us and our pool will be filled with family and friends!
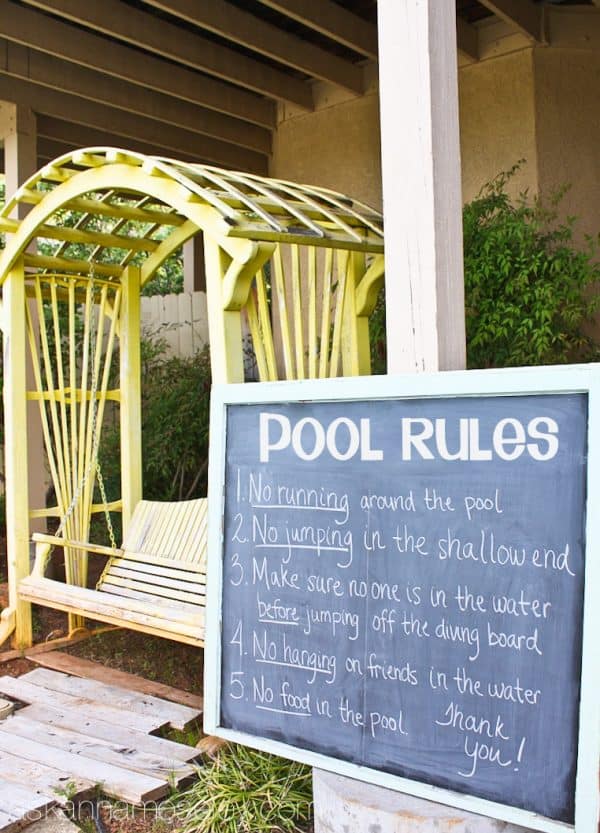
Last summer was our first summer having a pool and I spent a lot of time yelling at the kids, “no running around the pool!”, “no jumping in the shallow end!”, you know, you’ve been there too. I thought about making a “Pool Rules” sign about 1,000 times but I never got around to it last summer.
But this year I’m doing it right and I’m making my sign before the summer gets started! I’ll be thankful to not be spending my time yelling at the kids and reminding them of the rules!
Here’s what you need:
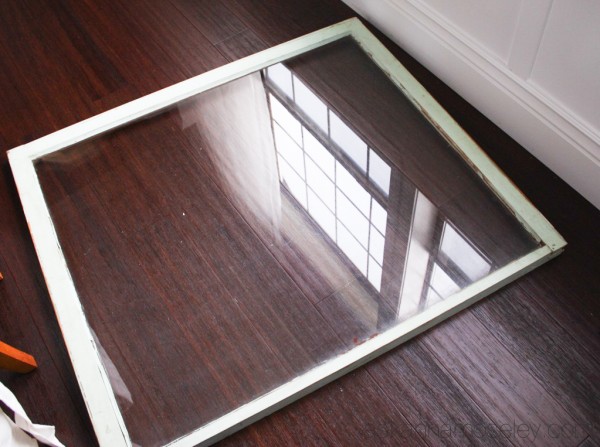
- An old window. I bought this over a year ago at an antique store for $10 and I’ve been saving it for something like this.
- Microfiber cloth (this is the one I use)
- Chalkboard contact paper
- Mistick (or DIY version, recipe in Step 2)
- A ruler or yard stick (something to squeeze the bubbles out)
- Chalk
Step 1
Lay the window out in an open space. Clean the window, I used my Norwex window cloth because it doesn’t leave any lint/fuzzies behind.
Step 2
Spray the surface with Mistick (a wet application solution for applying vinyl). If you don’t have Mistick you can also use water, dish soap and rubbing alcohol. Fill a spray bottle with water, add 2-4 drops of dish soap, then add a capful of rubbing alcohol.
When you stick vinyl directly onto glass it doesn’t want to move around or come up. What Mistick does is allow you to move the vinyl around a little to get it in the position you want it.
Step 3
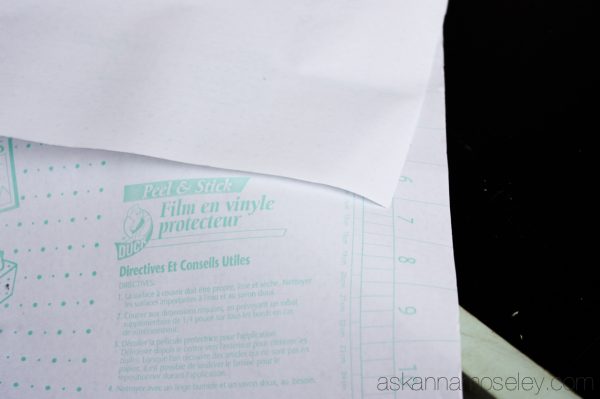
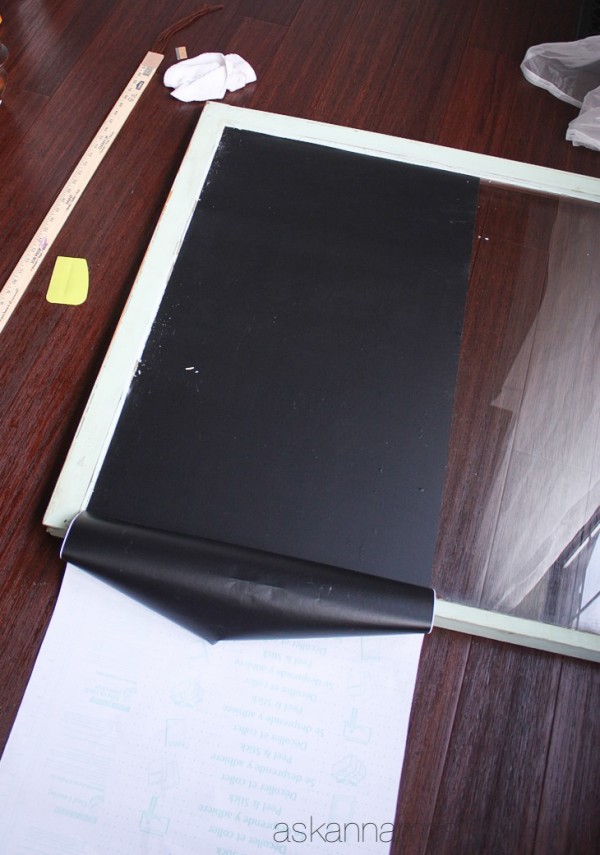
Once the surface has a light layer of Mistick (or the DIY version) apply the chalkboard contact paper, starting in the upper corner of the window. I used a yardstick to help me smooth out the bubbles as I went. After I applied each strip of vinyl to the window I used the yardstick over the entire surface of the window to squeeze out any leftover moisture pockets from the Mistick.
Step 4
After applying each row of the chalkboard contact paper, use a blade or exact-o knife to trim it along the edge of the window.
Step 5
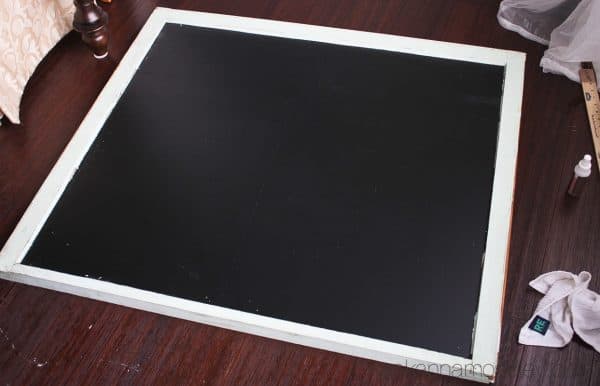
To give it a traditional chalkboard look, rub the entire surface of the window with a piece of chalk, then wipe it off using a rag.
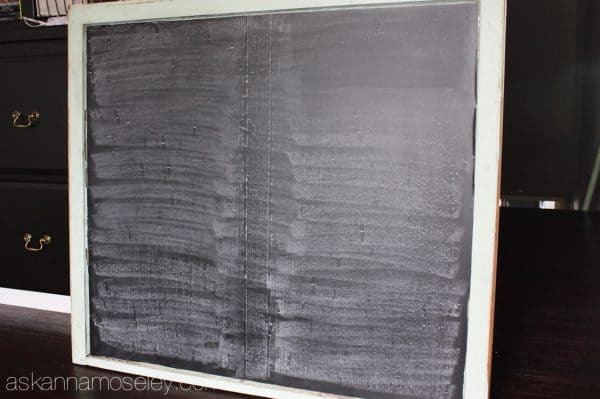
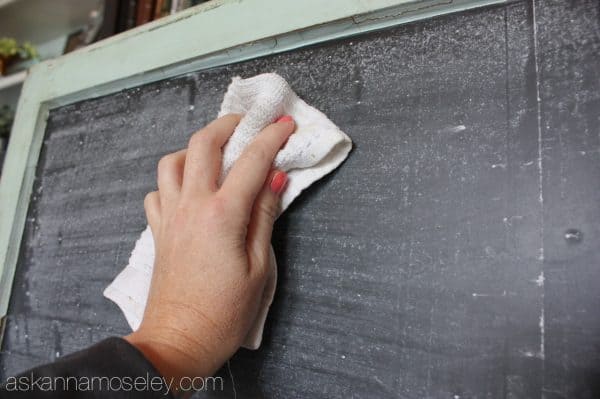
This gives you the look of a chalkboard, even though it’s not actually chalkboard paint. I actually love the chalkboard vinyl because it’s much more durable and I don’t have to worry about it scratching off over time!
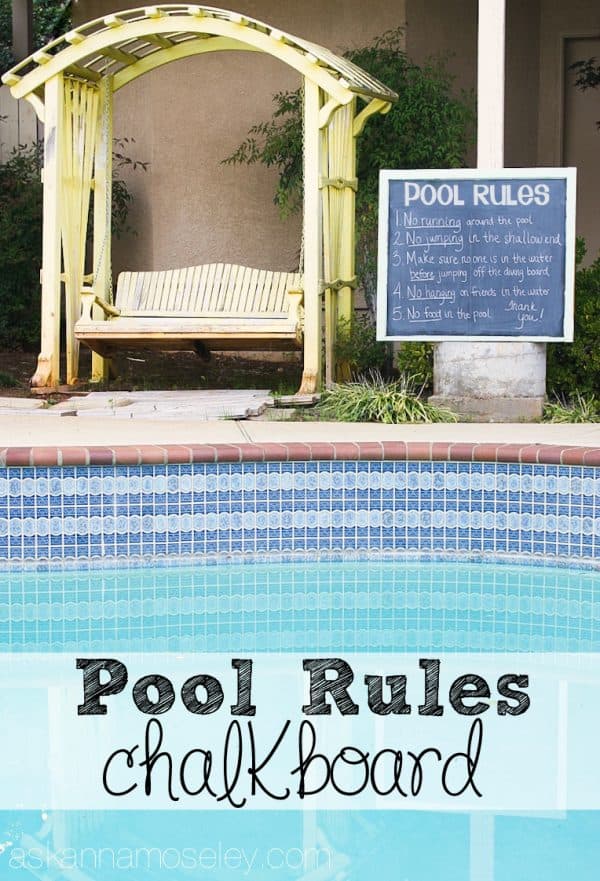
I’m excited for summer to start and for the pool parties to begin now that I have my Pool Rules chalkboard! This will make it so much easier to keep everyone safe. 🙂
This post contains some affiliate links, for your convenience. Click here to read my full disclosure policy.
One of our rules is NO GLASS around the pool. I would hesitate to put the sign where it could possibly be broken. Wouldn’t it be better to remove the glass and replace with plywood? Just a thought….Still, great idea!
That’s a good point. 🙂 I had it leaning against the post for the pictures but I’m actually going to hang it over on our railing so it won’t be able to be knocked over. I should add that rule to the sign though! 🙂
You could also add this to your sign:
WELCOME to our OOL
Notice: there is no ‘P’ in it….
let’s keep it that way!
Haha, that’s awesome! 🙂