Hello friends of Ask Anna! I’m Ginny from Organizing Homelife and I’m so happy to share my closet reorganization project with you today. I was thrilled when Anna invited me to guest post on her awesome blog! If you’ve been a reader for any length of time, you know she’s got some fabulous ideas. I hope you enjoy my project and find some inspiration for getting your closets organized for the coming school year.
There are so many things I love about my house and I wouldn’t trade it, but if I could change anything, I wouldn’t mind a bit more closet space. I have four kiddos and a very busy schedule during the school year. Our front hall closet is the only space we have to store all the stuff our family of six needs for our various activities. Check out what the problem with our front hall closet was. It was a mess. Always. I reorganized it a zillion times, yet it was a constant struggle to keep it neat and clean. Our problem? Too much stuff. And what is the usual solution for too much stuff? To de-clutter and get rid of some, right? What do you do when you have a lot of stuff, a small space in which to keep it, and you use it regularly? That was the challenge. It was not in our budget to purchase a closet organizing system, so I was stuck with what we had. One night as I passed by the closet an idea popped into my head. Viola! I finally solved how we could keep all the necessities AND organize it on a budget! It saved our closet {and my sanity}.
Are you ready for it?
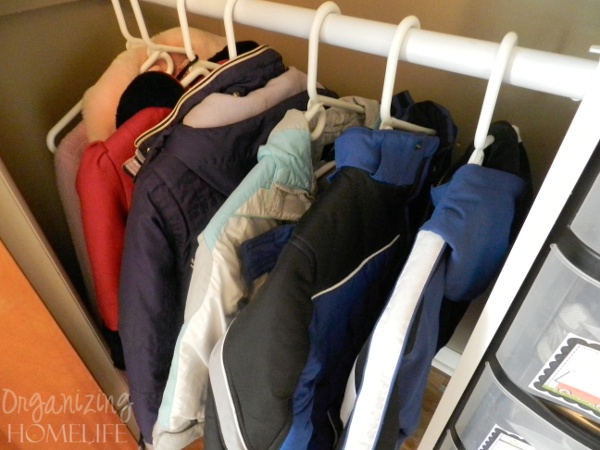
I decided we should cut the lower shelf in half and put up a “wall” in the middle. That way we could put two coat racks on the left side of the closet – one above the other, and keep our shoes, backpacks, lunch bags, etc. on the right side. Here is what the messy closet looked like before: 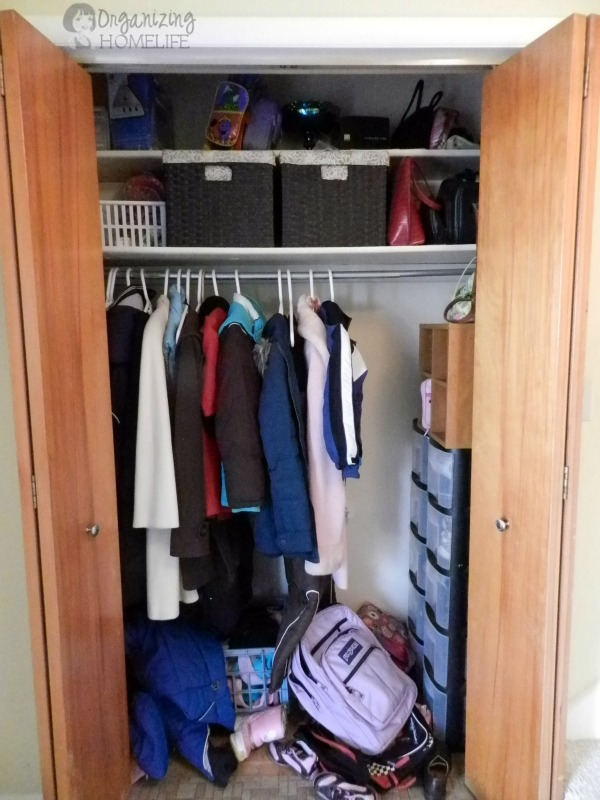
And here is what it looks like after we put my idea into action!
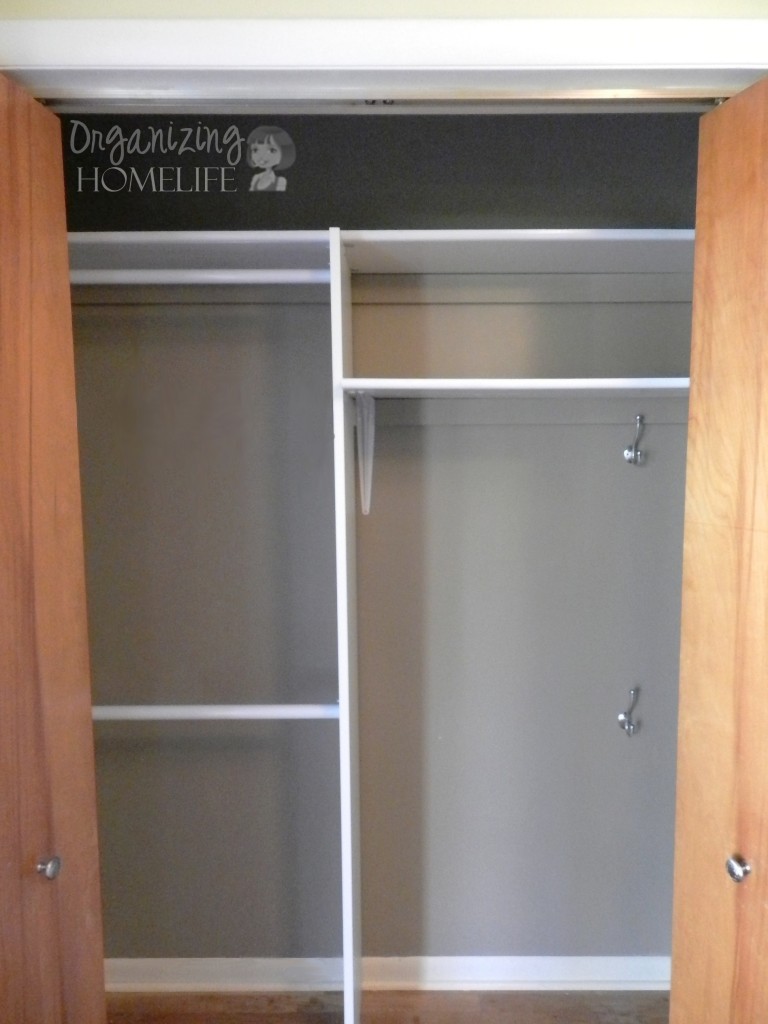
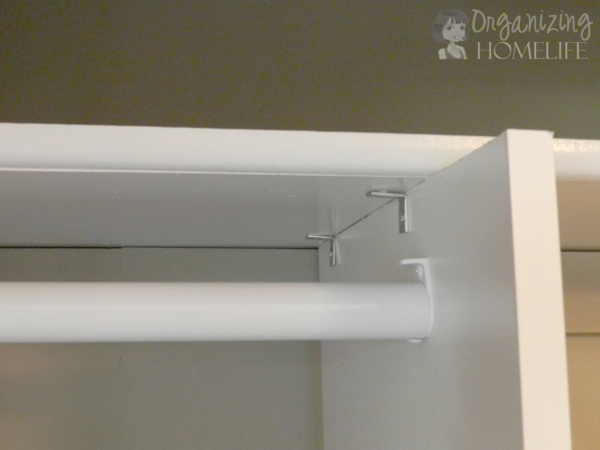
Here is how we did it: The first thing we decided on was the spacing. I held two coats in the air, one on top of the other, to determine if there was enough height in the closet to accommodate two coat racks. There was plenty! Then we decided how much space we needed for our shoe bins, etc. (see pictures below). I quickly got to work and washed the walls and ceiling and put on a fresh coat of paint. Isn’t it pretty? It just makes me happy. 😀 After we determined where we wanted to “split” the closet, we went to Lowe’s to purchase the center board. We found exactly what I was envisioning in the “organizing” aisle {shocking, huh?} for about $18. We got some metal “L” brackets for a few dollars to attach the board to the top closet shelf and the wood floor.
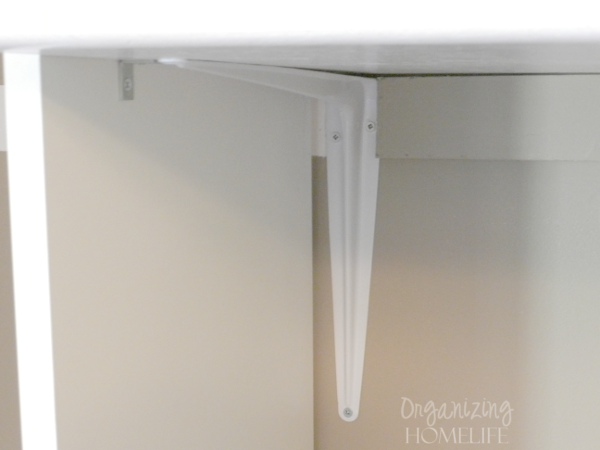
Then we bought a large support bracket for less than $2 to hold up the shelf.
Then we hung the rods for the coats. I didn’t anticipate this, but by using two rods, we actually gained about 8 inches of coat hanging space! They were about $11 each. Adult coats hang on the top, and finally the kids can hang up their own coats on the lower rod. Yay! Here’s to teaching kids independence and responsibility!!
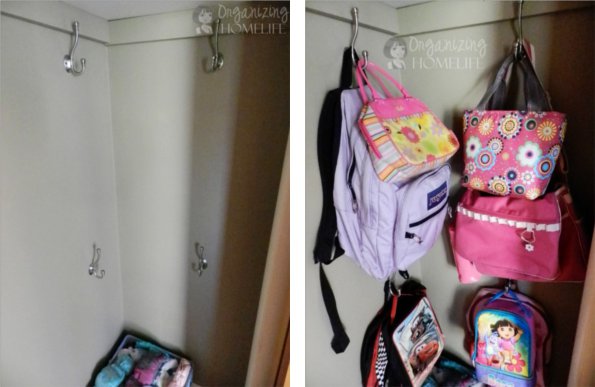
And speaking of responsibility, we added 4 double hooks on the right side of the closet. Now the kids can each hang up their own backpacks and lunch bags:
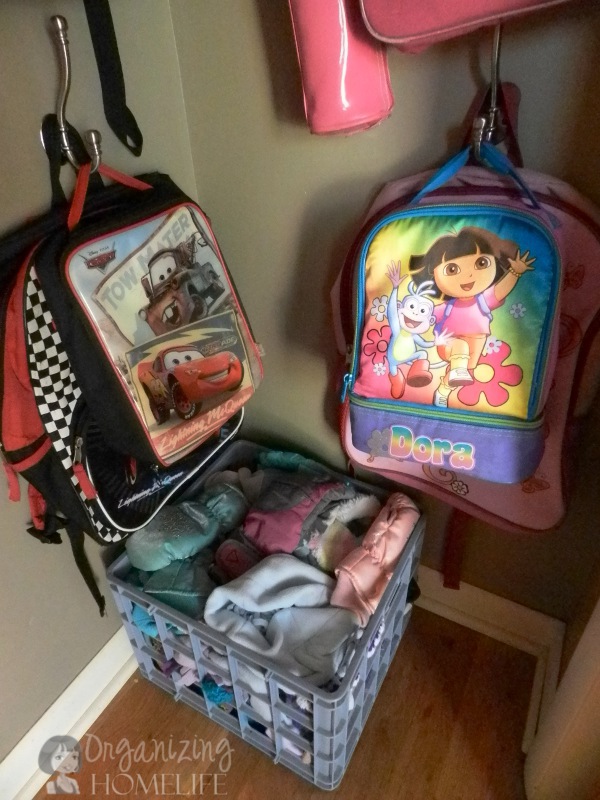
We put a bin {crate} on the floor to hold the kids’ seasonal items. In winter, it holds: gloves, hats and scarves. In spring, it holds: soccer shin guards, cleats, etc. In summer, it holds: swim goggles, beach towels, etc. It makes these items accessible {so they have no excuse not to put them away!}:
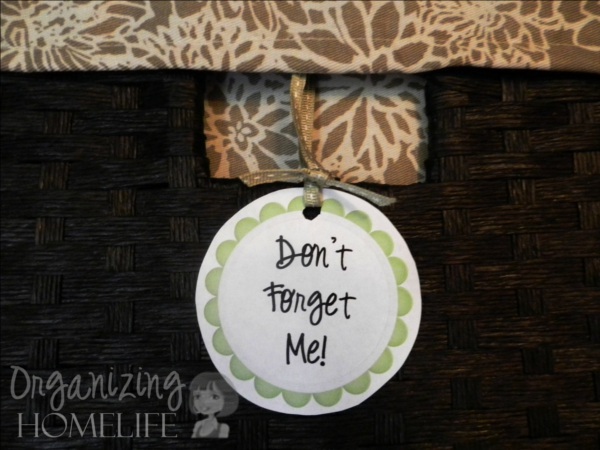
The lower shelf that we cut, still has plenty of space to store my Don’t Forget Me Bin and a bin for hats, gloves, scarves, etc. for my hubby and me.
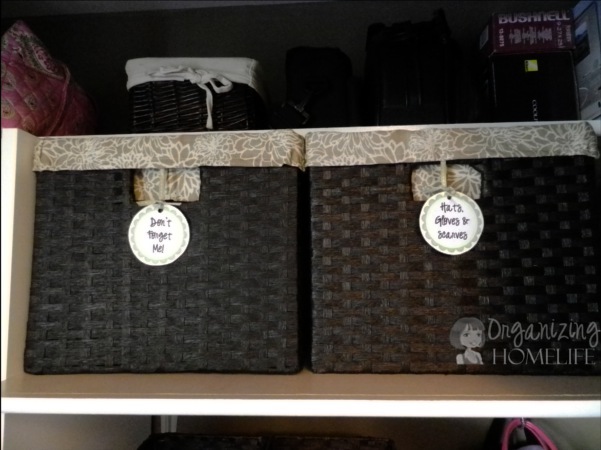
I made some new labels for my Don’t Forget Me Bin. And, I have a surprise for you lurking in this long post – some FREE printable labels! {You can download and print out these labels here}:
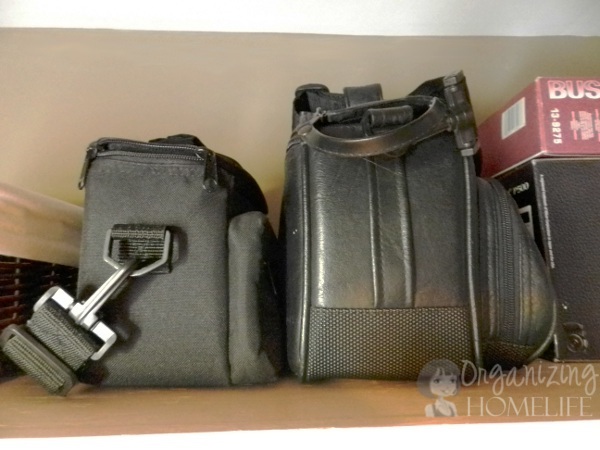
On the top shelf, I have a space to keep the camera bags. I even had space to store the travel DVD player, binoculars and the tripod:
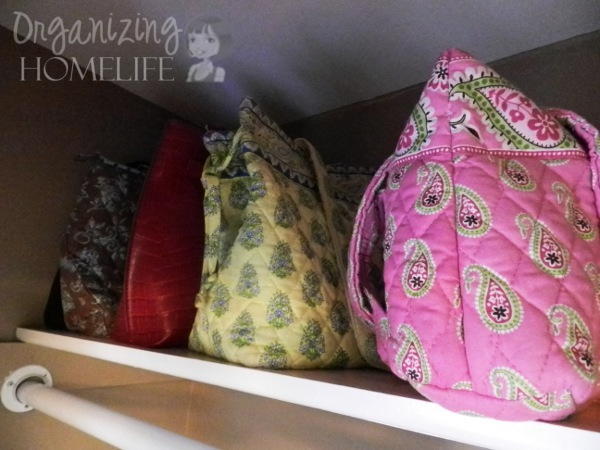
I have a spot for my purses:
…and bin for insect repellant spray and sunblock:
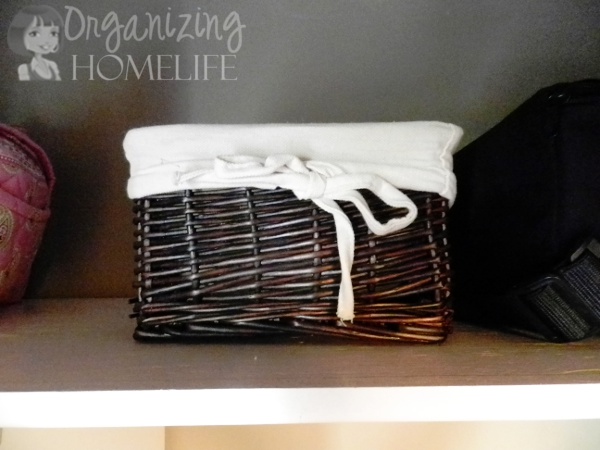
I have two smaller bins to hold miscellaneous things like sunglasses, etc.

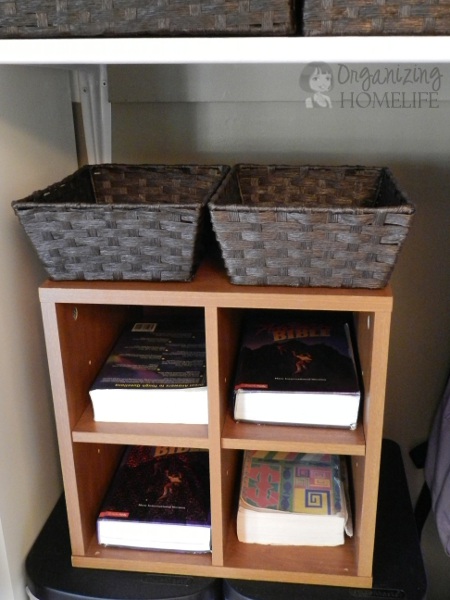
I found this little unit at a garage sale a while ago, and it just happens to be the perfect size to hold the kids’ Bibles! They each have their own space and they are ready to go when we’re running out the door to church.
These fabulous shoe bins were also found at a garage sale last summer. I think I paid $5 for them! They are great for keeping everyone’s shoes together. The kids and my hubby have two bins each for their shoes.
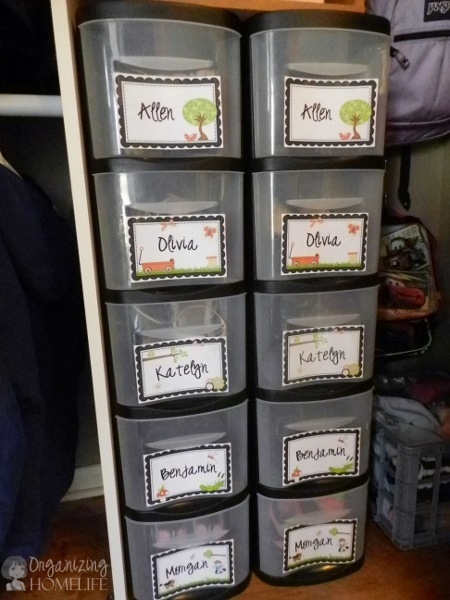
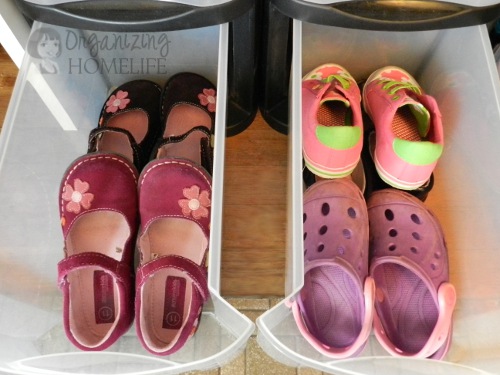
They are plenty big to hold a number of pairs of kids’ shoes.
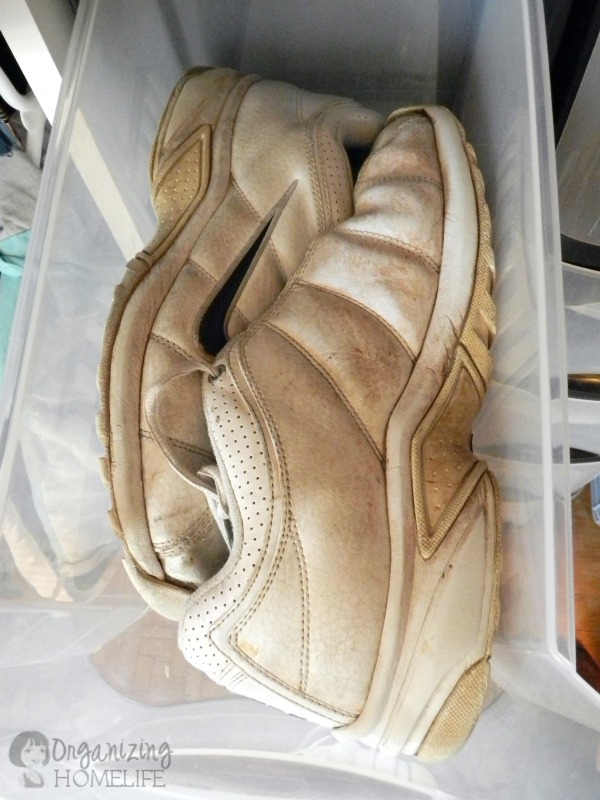
They even have space for my hubby’s grubbies. 😉
Are you wondering why I don’t have bins here? Well, lets just say that I don’t apply the “less is more” rule when it comes to shoes. 😉 I keep mine in my own closet. I whipped together some labels to keep it neat. And since I love my faithful followers, I’ve got another surprise for you! They are all available for you to print for free. {You can download and print out your choice here}
Here are the long-awaited before and after pictures!
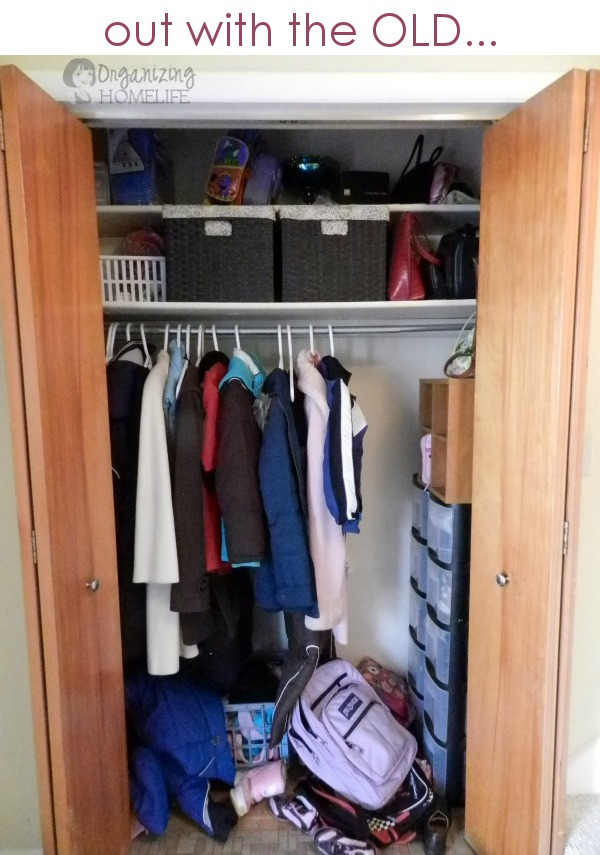
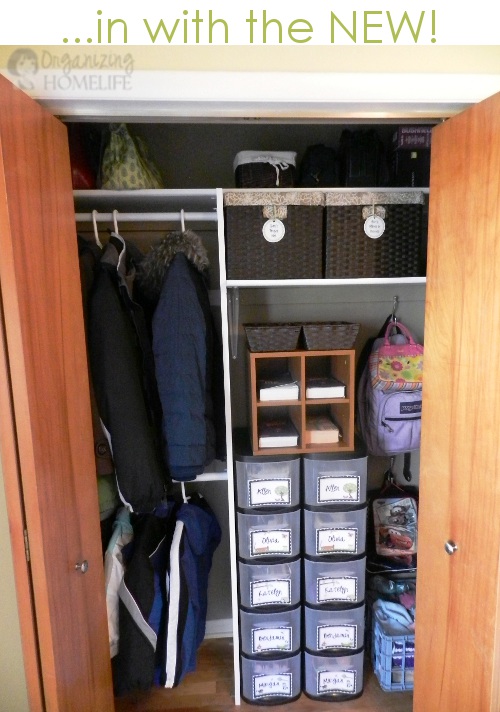
Well, there you have it! For about $50 {board, brackets, rods & hooks}, our closet has been saved from mayhem! I hope you found a little inspiration. I can tell you that it’s working great! We haven’t had a mess in the front hall, haven’t had to hang up a kid’s coat, and haven’t had to sort through shoes in the bottom of the closet since we built it! 
Thanks so much to Anna for inviting me today! I hope you’ll stop by Organizing Homelife some time, I’d love to have you visit!
This is great! It is sometimes hard to find organization ideas for families with more than 2 kids. I have four also and would love for my hall closet to look like that! My husband has the bad habit of leaving his shoes right in front of the door in the kitchen it drives me insane. I don’t know if he’d actually use a bin like that but maybe so if I can find one! 🙂
What are the dimensions of your closet, Ginny? Depth? Height? Width? Thanks!