• Cleaning
    • Bathroom
    • General
    • Green Cleaning
      • Baking Soda
      • Hydrogen Peroxide
      • Norwex
      • Other
      • Rubbing Alcohol
      • Shaklee
      • Vinegar
    • Kids
    • Kitchen
    • Laundry
    • Spring Cleaning
    • Fall Cleaning
    • Love to Clean
    • Video tutorials
    • Shop my Favorite Cleaners
  • Organizing
    • Bathroom
    • Closets
    • General
    • Kitchen
    • Series
      • 14 Day Challenge
      • For under $15
      • In Less than 30 min
      • Organize it!
      • Organizing Resolutions
      • Organizing Revolution
  • Decorating
    • DIY
    • House Projects
    • Our new home
    • Our old home
    • Outdoors
    • Tutorials
    • Shop the Look of our House
  • Other
    • Crafts
    • Family
      • Trafficking
    • Gift ideas
    • Giveaways
    • Holidays
      • Christmas
      • Halloween
      • St. Patrick’s Day
      • Thanksgiving
      • Valentine’s Day
    • Kids
    • Printables
    • Sponsored posts
    • Recipes
      • Breakfast
      • Cakes
      • Crockpot
      • Desserts
      • Dinner
      • Drinks
      • Gluten Free
      • Kids
      • Vegan
    • Themed Parties
    • Video tutorials

Ask Anna

Answers to your cleaning, organizing questions & more!

  • home
  • About Anna
  • Privacy
  • Press
  • As Seen In
  • Contact
  • The Blog

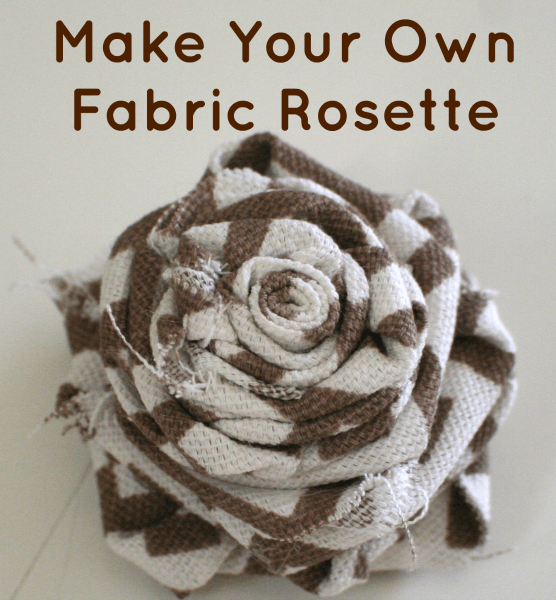
How to Make Fabric Rosettes {Guest Post}

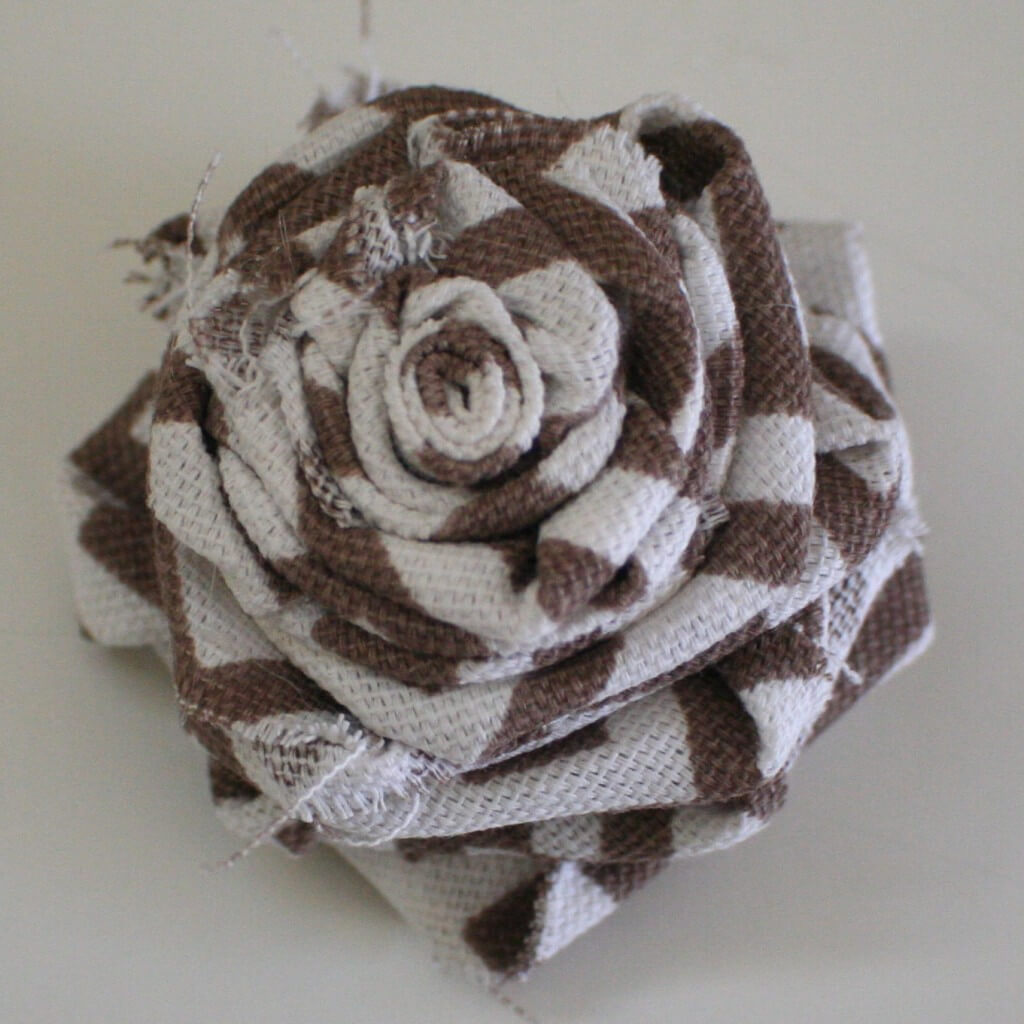
Hello everyone!  My name is Melissa and I blog over at The Happier Homemaker sharing lots of DIY Crafts and Decor.  I’m so excited to be here at Ask Anna today while Anna is enjoying a much-deserved vacation. Today I’d like to share with you a fast and simple tutorial for how to make fabric rosettes.

 The supplies are simple: a hot glue gun and fabric scraps.  Here I have used the end of a remnant 44″ long cut to about 1-2 inches wide.  This is not an exact science, feel free to experiment with different lengths and widths of fabric to change the final dimensions of your rosettes.

Okay, lets get to work!

 1. Find the end of your fabric and fold in half with your pattern on the outside. (Please excuse my horrible hangnails-I’m a nail-biter!)

 2. Begin rolling your fabric tightly to form the center of your rosette.

 3. After the rosette center is the size you want (I rolled mine about four times around) start forming your petals by folding the fabric down at a 90 degree angle.

4. Twist the tail of fabric as you wrap it until it is again parallel with the floor.  Secure with a dot of hot glue.

 5. Continue to fold and twist securing every few petals with hot glue as needed.

6. Stop twisting when you have about 1-2″ of fabric left at the end.

7. Fold the tail of fabric over and glue secure to the base of your rosette.  I like to use a bit of glue here to ensure it does not unravel. Don’t worry about the strings from the fabric edges-it adds to the appeal of these little rosettes. 

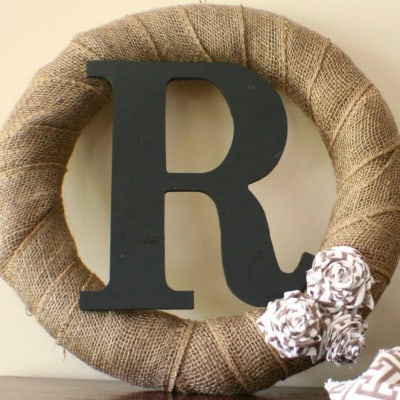
That’s it! You’re all done! Once you get the hang of it these are super easy and fast to make.  These look great on necklaces, headbands, and so much more.  I used these particular rosettes on my recent burlap monogram wreath.

Thanks again Anna for letting me stop by and guest post! I hope you all enjoyed this fast and frugal tutorial.  If you’d like to see more of my projects please visit me over at The Happier Homemaker.
Crafts// Guest Bloggers

About Anna

"Hi, I'm Anna! Wife, mother, child of God, and the founder of Ask Anna. I have always enjoyed cleaning, organizing, decorating and helping people, so I've put that all together on the pages of this blog. I truly hope my tips help you in your home and make sure to contact me if you have a question!"

« 6 Habits That Keep Your Home Clean
Organizing the Hall Closet {Guest Post!} »

Comments

  1. Sarah @ fancyco.blogspot.com says

    August 22, 2012 at 9:25 am

    What a cute idea! It looks easy enough, but I would still probably manage to burn my fingers.

    • Anna says

      August 22, 2012 at 6:43 pm

      Oh yeah, I always burn my fingers! 🙂

    • Melissa @TheHappierHomemaker says

      August 22, 2012 at 8:25 pm

      I most always burn my fingers too-but a little pain is a minor tradeoff for these cute flowers!!

  2. Betsy(@coastal-colors) says

    August 23, 2012 at 7:39 pm

    I had no idea how to make these and am thrilled to learn! Thank you for a great tutorial! I love this idea and your wreath looks great!

  3. {oc cottage} says

    August 24, 2012 at 12:29 pm

    so, so very cool!

    m ^..^

Some of my Most Popular Posts

  • How to Clean Between Oven Glass
  • How to Clean Window Tracks
  • How to Clean Water-stained Shower Glass Doors
  • How to Organize Paper Clutter in less than 30 min
  • My Favorite Moscow Mule
  • How to Clean Glass Shower Doors
  • How to Paint a Straight Line
  • How to Update an Ugly Bathtub
  • How to Clean Cloudy Glass Vases

Meal Planning Tips & Free Printables

Free Printables

Print 35+ Printables for your Home!

Meet Anna

Hi, my name is Anna, welcome to my blog! I have always loved to help people, and my desire to help my friends and family clean, organize and decorate their homes, is what started this site. Read More…

Don’t Miss a Thing!

Visit my other blog

Copyright © 2023 · Savory theme by Restored 316

Copyright © 2023 · Savory Theme on Genesis Framework · WordPress · Log in · Disclaimers · Privacy Policy