I have lots of friends that are photographers and after doing my share of photo shoots with them I have learned that the key to getting good pictures is… light.
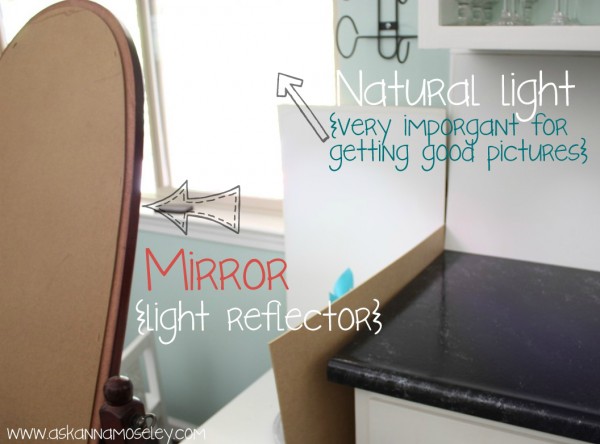
Have you ever seen a photographer doing a photo shoot and they have one of those silly, round foil-looking things? Well that’s a light reflector. Light is the key to good pictures but without buying one of those foil-looking things how can you get the best lighting for pictures at home? My answer, a mirror. I have this ugly mirror {that I’ve been dying to redo} in our bedroom and it’s perfect for aiding me in my picture taking. I can tilt the mirror to exactly the angle I want so it’s perfect for capturing the natural light from my windows!
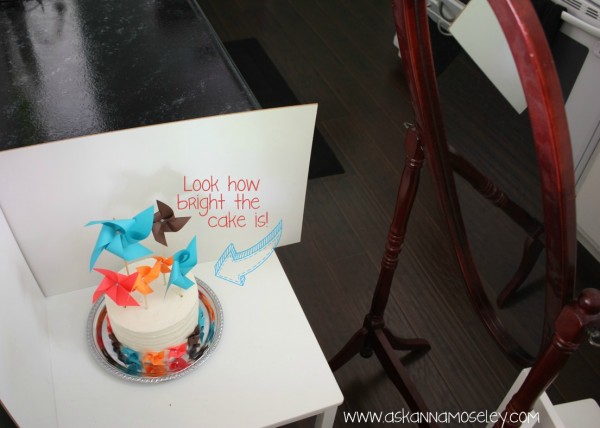
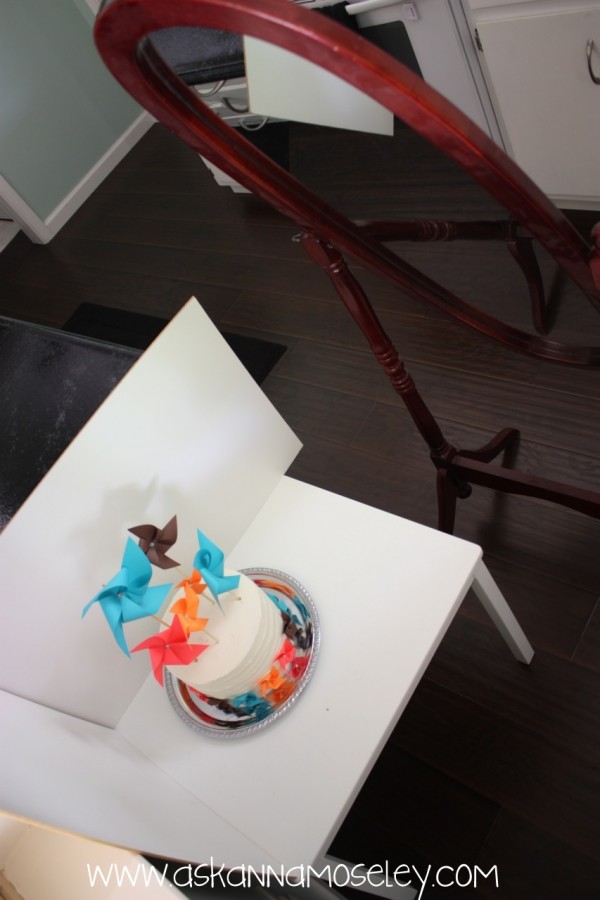
Remember my Pinwheel Cake? All the pictures on the original post were pretty, but this is what you didn’t see behind the scenes. I used two white boards behind the cake so that I’d have a clean background, then I brought my mirror in from the bedroom and set it up to reflect the sunlight down onto the cake.
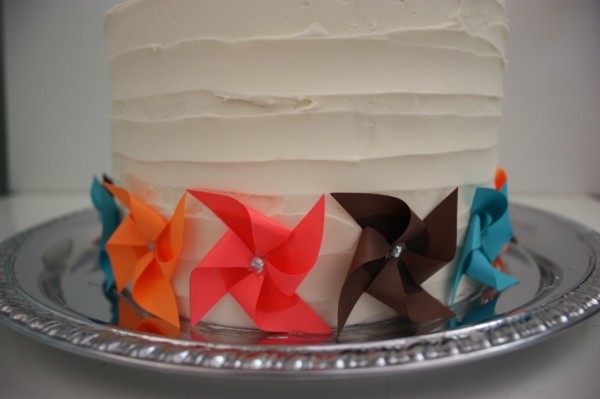
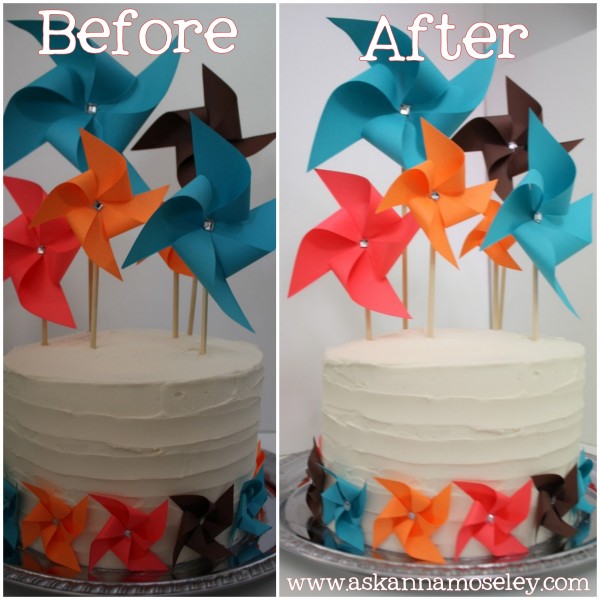
Here’s what the cake looked like before I brought the mirror in.
And here’s a picture I was able to take after I brought the mirror in; it’s a big difference! These pictures are totally unedited so that you can see exactly the difference it makes to have the light reflecting onto your object.
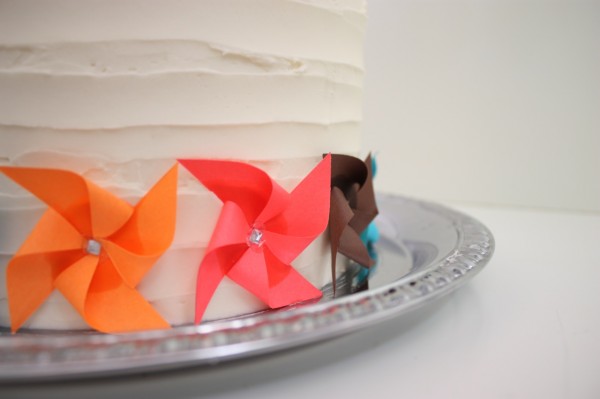
In this picture I was playing around with the mirror to see how bright I could get the cake. You can see that in the picture below the shadows aren’t as noticeable as in the picture above. After finding this light “sweet spot” was when I took most of my pictures.
Just remember, no one is going to know, or see, how goofy or ghetto your light reflecting set up is, all they are going to see are incredible pictures! So don’t feel silly dragging a big mirror around the house or moving tables around to get the best shot possible. Your husband and kids might think you’re nuts, but that’s okay, it will keep them on their toes! 🙂
Before and after adding light to the object {totally unedited pictures}
Oh my gosh, I’m SO going to use this! Thank you so much! Pinned!
Thanks for the tips! I try to get the natural light, but end up with funky shadows sometimes. A mirror would help I think. I will have to give a try this weekend 🙂 Thanks!
Well…. I have not cared what they thought so far 😉 What’s a mirror added to the mix? LOL!
Thanks for sharing this Anna. I have a mirror I use also. My go to set up is at the kitchen table in the middle of the day. I get the best light inside if I need it. Do you have any tips for taking pictures inside at night? Often I work on projects after the kids go to bed, and there is no natural light, but if I am doing a tutorial, I have to take pictures of my process. They always come out crappy because the lighting is so bad.
love it! I think I need to get some poster boards too 🙂
Good job Anna. I just got me a light reflector!
Thank you so much for sharing this. I don’t have a lot of natural light in my home so this tutorial will come in handy!
Thanks for the tips!! We are really trynig to learn more about great photos and this one is fabulous!! 😉
I wanted to ask what is your definition of ghetto?
Haha, I don’t really have one, it’s just an expression that we use a lot here in California. 🙂
Thanks so much for posting this. All of my photos look like your “befores” and even worse. I live in an old house with poor lighting and have struggled to improve my photos. I did buy a new camera and I’m so excited to see what a difference it will make. I’m going to try your method, especially when I try to photograph food.