I am so excited about the project I’m sharing with you today: how to make a message board! When I started thinking about how I was going to makeover my office, the one think I knew I wanted was a message board. I searched all over Pinterest and didn’t really find anything that I felt would fit my needs exactly, but then I found this great message board on Pottery Barn Teen and knew it was “the one”.
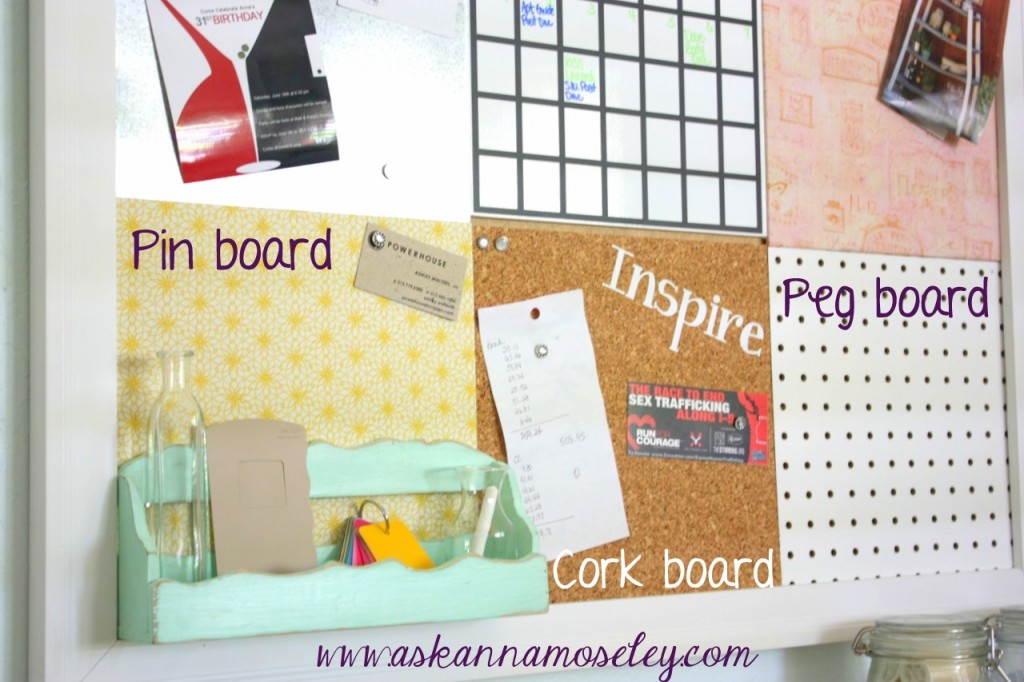
The great thing about this message board is that you can totally customize it to fit your needs. Each 12″ square can be something different, which is awesome! For my board I decided I wanted a few tack boards, corkboard, a chalkboard, a magnetic area and a pegboard. I also really wanted a calendar so I made a dry erase calendar in the middle of the board. That is what I knew would work for me but you can do any combination of those things to make it just what you want!
Here’s what you will need
You will also need a few tools:
*Table saw
*Steel cutters
*Staple gun
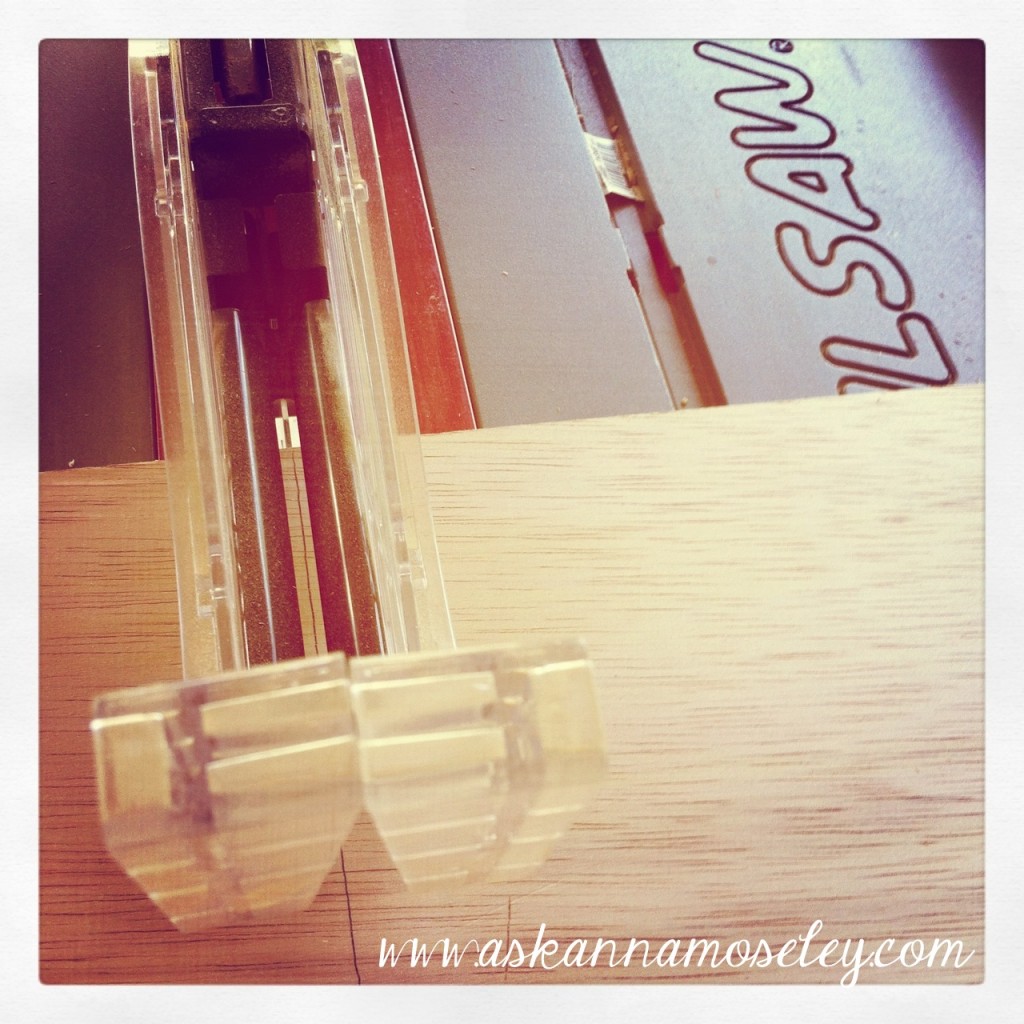
Matt was out of town when I decided to start this project so I got to learn a few new things, like how to cut wood with a table saw.
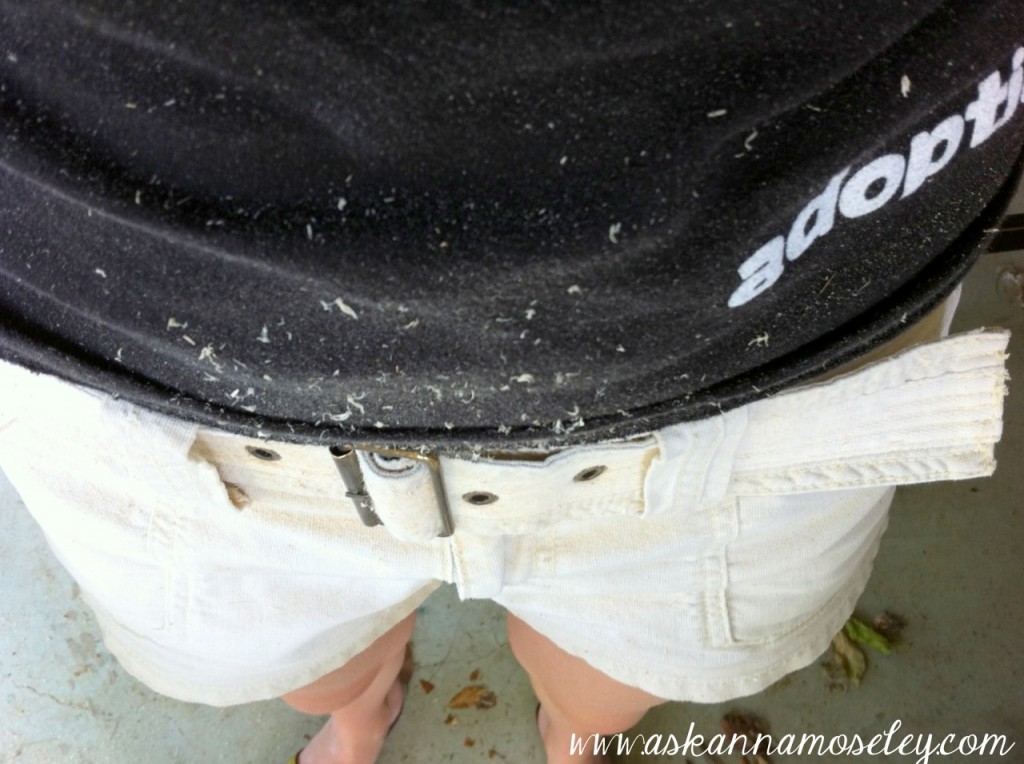
It was a lot messier than I thought it would be! I will no longer be cutting wood wearing a black shirt! 🙂
Before you start cutting you will need to know how big you want your message board to be. I knew I wanted variety so I decided to do nine 12 inch squares. You can do however many works for you though, that’s the beauty of this project!
Step 1: Cut all the pieces into 12 inch squares: tack board, steel and pegboard. If you want cork board you can purchase 12″ squares here.
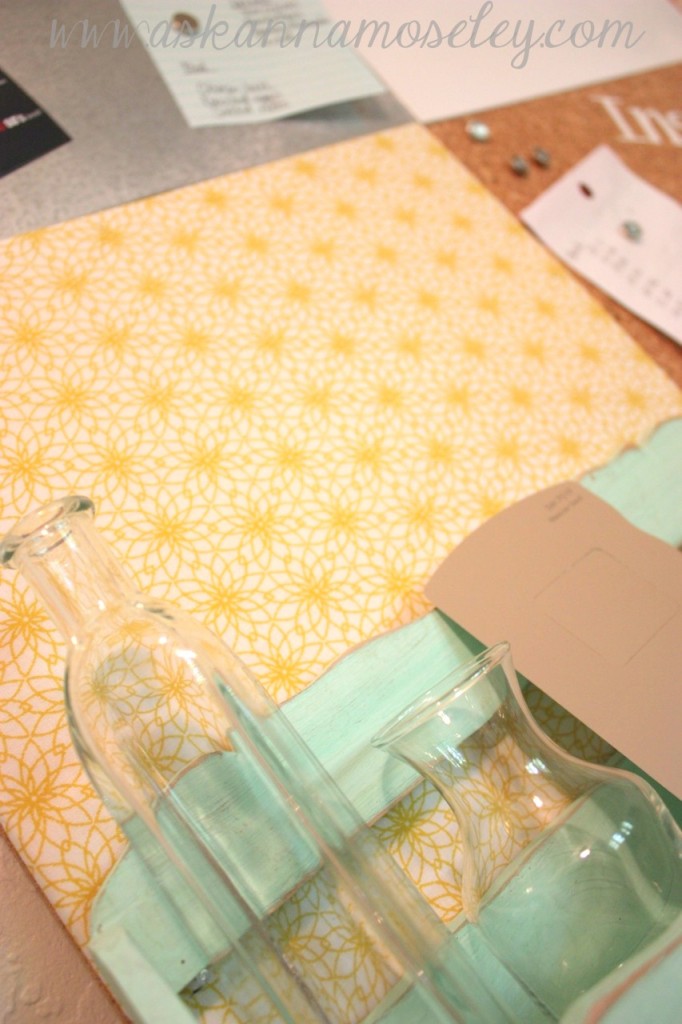
Step 2: Decorate the squares however you’d like! For my message board I used 5 pieces of tackboard. I covered 3 of them in fabric (using the staple gun), painted one of them with chalkboard paint and then covered the last one in dry erase paper. I also had fun with one of the cork board squares, I painted it a solid color and then painted on a stencil. Be creative and make your message board reflect you!
Step 3: The next step is putting all the pieces together. Because I know we aren’t going to be in our house too much longer I wanted my message board to be portable. This is totally optional but I purchased a separate pegboard and attached all my squares to the board using 3M’s Heavy Duty Mounting Tape {I love that stuff!}. If you plan on being in your home for awhile I would say just stick the squares right to the wall using the mounting tape.
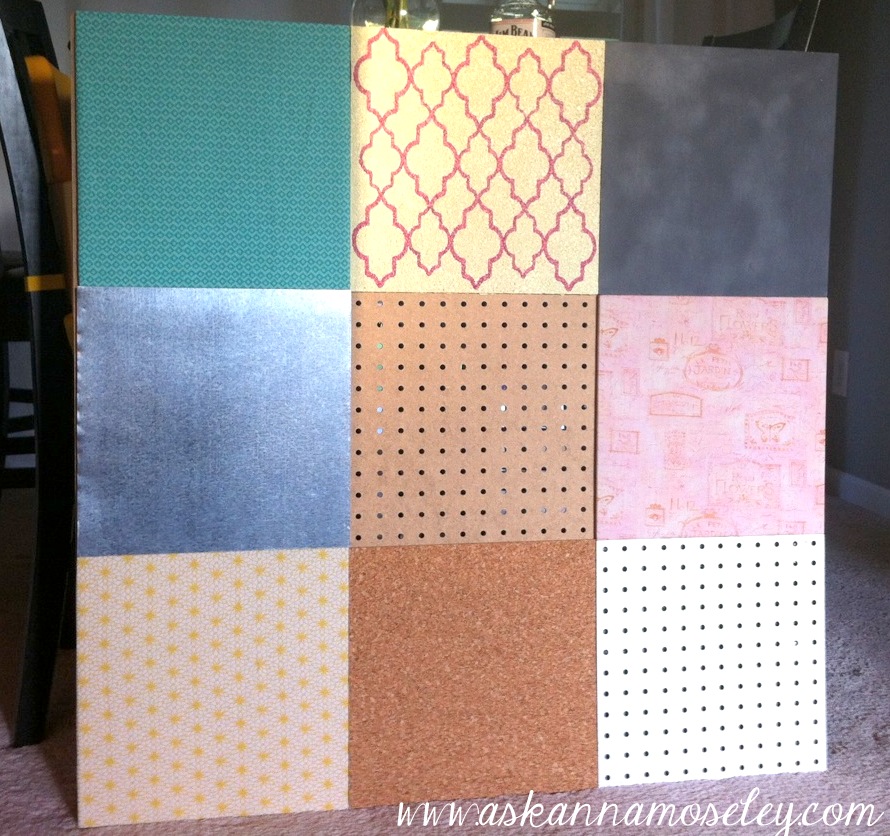
Here’s what mine looked like after I had put {almost} all the squares in their places.
Step 4: Frame it! Purchase inexpensive molding at the hardware store and frame out the message board. I didn’t get any pictures of my husband building the frame because I was painting my office for the big reveal {you’ll see it tomorrow}! Once it is framed it’s ready to accessorize! Again, have fun with it and make it you!
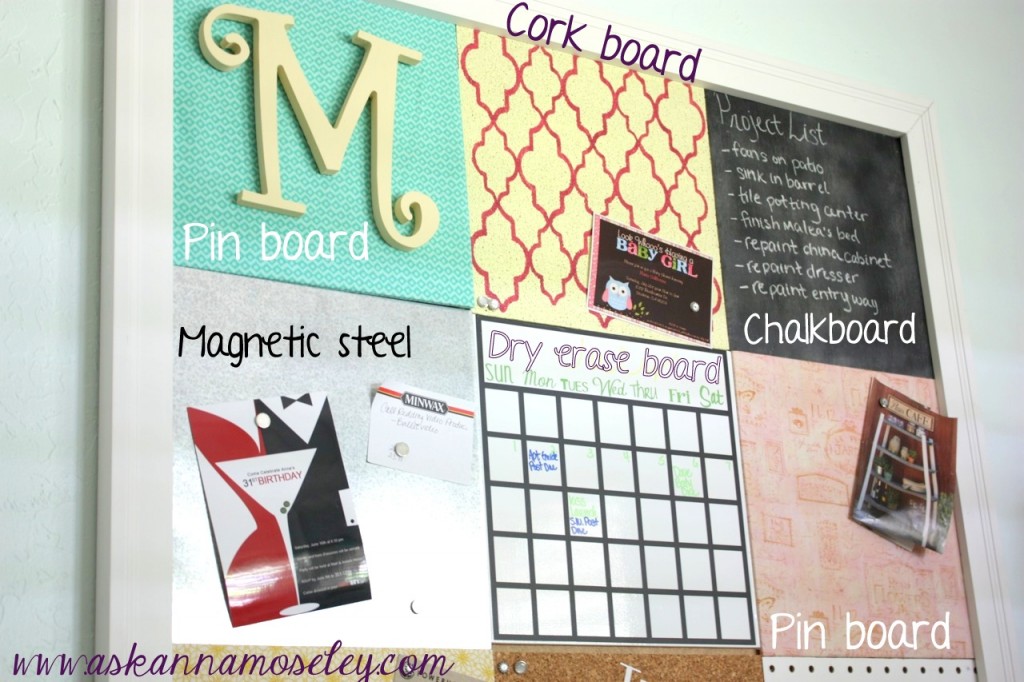
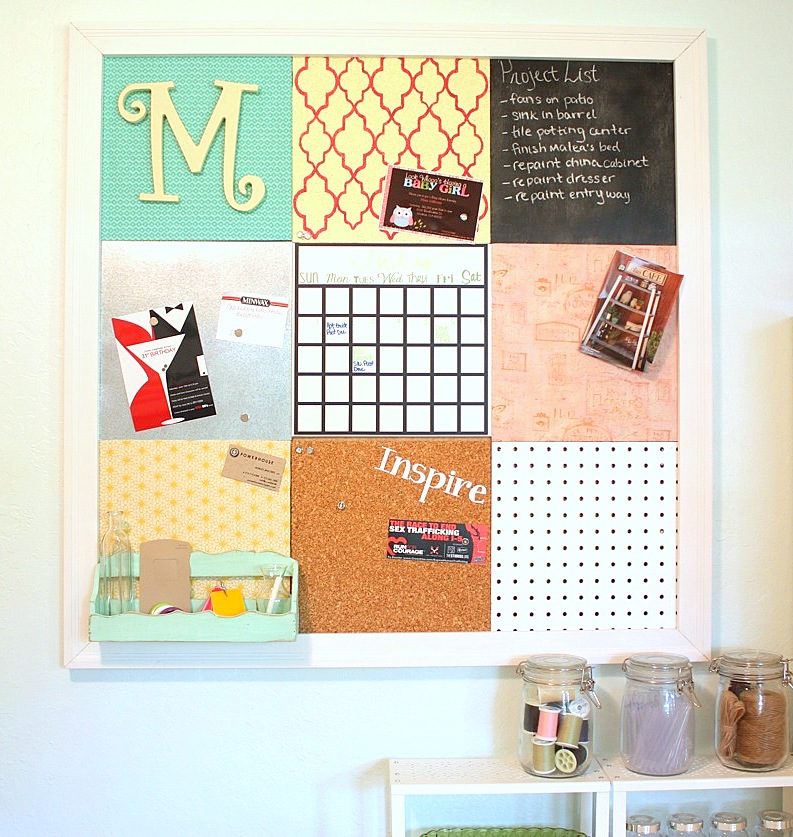
Here is how my message board turned out:
You can see I had a lot of fun accessorizing mine! 🙂 I can’t even tell you how much I love my new message board! {I love it!} Not only does it look cute but it’s super functional and it’s a great place for me to post ideas, lists, inspiration, etc. It also keeps me organized with the dry erase calendar, which might be my favorite part about the whole thing… I’m not sure, I can’t decide.
Do you have a message board at home that keeps you organized? If not I hope I’ve inspired you today to make your own!


This is fantastic – you did a great job.
This is fantastic…already pinned it on Pinterest! Looks like “pin board” is just the tack board itself covered in fabric….wondering if just cork board covered in fabric would function the same?
Absolutely, that’s a great idea! 🙂
Anna
Brilliant!
Thanks!
I love this.
I want to find a really exciting adjective to describe it.
Ummmm……got nothing.
Will you settle for WOW!
You are a rock star!
🙂 me