It is summertime! And for some strange reason, we spend more time in our car during the summer. Whether we are going somewhere in town or going on a road trip, we seem to use our car more in the summer. So, I have road-trips on the brain lately. I am hoping to make a quick trip down to San Diego to take our girls to the beach and the zoo later this month. And to get ready for the trip, I started a series on traveling with kids on my blog Simple.Home.Blessings.
There are lots of things to consider when getting ready for a road trip with kids. One of the major ones is getting the car clean. So, the other day, I took a deep breath and set about to clean both of our girls’ car seats. It is not a crazy difficult task, but it does take some time and patience. And each car seat manufacturer has different features for their seats, but here is a basic tutorial for how to clean a car seat.
The tools:
- vacuum with crevice attachments
- a stiff bristle brush
- small bucket
- dish soap
- toothbrush
- baking soda (if needed)
- a lint roller (if needed)
- steam cleaner
- a thick cloth rag (I used a cloth diaper)

The process
1. Remove the car seat from the car and vacuum the seat to remove evident crumbs and messes, using the crevice attachments, as necessary.
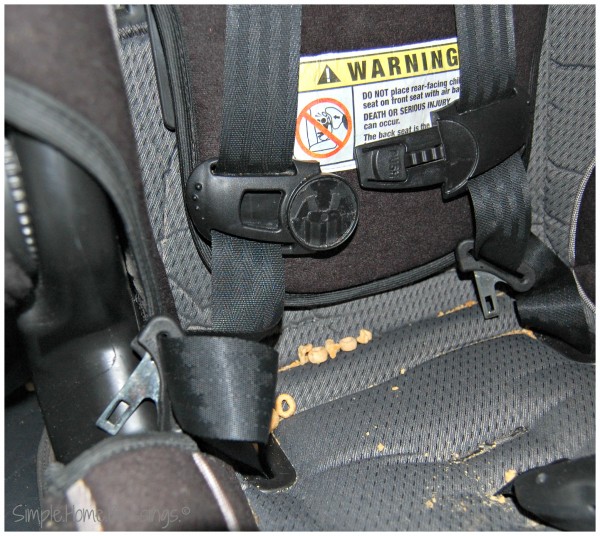
2. Get ready to take the seat apart. You will want to remove the straps, the buckles, and as much of the cloth seat cover as you can remove. As you are doing this you will want to keep in mind how you are taking it apart – it will help tremendously when you go to put it back together. You may not be able to remove every piece of the cloth seat cover, but you should be able to remove the largest part of it.
NOTE: Do not attempt to remove the straps that secure the seat to your car, the anchors. If these are dirty, spot clean them with the toothbrush and soapy water.
3. As you take apart the seat, you will discover crumbs in places you couldn’t even imagine they could be. Use your stiff bristle brush to brush these away and dispose of them. Also, you may need to use a lint roller to pick up hair. Our youngest has really fine hair. The pillow and headrest on her car seat looked like a cat has been sleeping on it for a couple of days. The lint roller quickly removed the majority of the hair and prepped the surface for the next steps.
4. Fill your bucket with warm soapy water and toss the buckles in. Let them soak while you work on the next step. And then toss the toothbrush into the bucket to get it ready for use in the next step.
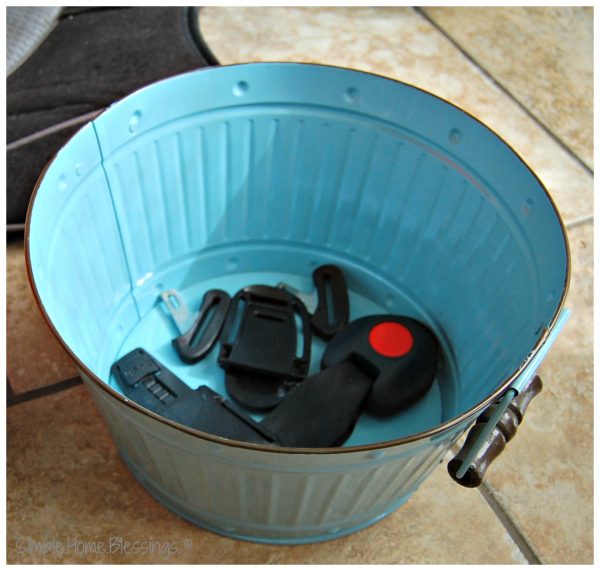
5. Begin with a small section of the seat cover and gently brush the fabric with the toothbrush soaked with soapy water. You will want to brush the entire surface of the car seat in sections. You do not want to soak the material, just surface clean it. The fabric should dry very quickly. As you work on the seat cover, you will want to focus on the seams and piping. This is where all the crumbs and dust go to hide.
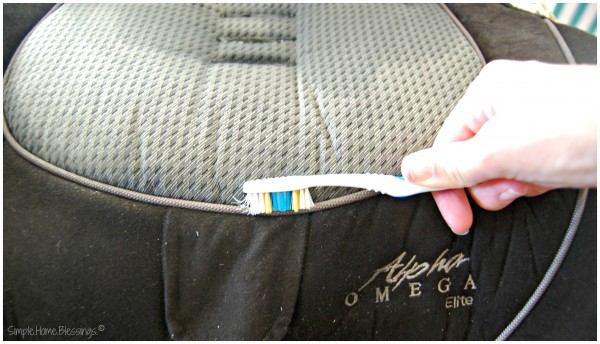
NOTE: If you have major stains, you will want to consult your owner’s manual for stain-cleaning instructions.
6. Remove the buckles from the soapy water and brush them clean with the toothbrush and rinse thoroughly. Spot clean the straps with the soapy water and the toothbrush then place them all on a drying rack (or pad).
7. Return to the stripped down car seat and brush away any off the excess dust and crumbs you see on the surface of the seat. Use your steam cleaner with a cloth over the wide attachment to steam away any more grime. Follow the steam cleaning with a wipe down of the surface with a clean thick cloth.
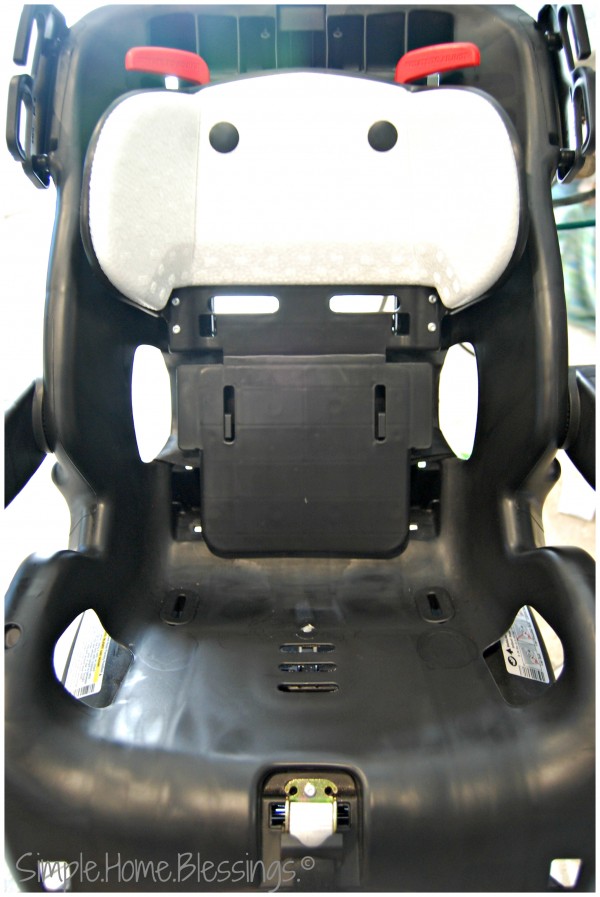
8. Return to the cloth seat cover and run the steam cleaner over the surface of the fabric. If you have a seat that has odors (likely from potty training accidents), you may want to sprinkle some baking soda over the surface of the fabric before applying the steam. Also, it may help to put the seat cover back on the car seat before you steam clean it, so you can get to all the surface area easier.
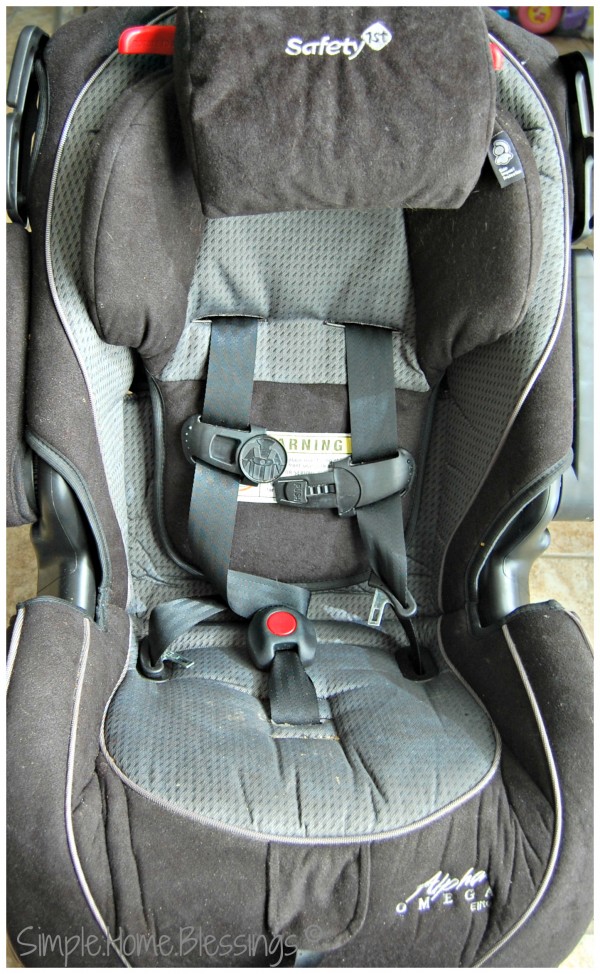
Every part of the car seat should be clean at this point, but you still have quite a task ahead of you: putting it back together. I recommend putting the cloth seat cover back on, first. Use the non-brush end of the toothbrush to assist you in getting the fabric back into tight crevices. The next item you should put back in is the big buckle. Give it a really good tug after you put it back in to ensure it is secure. Next is the strap and harness. This is where it is a little different for each car seat; use your memory of taking it apart or check the owner’s manual for help. Our owner’s manual featured a diagram only a third year engineering student could understand, so we actually referred to our other car seat for guidance.
Now that your car seat is all clean, you will want to put it back in the car, making sure it is securely in place and installed properly. I recommend cleaning your car seat seasonally (or four times a year). It is, as I said, a task requiring patience and a bit of time; but I think each time you do it, it should get easier. Once you know how the puzzle is put back together, you should be able to do it quicker.
Are you getting ready for a road trip this summer? Please check out my series on Traveling with Tots for more tips for getting ready for the road. Have a fun and safe trip!
NOTE: This is a cleaning tutorial that we’ve put together to make it easier for you to clean your car seats but please make sure to always refer to your car seat manual for specific instructions on what is/isn’t okay to get wet and was is/isn’t okay to take off of your specific car seat. Thank you!
Leah
* This post contains affiliate links
Just a friendly note that most car seat manuals state that the straps should not be submerged in water. Everyone should follow their own gut on things like this, but your readers may want to know that there can be risks associated with the practice (compromising the integrity of the fabric and making them more likely to fail in an accident), and it can void the seat’s warranty.
Hi L,
I did look through my manufacturer’s manual and it said that this was OK. I will say, that I soaked it for less than 2 minutes, so it didn’t have a ton of time to get fully saturated. Also, I tried to make the distinction between the straps for the harness and the straps for the seat itself. I hope that was clear. If the straps for the seat need cleaning, I recommend surface cleaning. As I noted, each car seat is different, but if you aren’t comfortable with submerging the straps in water, using a toothbrush to surface clean works well, too!
Thanks for your comments!
Also, You can just remove the straps, run the cloth part through the washing machine, hose down the plastic part, and wipe the scrub the straps with a damp cloth. Much quicker and easier.
I also want to point out the safety concern involving washing the straps. I am mid process of cleaning my sons car seat which brought me to your blog via Pinterest. I’m done cleaning the plastic parts with the help of the manual-which goes even further and reads: do not Lubricate OR immerse the buckle or any part of the child restraints belt. It suggests that it can be wiped with a cloth dampened with soap and water the dried immediately with a soft cloth.
Luckily I just learned this before I read this and/or started cleaning the car seat. Some people might overlook this so I think it’s appropriate that this article Is updated to note this information. The article is well-meaning and everyone likes to do a Thorough job cleaning but I think this is important to mention. Also, in case not everyone reads comments. Thank You 🙂
Hello! I came across this article on Pinterest! The only thing that concerns me is the bit about soaking the straps in soapy water. Really, car seat straps should always be wiped down with a damp cloth to be cleaned. Submerging them or using soap compromises the integrity of the fabric and usually voids the warranty… not to mention it’s not worth compromising a child’s safety. Just wanted to comment in case you weren’t aware. You may want to change that section seeing as many of those reading this article probably won’t be aware of this information. Thanks for reading!
Thank you, I have made some edits and added a disclaimer to the bottom of the post.
Baking Soda and steam cleaning are not okay for ANY seat. Using a bristle brush will start fraying the belts, and makes the seat unsafe! Most manufactures also don’t allow submerging the buckles, and the ONLY THING you can use on straps in your car or on your car seat is a damp cloth(with just water), or a baby wipe!
I’ve always tossed the fabric seat cover into the wash and wiped down the seat with disinfectant wipes. But I’m mostly dealing with booster seats, which are much smaller. I did this with my infant car seat as well.