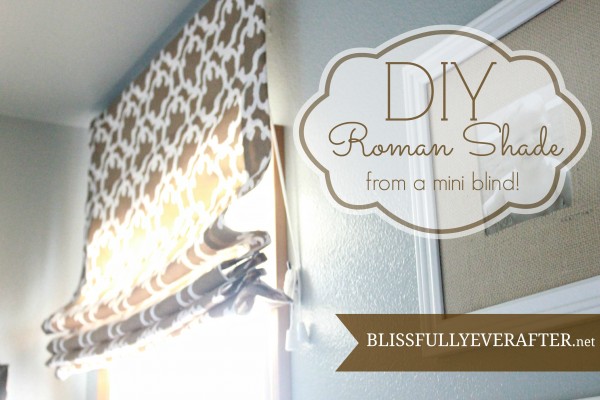
In the new year, one of my 2013 home goals is to complete projects that were started but unfinished {can we say procrastination here… ahem} from 2012. I like to think of myself as organized and put together…. but when it comes down to it, I like to take on a lot of projects… like every time I’m on Pinterest I start a new project and then rarely do all of them get finished. SO, long story short, I’m happy to report that all of my unfinished projects from the nursery, main bathroom, and laundry room are FINISHED! Today, I am going to show you how I was able to finish the main bathroom by making a DIY Roman Shade {tutorial} with a Target curtain panel and cheap-o mini blinds!
Here’s what you’ll need for this step-by-step tutorial for how to make a roman shade:
* 1″ slat mini blinds {we picked ours up at Lowes for around $5} in the size you need for your window {our window needed at least a 29″ blind because I wanted the blind to be an inch bigger than our window on each side which measured 27″}.
* Fabric- You want to make sure and purchase enough fabric to cover your blind and then have 3″ extra fabric left over on each side of the blind. For our window, I needed 2 yards of fabric. I found my fabric from a curtain panel at Target {I just looked online and don’t see it offered anymore…sorry!}
* Fabric glue
* Scissors
* Iron
Step One:
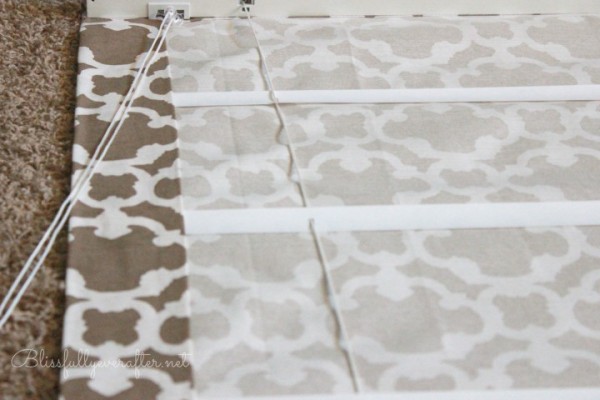
Take your mini blinds and lay them on a flat surface fully extended…preferably tile or wood flooring or a large craft table. Now this is where you can customize your roman shade. Everyone’s shade will be slightly different depending on the size of their window and how far apart they want each slat. This is where you will begin to cut slats out of your mini blind leaving ONLY the slats that will be staying and being glued to your fabric. MAKE SURE NOT TO CUT ALL OF THE SLATE OFF like me…not like I did that on my first try not thinking…or anything! You will also cut all of the “ladder looking” strings as well but make sure to the leave the thicker middle string that connects the top and bottom of your mini blinds.**You can make the slate you will be keeping with a pencil or marker so you will remember not to cut them. I ended up keeping 5 slate for our roman shade. Since the length of my fabric is 42″ inches, I spaced out the slats every 7 inches. {Sorry I am a goof and forgot to take pictures of this step…I got a little excited…but if you scroll down you can see how I have my mini blind set up after cutting the slats, removing them, and getting it ready for the following steps}.
Step Two:
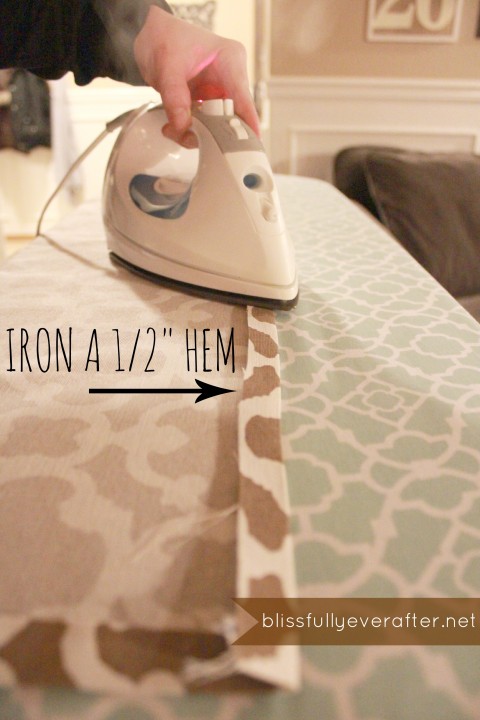
Now you will lay out your fabric on a flat surface to cut it. Side note: If you are doing a no sew curtain, then I recommend ironing a 1/2″ hem around the perimeter of your fabric and glue it with fabric glue. This will give your shade a finished/professional look. You can also sew a 1/2″ hem using a sewing machine as well. After you’ve created a nice hem, lay your blind on top of your fabric and move to step 3.
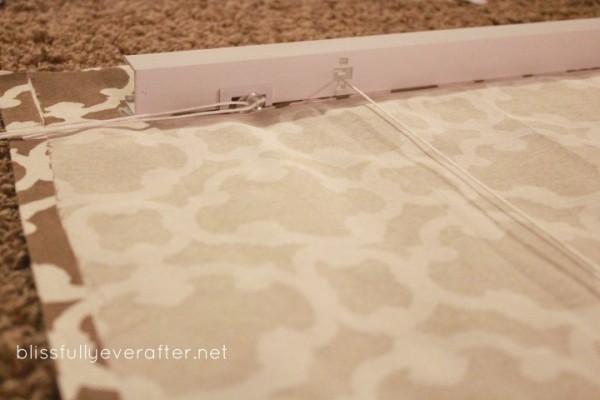
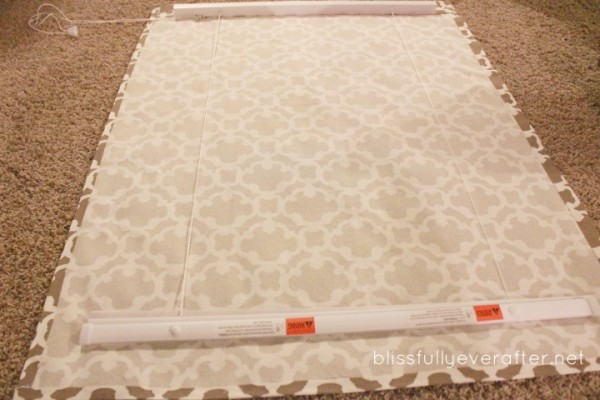
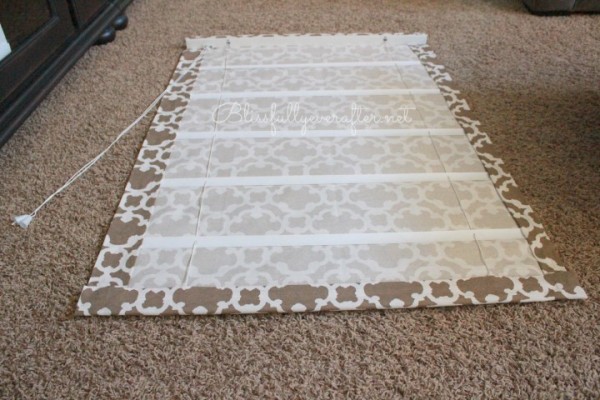
Here my mini blind is laying centered on my fabric after I hemmed the fabric with fabric glue. I’ve spaced it evenly so there is about 3″ of fabric all the way around my mini blind.
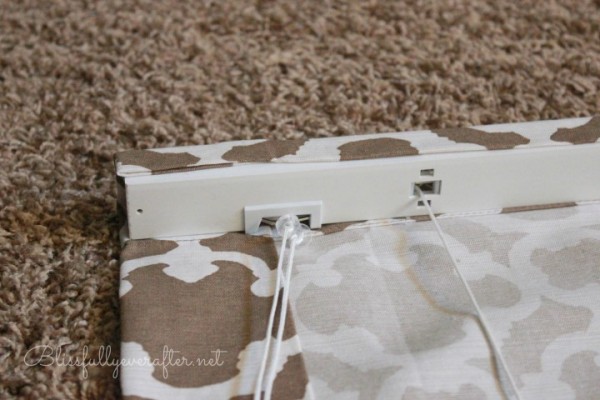
All of my slats are towards the bottom of the mini blind…don’t worry we will glue them next. Side note: do you see that little “button” on the base of the mini blind? That can pop off allow you to trim the middle cords that connect the top and bottom of the blind down to the desired length of your window. You will just want to make sure and retie a not and pop back on the button to secure the cord in place.
Step Three:
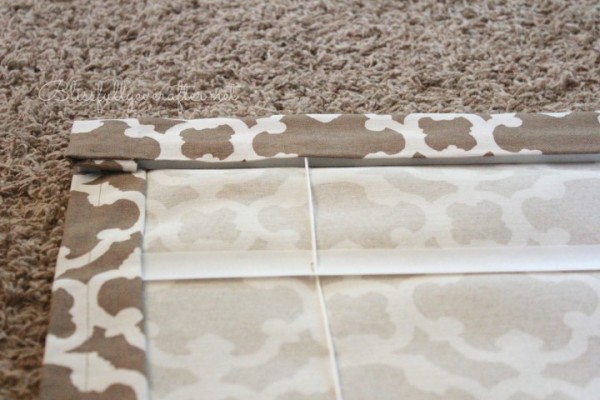
Now it’s time to glue. A couple tips I have for you during this step is to make sure that your blind is centered on the fabric {I know it sounds like a no brainer but sometimes the blind can shift during the gluing process}. Glue the fabric to the top edge of the blind first so that everything will be nice and tight and centered. Make sure not to glue fabric over the sides of the top bar of the blind because you will need to install the blind onto the brackets in the window. You also want to make sure not to glue down any of the cords, particularly the one that lifts the blind up and down!
Glue the slats to the fabric and then let the glue dry for about 15-20 minutes. I recommend lying something heavy on top of the slats while they are drying to make sure the glue sticks nicely to your fabric. Big books will do the trick!
Now you can glue the bottom piece of fabric up and over the bottom part of the mini blind {the base} and let it dry.
Step Four:
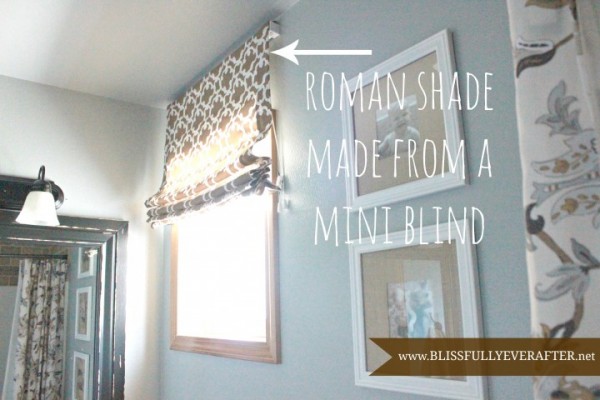
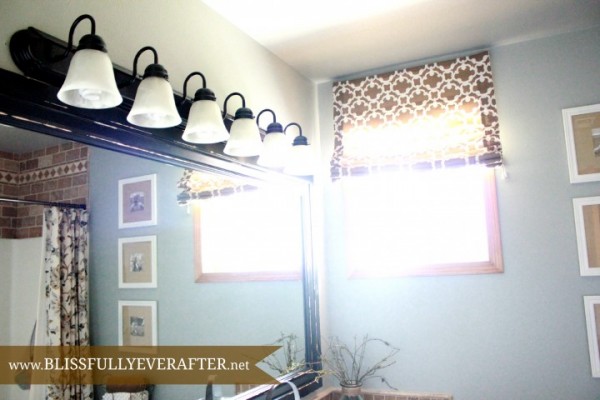
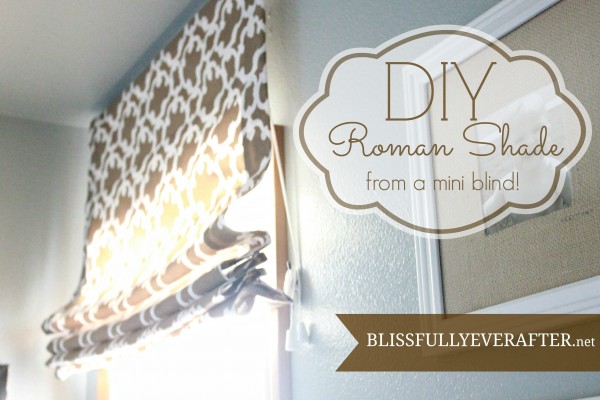
Finish off your DIY Roman Shade by ironing the sides of the fabric so the edges are nice and crisp. You’re done! You should have something that looks like this….
I have been looking for fabric to complete this project for awhile and after much searching online…I came across a curtain panel at Target and knew it was the fabric I’d been searching for. It was perfect and coordinates with my shower curtain perfectly!
I am just in LOVE with the results! Honestly, what I truly love about this DIY Roman Shade is that I was able to get the exact look I wanted for a fraction of the cost of purchasing a custom roman shade from a retailer. This project took about 2 hours to complete from start to finish but it was well worth it! Total cost for this project = $24
Are you looking to make your own DIY Roman Shade? If so, where will you be putting it? Let us know in the comments below and good luck!
Cheers!
Facebook | Pinterest | Instagram | Twitter | Google+ | YouTube

This is beautiful. I hope to do something similar in my master bathroom. Thanks for inspiring me!
Thanks Anna I tried this for my living room window it looks so great everyone askd where I bought it.and I just I got it from Anna on pinterest. Isn’t it lovely thank you! and thank anna for inspiring me.
Oh yay! Thank you for coming back to share that with me, I’m so glad everyone loves the way it turned out. 🙂
What a wonderful idea! I’m confused about where the slats are in the first picture that shows the layout of the project. Did you temporarily remove them?
Oh, sorry, I just reread it and understand it now!
Thank you so much for your instructions on the Roman Shades… I am so going to make them!
Seriously, thank you so much for the wonderfully detailed tutorial!! I just finished a roman shade for my daughters room following your instructions……it turned out beautiful!!
This sounds like just what I need to cover a doorway in a walk-through guest room. I will hang it a few inches above the door so that when it is drawn up, it will not show in the next room. I need an idea, though, about making it presentable on both sides when it is down–some way to cover the slats. I thought about gluing/sewing a strip of fabric over each slat. Will this mess up the folds when it is drawn up?
Hi Anna, do you think this would also work if I put a lining behind the fabric. I love the way it looks, but was hoping for a little more blocking of light.
Absolutely! I always like adding a lining, especially in a bedroom or west facing room. 🙂
I would highly recommend using a liner or outdoor/sun resistant fabric, which unfortunately costs more. The sun will eventually bleach the color on your shade over time. This happened to my MIL who actually had a window treatment made from a store and it faded over time. If you like to switch things out often you may not need to worry about it. fabric{dot}com has some * beautiful * patterns, but they are probably expensive. I have no knowledge of pricing.
This looks really neat. I think this is the perfect project for me…. it is also in my price range… thank you so much… this is perfect.
Everything worked ticketyboo…..except the glue. I used Aileen’s tacky glue, thinking it was the best all purpose crafting glue I have. I also had to use an aluminum blind as it was the only one at Home Depot that could be cut (that day). The glue dried well to the fabric, but peeled off the aluminum blind like scotch tape. Maybe make a recommendation so others don’t learn as I did. I used Aileen’s “Jewel it” with no problem.
Very useful tutorial! Thanks, Anna!
These look great Do they hold up well if opened and closed every day?
Is the pull cord on the back or front? I also had the shade pull right off of the fabric, but will try the glue recommend above. Getting frustrated…not good!