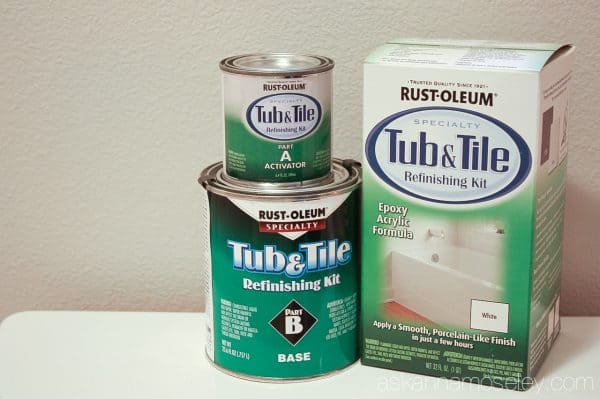
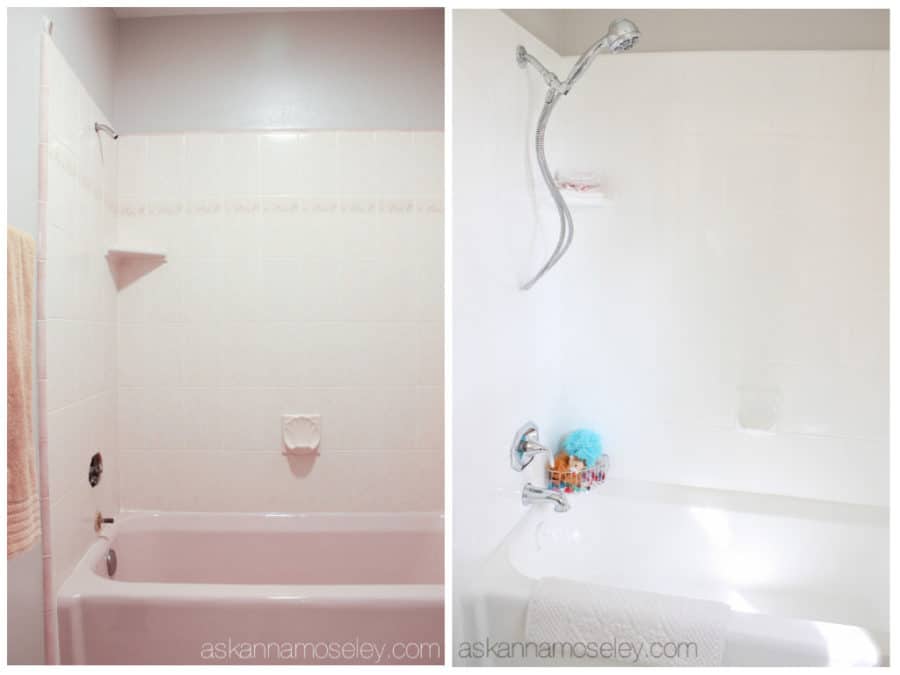
A few years ago, I posted about my bathtub and tile transformation with Rust-Oleum. In my original post, I showed you how I updated my old (pink!) bathtub for less than $30 and I had a ton of people asking questions about the project and how Rust-Oleum works. Even now, I’m still getting questions! So I thought the best way to answer all the questions you have is by writing an FAQ post.
If you have any questions at all about my bathroom update or about Rust-Oleum in general, I hope they’ve been answered below. If you still have any other questions, feel free to comment on this post and I’ll get you an answer!

Rust-Oleum Tub & Tile Refinishing Kit FAQ
How has the product held up over time, and has the paint peeled anywhere?
After a few years, I only have a couple little places that started chipping – and to be honest, I think it’s whatever my new housekeeper was using to clean the tub at the time, because I had never had any problems before. So I’m back to being the one who cleans the tub. Even after having a couple little areas peel (and I mean little – less than the size of a pencil eraser) I would still do it all over again. It looks SO good and it’s 100 times better than the old pink tub!
Interested to see how well the paint held up after a year? You can see that video here.
Do you know if this product covers rust or if we’d need to buy some other product to repair the rust first, and if the product you used will work on top of it?
I would email Rust-Oleum and ask them about the rust issue. My guess would be that you’d need to treat the rust first, maybe sand it off, but once you got rid of it you could definitely cover it with this product.
Does this only work on tile or can it be used on fiberglass?
It would work on any tile, ceramic or fiberglass tub/tile. If you use this on fiberglass, just make sure you give it a good sanding/scuff up, as per the directions.
Did you have to do any sanding, and what did you use to clean the tile and tub before painting?
I used sandpaper to scuff up the bathtub surface. You are really just looking for a clean, rough surface that the paint can adhere to. I used the powder version of Bar Keepers Friend to clean it. The directions on the box are very specific so you’ll know exactly what to do.
Did you just paint over the grout between the tiles on the wall?
Yes, I even painted over the grout lines so that I wouldn’t have to worry about cleaning the grout anymore.
What did you do with the drain? Did you just paint over it?
Yes, I painted the drain because it was easier and cheaper than replacing it!
Did you use only one box to cover the tub and walls twice or did you need two boxes?
I finished 90% of it with one box. I probably could have stretched it but I had 2, so after I finished, I did an extra coat with the second one.
Did you use a foam roller?
Yes, I used a small foam roller (like this one) to paint the tile and tub. The directions on the box tell you exactly what you will need for the project.
Do you have to remove the old caulk?
Yes! It’s important to remove any/all old caulking because otherwise, the product won’t adhere properly. I re-caulked once the paint had dried and it made the tub look brand new! You can see my tip for caulking like a pro HERE.
Will it work on tile floors?
It has a gloss finish so I wouldn’t put it on the floor – it would be too slippery.
How well does the Rust-Oleum hold up in a bathroom that is used everyday?
This is our upstairs bathroom which is used as my daughter’s bathroom, as well as our guest bathroom. It is used for baths at least every other night, and it has held up really well. Again, you can see how it held up after a whole year of use in this post!
Any tips on how to clean the tub from soap and grease without killing the shine after you’ve used the Rust-Oleum kit?
I use an all-natural cleaner and a soft-coarse sponge. I clean ours every other week and after all these years, it’s still shiny.

I hope this page helped answer your questions but if you have one that wasn’t listed please leave me a comment below and I will do my best to answer it for you! Overall I have been so happy with this product and the transformation it made in our bathroom, and I definitely recommend the Rust-Oleum Refinishing kit if you’re looking to transform your dated bathroom!

This post contains some affiliate links, for your convenience. Click here to read my full disclosure policy.
Love this update! Thank you! This is so helpful! laura
Can I use this on a plastic tub
I don’t think so but I could contact the product manufacturer because they could give you a definite yes or no. 🙂
Hi Anna :-). I painted my bathtub three days ago with the Rust-Oleum kit – following the directions to the letter – and it looks amazing! The difference is night and day, and I’m so glad I decided to tackle painting it. The only hiccup that I ran into, is that I should have purchased two kits, because the second coat of paint got extremely feeble towards the end.
I immediately ordered another kit (which comes in tomorrow), but I’m not sure what kind of prep work I have to do (if any), before adding a third coat of paint to that same tub.
Any idea if I can continue painting it, as if there hasn’t been a few days pause in-between coats, or might I need to pretend I’m starting from scratch, and go through the entire scrubbing and sanding process again? Any suggestions would be greatly appreciated – thank you! 🙂
Yay, I’m so glad it turned out so well! Yes, a second kit is important to have on hand, just in case. I only used a 1/4 of mine but I was glad I had it. If you haven’t used the tub at all, and you already have 2 good coats down, I would say to just continue the process when your second kit arrives. If you have been using the tub then you will need to make sure to clean it and sand it down a little, to make sure to get rid of any soap scum/residue. Good luck!! 🙂
I’ve used this kit before on the tub only and just used it a second time on the tub and tile surround. It’s great but my white caulk has turned out appearing grey. I thought it might be because my caulk was an inexpensive HD kind so I went to a tile store and bought a ‘whiter than white’ expensive caulk and I’m having the same issue. Did you run into this?
No, that’s weird! I don’t know what to tell you. 🙁 I’m glad your transformation turned out good though!
We have an older white bathroom tub that had several scratches and a rusted drain. Being an older tub we could not find a proper drain so we sanded up the original as best we could nd put it back. I asked at a local store about Rust-oleum and was given a spray can and told it would do the job. I had earlier herd about Rust-oleum and assumed it would be OK for our use. A member of the family took over the job and taped off the surrounding area and walls and scrubbed the tub.
He sprayed the tub. After that coat dried it was noticed that the whole interior and exterior were pebbled and the scratches were faint but still there. We talked about sanding the second coat but decided to let it dry completely and see what happened.
Nothing happened, it was still pebbled quite evenly.
Any suggestions? Although it sounds like a lot of work would sanding off the pebbles and using your bathtub kit do the job?
That does sound like a lot of work but unfortunately I think the answer to your question is yes. :/ Maybe if you go back to the hardware store they might know of another option but it sounds like you either need to do a really deep sanding job, or maybe just replace the tub. Sorry I can’t be of more help.
Would you recommend use on a bathroom counter top? If not, would you have another suggestion?
Thanks!
If the bathroom countertops are tile you could use this product but I wouldn’t use it on any other material. Rust-o-leum has a countertop transformation product, I would look into using that since it’s made to stand up to normal countertop wear and tear. Hope that helps. 🙂
Hello – we used the tub and tile product (2 coats). There are little air bubbles everywhere. I read that this is somewhat normal but over night nothing has changed. Do you have any suggestions?
Hi Nicole! I’m so sorry you have the little bubbles, I haven’t experienced that. The only thing I can think of is that it was probably from the type of roller you used. Did you use a small foam roller? If you did 2 coats the product should be good and hold up well, but if the bubbles are going to drive you nuts, then I’d suggest a light sanding and then another coat of paint. Let me know what you end up deciding to do, I always like to know, in case I every have another reader with the same issue. 🙂
Hi Anna,
The link to the small foam roller that you used does not work. Is this just a plain, ordinary small foam roller used to paint walls? Thanks for your help on this.
Sorry about that! Yes, just a normal small foam roller, you can get them at Lowe’s, I just like to provide a link to give a visual reference. You will need to purchase a couple of them though, when I’ve used the product, I’ve always needed at least 2 rollers.
Hi Anna, I’m interested in this. Did you wear a 3M respirator mask or anything like that to do this project?
Yeah I wore a mask. I just actually painted the master shower in our new house and when I started I didn’t have a mask on. After about 15 min my lungs were burning so I stopped and put on a mask. It’s a great product but it is stinky!
Hello,
I live in Csnada and just painted my shower tiles with this product. Today was the 3rd consecutive day of drying but…..there are some tiles along the side of the shower that are still Not Dry/sticky.
What should I do?!
It should be dry by now so maybe there’s just too much moisture in the room. Try bringing in a heater or a fan to warm up the room and dry it out.