I’m in the process of painting our kitchen cabinets, which I’m sure you all know, is a HUGE undertaking. The cabinets in our kitchen are original oak cabinets from 1991, and frankly they just aren’t my style. In our last house we painted our 1965 orange cabinets with the Rust-Oleum Cabinet Transformation kit and they looked fabulous. However I knew using the cabinet transformation kit wouldn’t work this time around because I really didn’t want to see the wood grain in the finished product. I don’t have anything against cabinets that have been painted, and you can see the grain, it just wasn’t the look I was going for in this kitchen.
So I started doing some research to see how I could get smooth white cabinets, when starting out with dark, heavy grained, oak cabinets. After searching the internet I discovered the easiest way was to hire someone to do it for you. Over and over on people’s blogs I read that they had hired someone to do it. Don’t get me wrong, there are TONS of people that have painted their kitchen cabinets, but no one that had done was I was looking to do. The best thing I found was this post that gave a detailed description of how her contractor had done the process. With that in mind I started thinking about how to hide wood grain on cabinets, doing it myself. I decided to contact 3M to see if they had any type of wood filler that would be good for a project like mine.
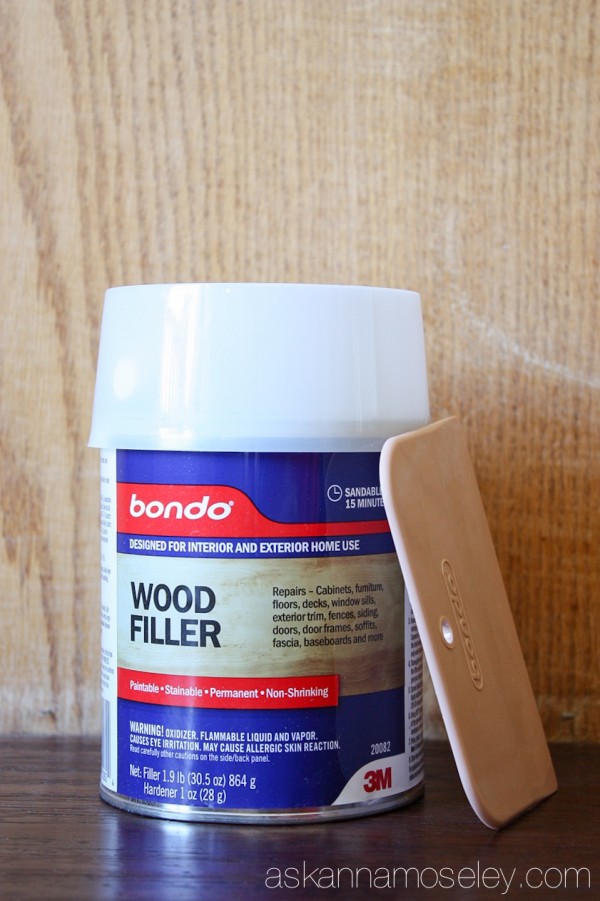
They ended up sending me the most heavy duty wood filler I’d ever seen, it’s amazing stuff. “Bondo Home Solutions Wood Filler rebuilds, restores and replaces rotted or damaged sections of wood on doors, windows, fences, furniture, shutters and more. This wood filler is the best choice for repairing any wooden item in or around your home. Once dried, it can be sanded, shaped, planed, drilled, routed or sawed just like wood. This durable product is formulated to accept stain and paint more naturally than most wood filler products.”
To get started I sanded down all of the cabinet bases, to get the top layer of gloss off.
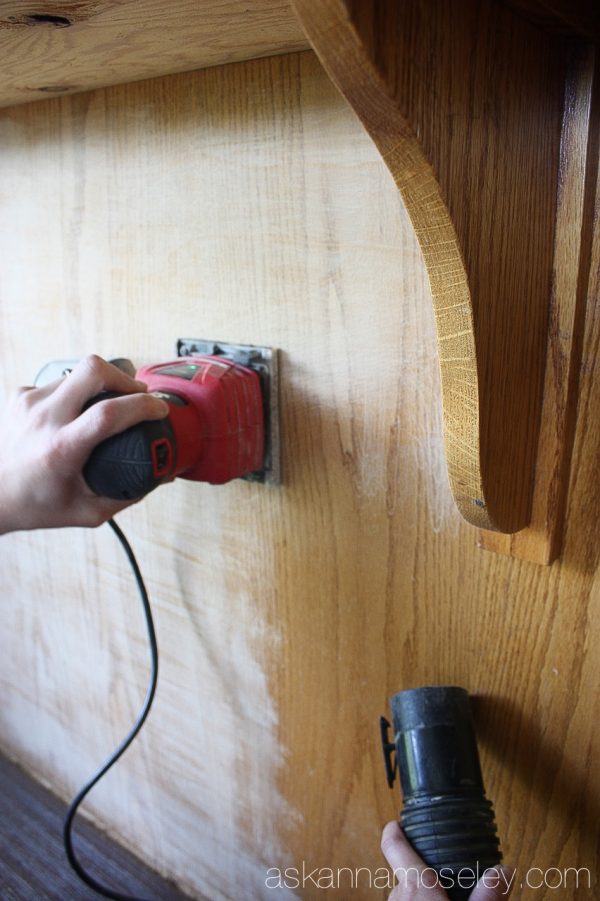
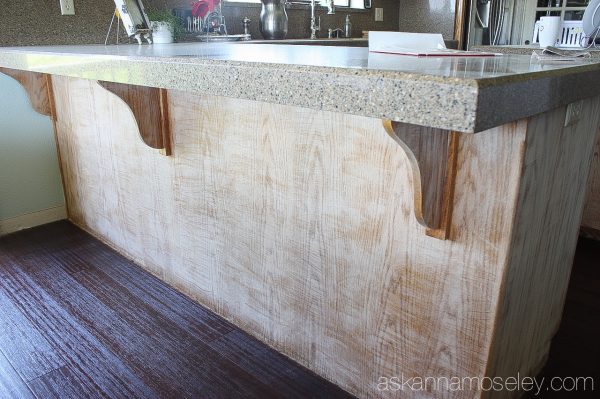


Once the cabinets were “scuffed up” a little I started applying the Bondo wood filler. I worked in small sections at a time, applying with a Bondo spreader. I tried using a trowel but it was too stiff and made the product harder to apply. With the wood filler you can only cover a couple feet of cabinet at a time because the product hardens pretty quickly, so it was a very tedious task but I knew it would be worth it in the end.

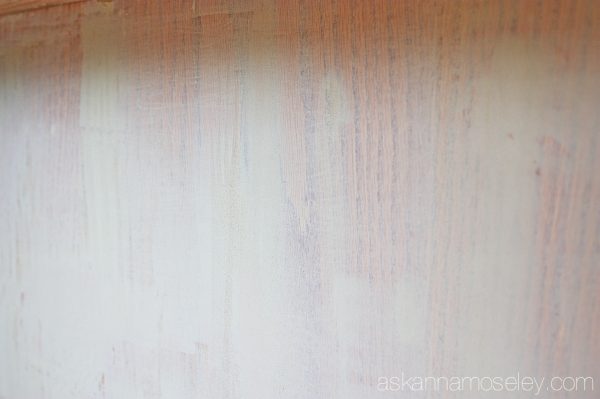
As I moved along I got better at applying the product, but in hindsight, if you are going to do the same thing to your cabinets, I would recommend trying the application process on something else first, until you get the hang of spreading the product, and how much/little you need. You can see in the top picture how it’s a little too thick, and how I applied it much thinner after that.
After I got the hang of how the product should be applied, it went pretty quickly, but it was still tedious. I didn’t mind though because I just kept thinking about how beautiful my cabinets were going to be when they were done. 🙂
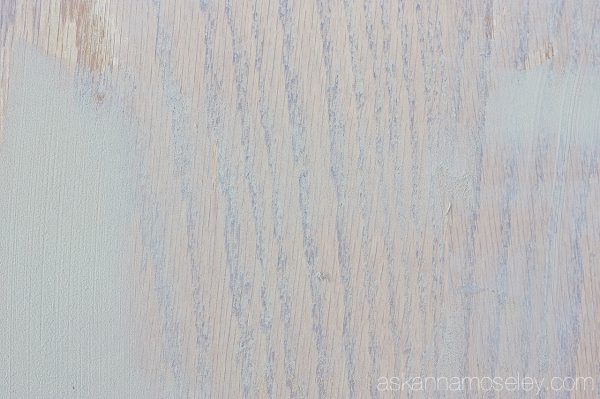
It’s amazing to see how the Bondo product actually works, look at the picture above to see how well it fills in the grain. It’s truly an amazing product!
To complete all the bases in my kitchen, as well as one upper cabinet, I used 2 containers of Bondo Wood Filler. When I had finished applying the product to all the cabinets, we let it dry over night. The next day we sanded all the cabinets down again, in preparation for priming them.
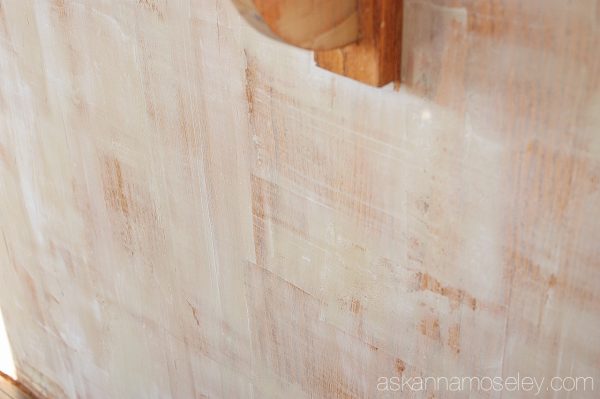

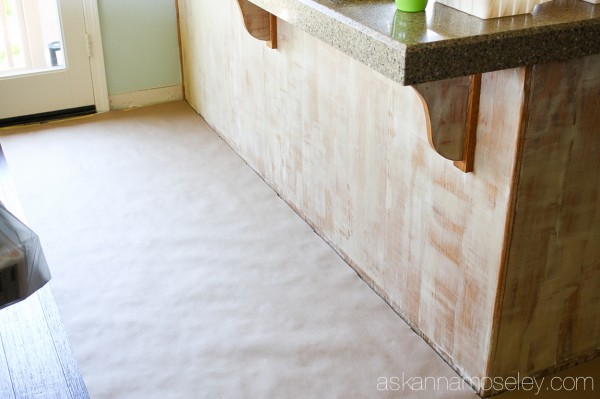
Overall I ended up with a very nice, smooth surface. In places I had applied too much product (when I was still learning how to apply it) there are some uneven surfaces, but it still looks much better than if I hadn’t used the wood filler.
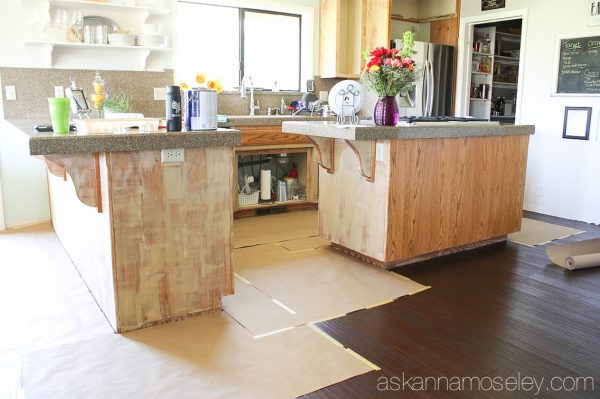
Now the kitchen is all prepped and ready to paint! There is lots of priming and painting in my near future. 🙂 Phase 2 of the makeover coming soon!

NOTE: The Bondo Wood Filler product is amazing, however it has a very strong smell. I recommend using this product when you can have the windows open, and wearing a mask while applying and sanding it.
Product used:
Great tip! I used this stuff to repair a broken cabinet door and am amazed at how well it works – you’d never know the door was broken! Never thought to use it for filling wood grain though. You’ve got my wheels turning now. 🙂
Heyy Anna im actually using this product right now to do the same exact thing i was wondering what would you recommend I do for the detail areas on my cabinet doors it goes around the door maybe an inch away from the edge you know it has like two indented slopes or whatever maybe brush on the bondo. I also heard of a product called Bondo Glazing and Putty. Might pick some up to see how it is to put on. Thnx for your post ?
Looking forward to part 2! I’m thinking of doing the same thing and am happy to have your tutorial and advice. (I am happy to learn from your trial and error too!) 🙂
Your kitchen is my kitchen except for the island. Even the counter tops are identical to mine! I’ve been trying to think of a remodel that wouldn’t cost thousands of dollars and this is it!!! I probably will hire someone to refinish the cabinets but I will provide the product. Hopefully, my dark oak cabinets will be reborn in the near future!
Hi! Love all the info as I am looking to do this myself. How did the cabinets turn out after paint?
They turned out amazing! Here’s the link to my post – https://askannamoseley.com/2014/08/black-and-white-kitchen-makeover-reveal/
I refinish kitchen cabinets professionally. Using wood filler is wrong approach, it`s messy and waste of a lot of time. I always when working with oak I roll on few coats of heavy primer and sand the last coat lightly till smooth surface. Works perfectly every time.
Eby, What is the name brand of primer that you use?
Why not use a wood grain filler instead of wood filler? The wood grain filler is different in that it does in thinner so it’s easier to apply and is made specifically for filling in the grains of porous woods like oak.
Good to know! Thank you. 🙂
Thnx
Hi Anna, I’d love to see a picture of your cabinets after you painted them. Is there a Part 2 to this story? -Monica
Oops…just saw the link above. Beautiful!
Hi, I’m Anna’s assistant, Bethany. I’m so glad you found the link! Have a great day! 🙂
I’m going to be taking on this project next month so I’ve been doing a lot of research online! I love what you have done… but I was wondering… why not just purchase the Rustoleum kit and the Bondo wood filler… do you think I could get both and get the same results? I would just have to sand since I would be adding the filler
Hi Anna, Amazing job!!! You did exactly what I want to do!! Thank you for all your information. I do have a question, does the paint have any shine to it or does anything need to be applied to keep it from chipping or is it made so no chips would be made ?
Thank you very much,
Rita
There’s no shine to the product and it was easy to paint right over, however it’s a bit of a bear to put on. My cabinets look great but just a heads up, it was a lot of work. 😉