Today I’m going to tell you about Malea’s new closet organizer from EasyClosets. Working with EasyClosets to design the most efficient closet for Malea was a wonderful experience. They have an awesome website that allows you to design your own space, or have them design it for you.
Since I’m a control freak I decided to design my own closet but what I learned is that I’m not an expert closet designer {wink}. After designing a closet {that I thought was good} I was able to work with one of the designers, over the phone, that took my “good” design, to amazing!
Here’s the plan that he helped me come up with.
I’m not going to lie, at this point I was thinking, maybe we should do my closet instead because I want that closet! But as much as I wanted it for myself, I knew I needed the extra storage in Malea’s closet. Kids’ closets can be so hard to keep organized because not only do you have clothes, you also have toys, school work, toys, seasonal clothes, clothes in sizes that don’t fit yet, toys… the list goes on. The designer at EasyClosets helped me design a plan that would give me enough storage for all of those things and more!
After placing my order the shelves, drawers, rods, etc. were all cut and shipped the next day! It’s a good thing they ship so quickly because I couldn’t wait to get it installed!!!
Here’s what Malea’s closet looked like before. It was in desperate need of some organization!
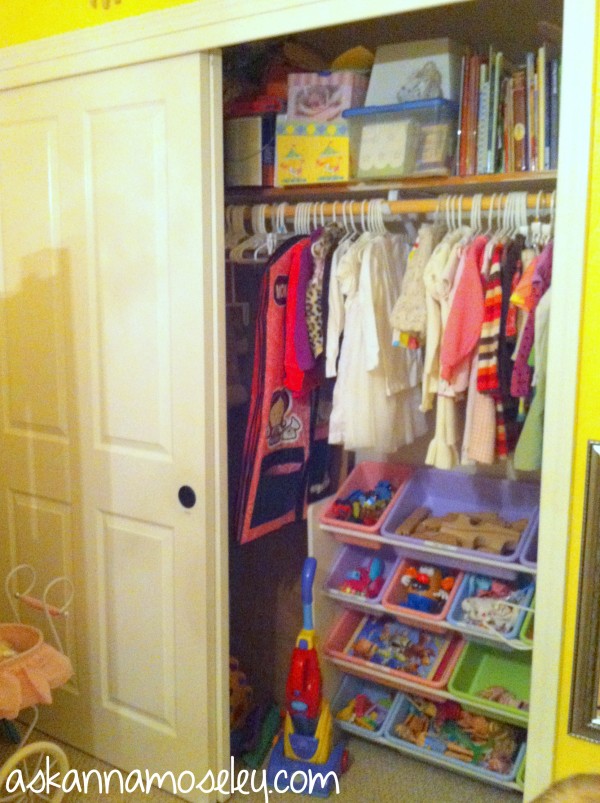 {picture taken with my phone, sorry for the poor quality}
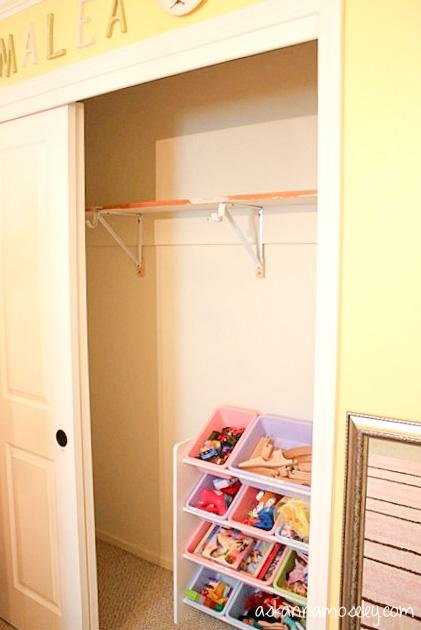
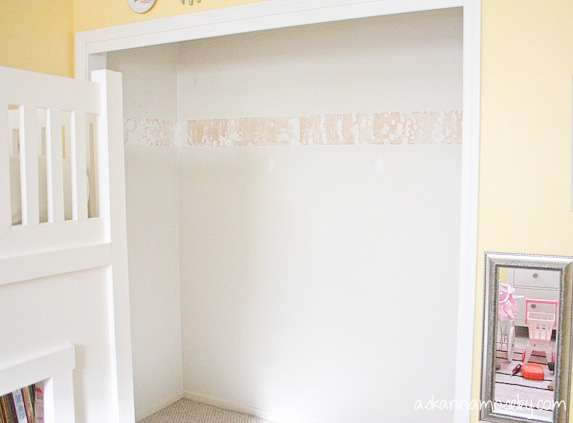
After saying one final goodbye to the huge mess in her closet I cleared it out to prep the closet for her new, very organized, closet design!
No more mess!
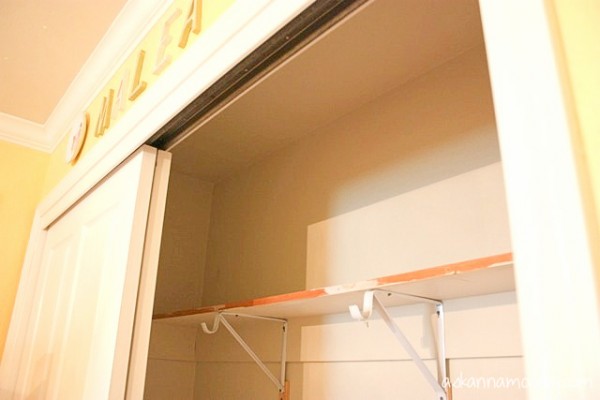
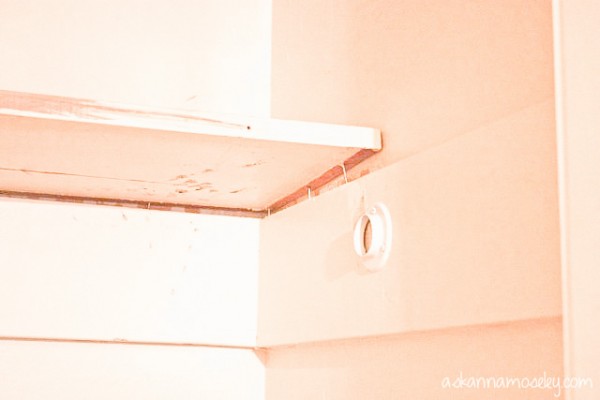
We removed all the old shelving that was original, from the 60’s. The nails in the boards look dangerous!
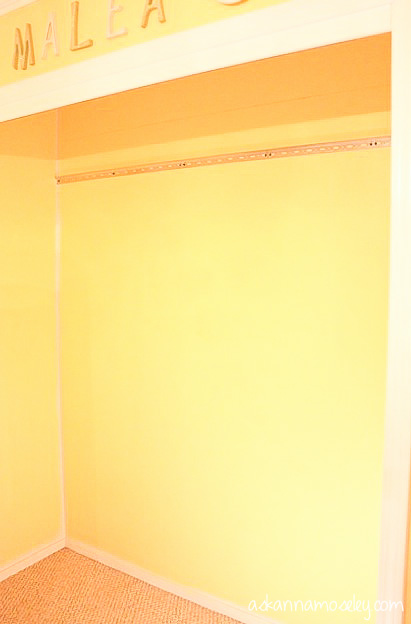
At this point I was feeling so much better about the closet already! Since we removed the doors I decided to paint the inside of the closet because I didn’t like the way the off white looked.
I think the yellow walls are so “happy”. {smile} Once the walls were dry we stared installing the closet.
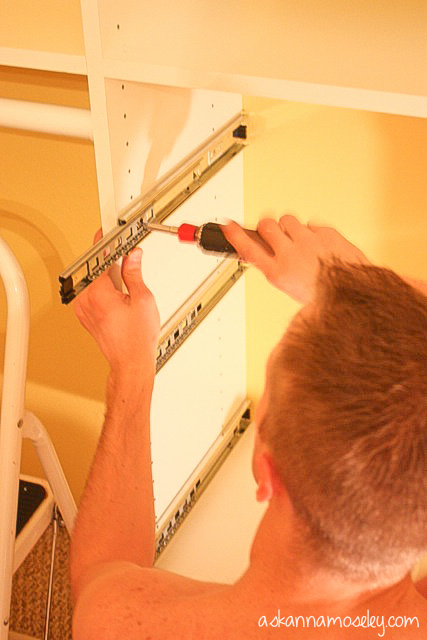
The installation process was easy and only took us about 4 hours, from start to totally finished and everything put away. (The pictures are a little “off color” because we did the installation at night and the lighting was terrible). The first steps are to install the track and the wall mounted panels.
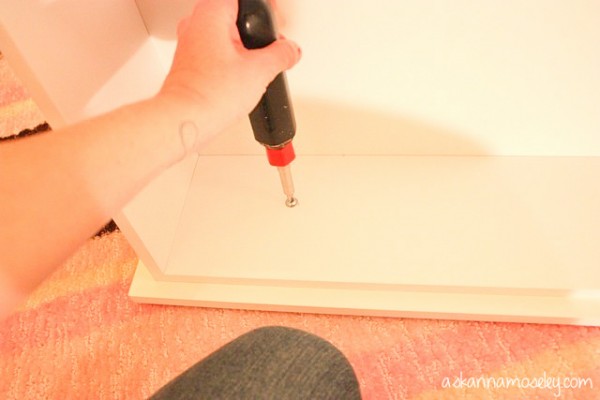
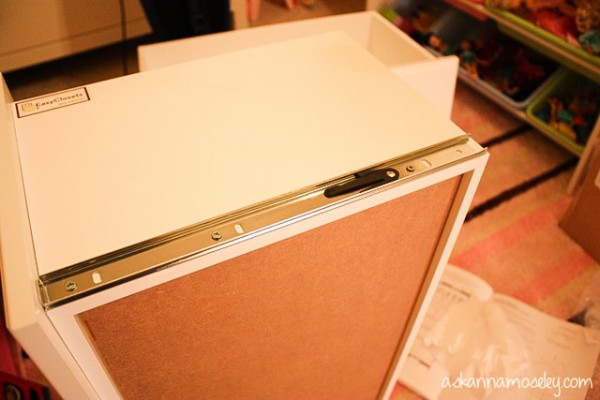
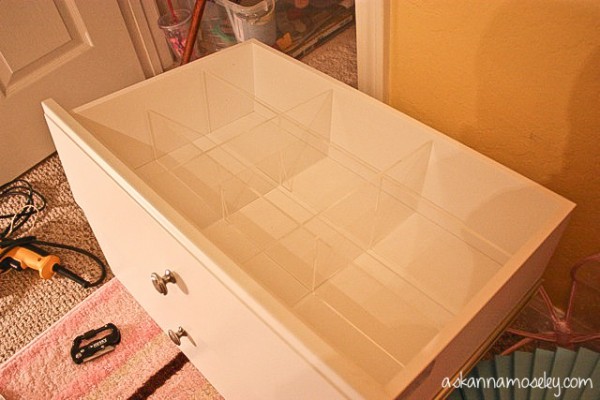
While Matt worked on those I put together the drawer faces and installed the tracks on the drawers and baskets.
I also installed the Pantyhose divider, which I planned on using to divide her toys. A suggestion from the designer that I wouldn’t have thought of!
Next Matt installed the tracks on the wall mounted panels.
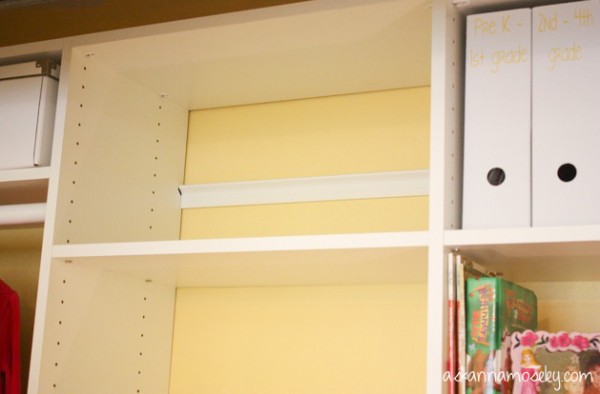
The very last step in the process was to install the track cover. This gives the wall track a nice, clean, finished look.
After completing the installation process I put together a list of pros and cons for you.
Pros:
1. It was affordable! I’ve always thought that custom closets had to cost a small fortune, and using other brands you really could spend a small fortune. However when I spoke with the designer at EasyClosets I told him I wanted all the perks without spending a lot and that’s exactly what I got. I’ll show you all the perks and tell you the price tomorrow in the full reveal… oh the suspense!
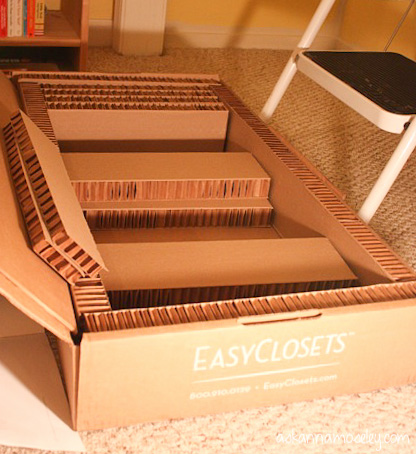
2. Everything came very well packaged. I received 13 boxes for our custom closet design. You can see in this picture how well they packaged everything. It was actually very impressive!
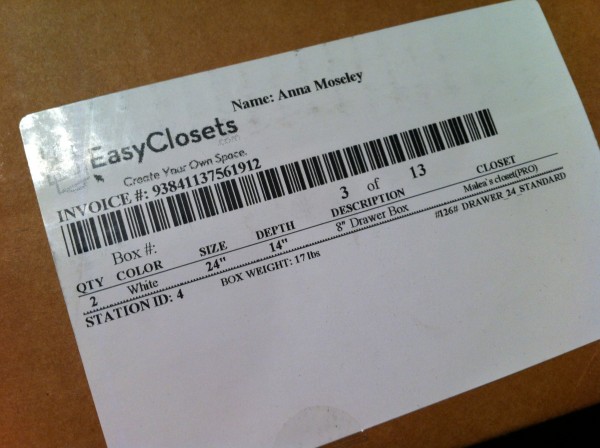
3. All the parts were very well organized. Each box had a custom label that showed exactly what was in the box. This made it so easy to find each part.
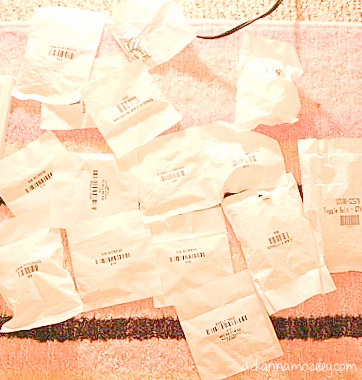
All the screws were also very well organized {of course I loved that!}. Every “type” of screw came in its own bag, and all the bags were clearly marked.
4. The directions came with a copy of our custom plan, including the measurements and a custom parts checklist.
Cons:
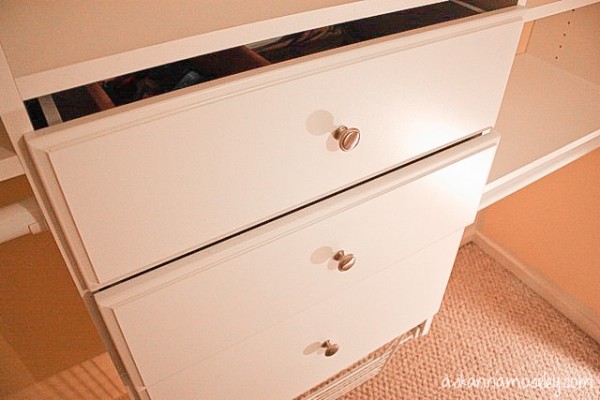
1. When I installed the drawer gliders I did it according to the directions, flush to the bottom of the drawer box, but when we tried to install the drawers this is what it looked like. One of the drawers wouldn’t close because it was overlapping the bottom drawer and then there were gaps around the other drawer.
We were able to fix the problem by measuring and reattaching the drawer glider, but in my opinion it would be easier if the track holes were pre-drilled.
2. The directions were a little confusing because they told us to start at the top and work our way down, but when we got to the bottom there wasn’t enough room to install the bottom basket. It was an easy fix but we did have to uninstall and reinstall all the drawer gliders and shelves in that row. My suggestion would be to start at the top to install the top shelf (per the instructions) but then work from the bottom up to install the drawers and baskets.
Overall it was an easy installation, just like the name ~ EasyClosets ~ and I think having a completely transformed closet in 4 hours is incredible! Here’s a sneak peak at what the closet look like.
Come back tomorrow for the full reveal {you will LOVE it!} and I’ll tell you all my favorite things about the closet, and the fun extras that I never would have thought of, but the designer added in to make the closet great!



Looks great! I just finished installing an Easy Closets closet as well! I’m hoping to feature our whole experience/process soon on my blog as well. 🙂
That’s awesome! Are you doing a review for them?
I can’t wait to see the reveal. It looks great just from what I saw. How fun!! I’ve priced out custom closets before and it has been quite a bit so I cant wait to hear how much it cost you. Love it!
Our house was built in 1962 and closets have original interiors, except the linen closet we have changed.. And I’ve got to tell you our master closet isn’t as big as your daughter’s. I am jealous. But impressed with all the difference that system and your work made. i w.a.n.t. one!!
.