A couple weeks ago we took on the project of tiling our kitchen backsplash, only I wanted our backsplash to go all the way up to the ceiling. Ever since taking down the upper cabinet (over a year ago) I have been dreaming about tiling this wall with white subway tiles. I knew that I had to wait to get new counters before we tiled and we had to save up money for the new counters, which took just over a year, but now that we finally have them I had been chomping at the bit to tile this wall!
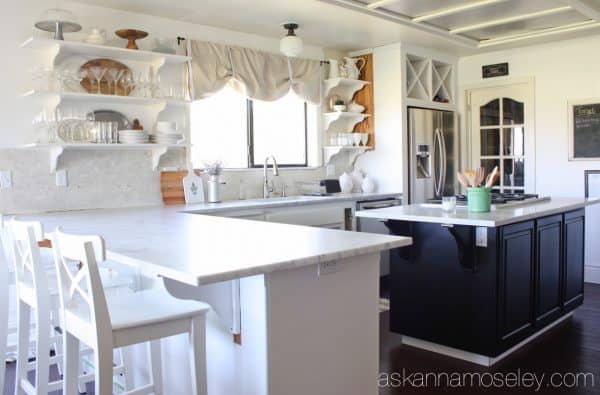
So a couple of weekends ago we finally had the time and it turned out even better that I could have dreamed! And in case you noticed, yes, we did also get a new kitchen window. We figured now was the time to do it before we tiled the whole wall, so we did away with the 80’s black window frame and installed a nice, new, pretty white window. Honestly, I couldn’t be happier about it! 🙂
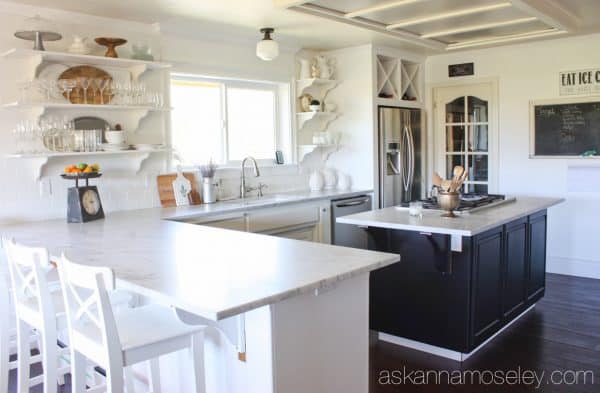

We learned a few tips along the way so I wanted to share them with you to make your next tiling project a little easier!
Tip #1
When we went to Lowe’s to buy the supplies my husband talked to a salesman there that gave us a great tip and saved us a TON of time! He told us since our tile job wasn’t in an area that would be getting wet (other than the occasional splashes from the kitchen sink) to use a tile adhesive instead of the cement you’d typically use.
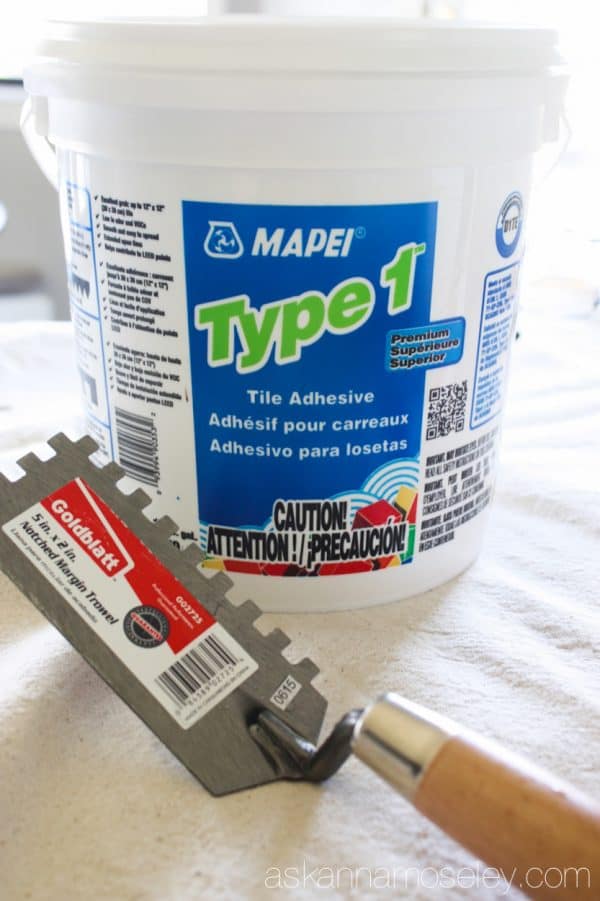
This made the job so much easier and it saved us from stressing that the cement was drying too fast, it was WAY less messy and it allowed us to stop and take breaks when we needed to, like stopping for an entire day because we ran out of time on the weekend!
If you have a tile job coming up and it’s not on a floor, or in a bathroom, then I highly recommend this Type 1 Tile Adhesive, I don’t want to tile any other way now!
Tip #2
This was actually my husband’s idea, and when he mentioned it I thought it was going to be a huge waste of time, but I was totally wrong. First lay your first row of tile and make sure it’s level. After you’ve laid the first row, use a large level and draw lines vertically, up the wall, to mark where each row of tiles will start and end.
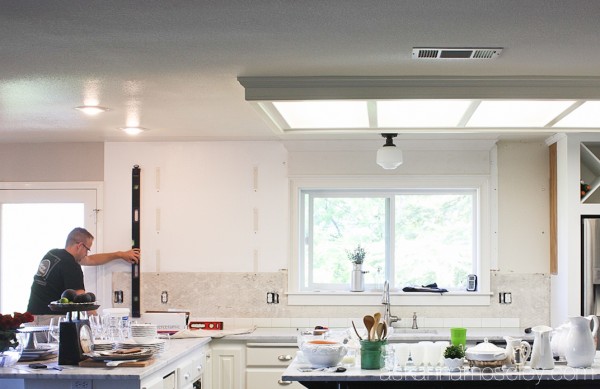

I didn’t think this was going to be necessary but as I worked my way up the wall the lines totally helped me keep the tiles level, and in the end the entire wall came out perfectly level with straight lines all the way up. Check out how perfectly the tiles line up with the corbels for our shelves (this was a pre-grout picture).
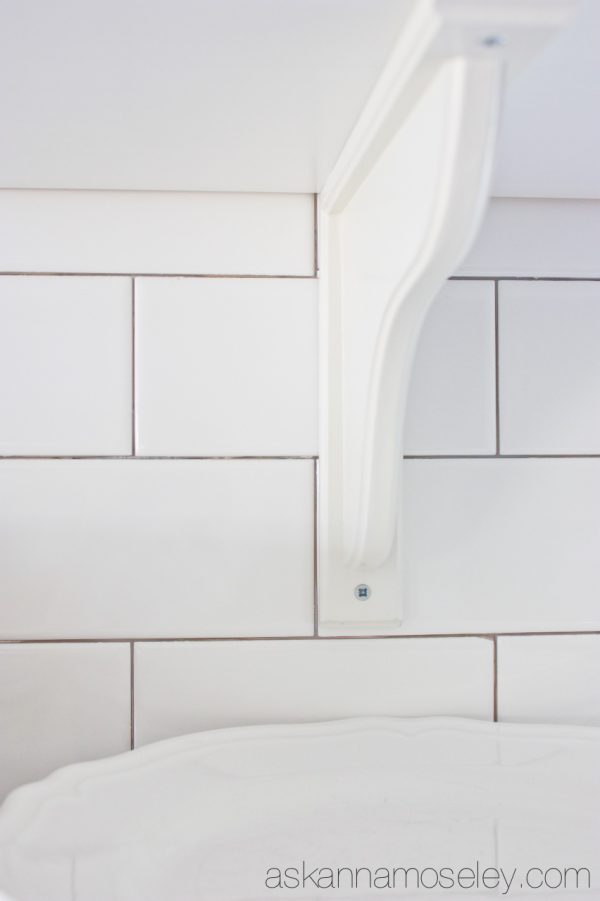
I was pretty proud of myself when I saw how it turned out. Talking to our contractor friend, I know even the pros have a hard time getting everything level!
Tip #3
Did you know there are different types of subway tiles? I had no idea that some of them are made with self spacers and others are not.
My husband accidentally bought both kinds and when we realized that some of them had self spacers on them we decided to use those tiles instead of the ones without. This was also a HUGE time saver because we didn’t have to worry about inserting the plastic tile spacers to making sure they were all even. If your hardware store carries the subway tiles with self spacers, buy those ones, trust me it will make your life WAY easier!
So those are all my tile tips! This job went quickly and easily and I realized I really liked laying subway tiles. 🙂 And I especially like the way it looks when it’s finished!!!
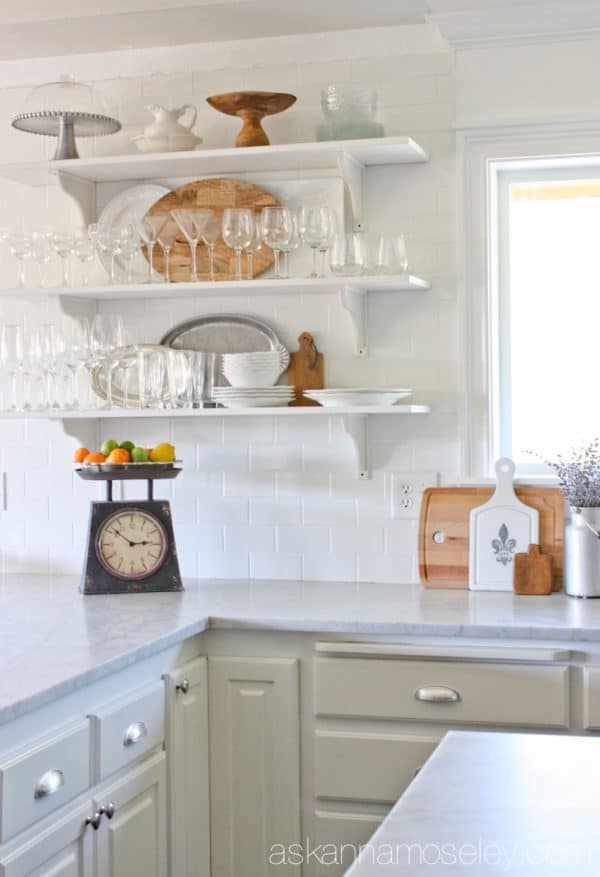

Now that we’ve tiled the wall there’s only a few things left to do in the kitchen and I can’t wait to get it done! All we have left to do now is remove the 80’s light fixture above the island, add single bead hardboard to the ceiling, install crown molding (which is why the subway tile doesn’t go ALL the way up to the ceiling) and add a couple pendants over the island. I think it’s only a couple weekends worth of work so hopefully we can get it finished before the busy holiday season.

It can get overwhelming thinking that there’s still more to do but when I look back at this picture it makes me feel good thinking about how far we’ve come.

Stay tuned, full kitchen {final} reveal coming soon!!! Oh and if you have a tile project coming up, make sure to pin this so you can tile like a pro too!
Hi Anna,
could you please tell me what paint you used for the cabinets? My husband insists that our oak cabinets cannot be painted and I see how well yours turned out. Please help.
thanks,
Nancy
I used high quality paint from Old Village Paints (http://old-village.com/). Last year I painted them with their latex paint but then this summer I decided to redo them with the Old Village oil-based paint because I wanted them to last a long time and oil based paints are very hard and durable. After a couple coats of paint I sealed them with a water-based polyurethane. I have a post from when I originally painted them last summer – https://askannamoseley.com/2014/08/black-and-white-kitchen-makeover-reveal/. They were totally fine after my initial painting, I’m just nuts and really wanted the oil-based paint so I redid them, normal people wouldn’t need to do that. 😉
Hey Anna, we love the whole of your kitchen remodel, but especially like your subway tile backsplash. We’d like to feature it over at ours if that’s okay and I’ll get a link over to you as soon as it’s ready.
Best regards
Jamie
Thank you Jamie! 🙂
Thank YOU Anna!
http://www.renocompare.com/2015/09/installing-subway-tile-backsplash-kitchen/
Where did you get your white bar stool chairs in your kitchen? I love them
We bought them at IKEA. 🙂
Thank you Anna for the wonderful tips!
Is there any tips about the grout?
What color and brand?
Looks super nice 🙂
Hi, Cindy! I’m Anna’s assistant. The grout Anna used was from Lowes and it was pure white, un-sanded. Hope this helps! -Bethany