My laundry room was the first room I ever made over in our new house. It was cute and the charm lasted for awhile but after a few month I decided I didn’t really like what I’d done because I decorated it before getting a good feel for the house and what it’s style was. So for about a year my laundry room has kind of driven me crazy…
When Price Pfister emailed me a couple weeks ago and asked if I’d like to review some of their upcoming products I knew exactly what I wanted to do – a laundry room makeover, AGAIN. Of the few faucet options I picked out the one I knew would fit the new style of my second laundry room makeover. 🙂 Funny enough this post isn’t even about a faucet, it’s about shelves but the faucet is where my inspiration started. I knew I wanted to paint the laundry room Cool Gray (basically white with a touch of gray) and I wanted to get rid of the red and go with something more earthy. The shelves in the laundry room were red so I started with looking at lots and lots of laundry room shelving on Pinterest but what I decided to go with were the industrial shelves that are everywhere these days.
Now is when we get to start talking about these lovelies!
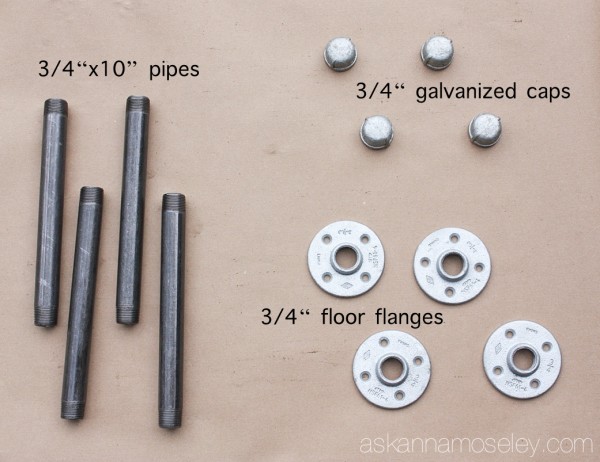
Here’s what you need:
- 4 – 3/4″ x 10″ pipes
- 4- 3/4″ galvanized caps
- 4 – 3/4″ floor flanges (these are actually cheaper on Amazon then they were at our Lowes)
- 10″ x 8′ Doug Fir, cut down to size (most hardware stores will cut it for you if you don’t have a saw at home)
- Oil Rubbed Bronze spray paint (this is the one I used)
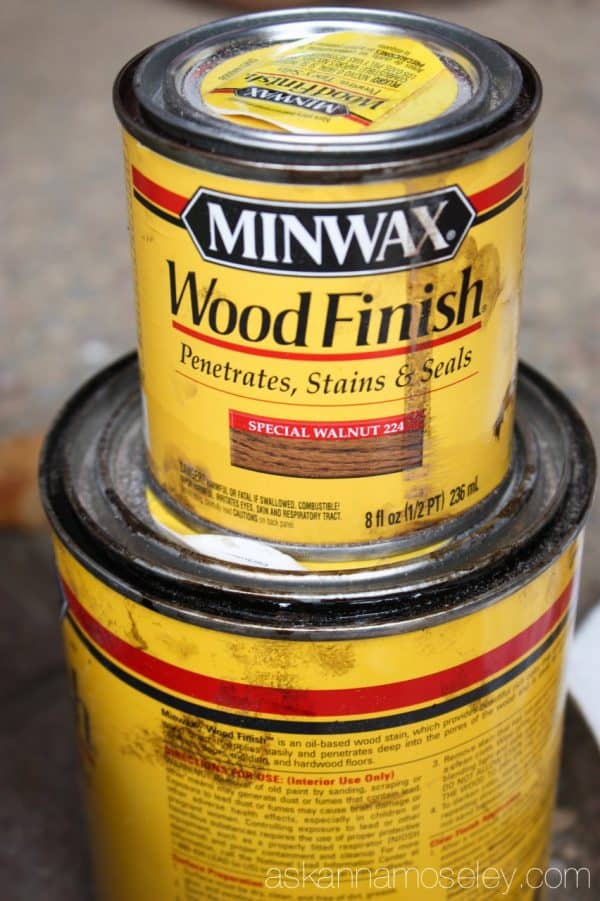
- Wood stain (I used Special Walnut from Minwax)
- Wall anchors
- Heavy duty screws
This post contains some affiliate links, for your convenience. Click here to read my full disclosure policy.
Step 1
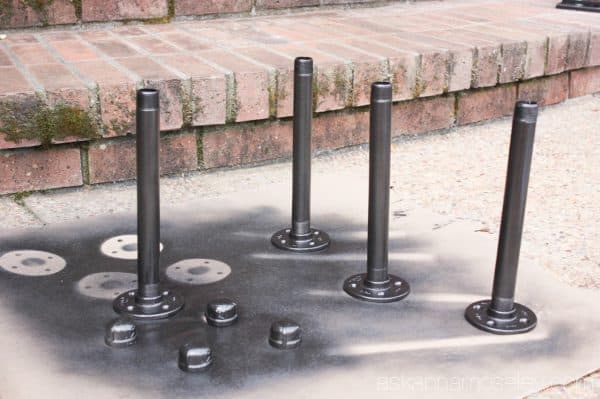
Spray paint all the parts so that they’re all the same color. You could spray them any color you’d like but I went with Oil Rubbed Bronze from Rust-O-Leum. I found that if I screwed the pipes into the floor flanges that it was a lot easier to spray them and they dried faster.
Step 2
While the pipe parts were drying I stained the wood. I used a foam brush, and the wood stain, to get the medium brown color I wanted for the wood. The stain was left over from another project and I love the color of it so I decided to use it again. 🙂
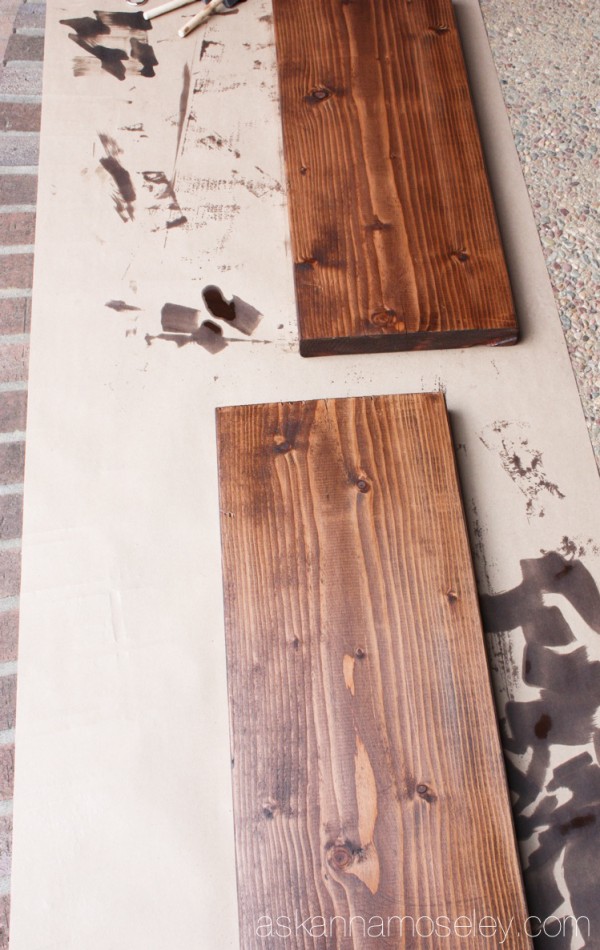
Step 3
After everything was dry we took the parts inside for installation. My husband used wall anchors and heavy duty screws to install the floor flanges to the wall because the Doug Fir shelves are really heavy.
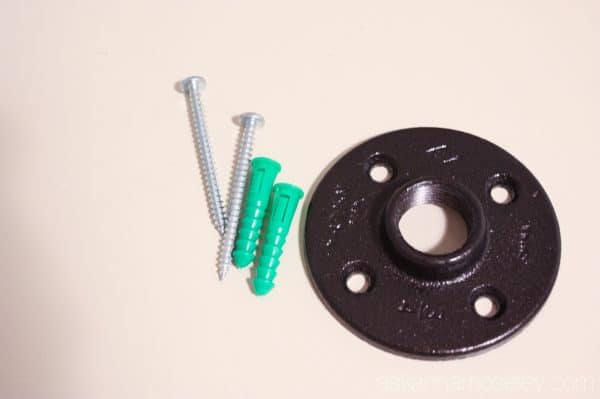
If you get lucky enough and there’s a stud where you want to install the shelves then you won’t need the wall anchors but in our case there’s never a stud where you need one. 🙂
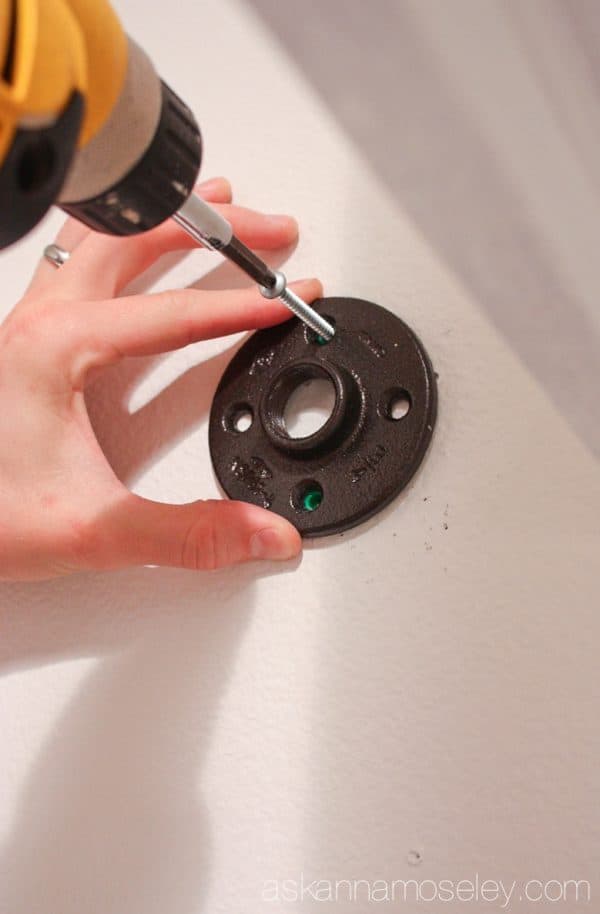
Once all the flanges were screwed into place we attached the galvanized caps to the pipes and screwed them into the flanges. Here’s what it looked like after putting it all together.
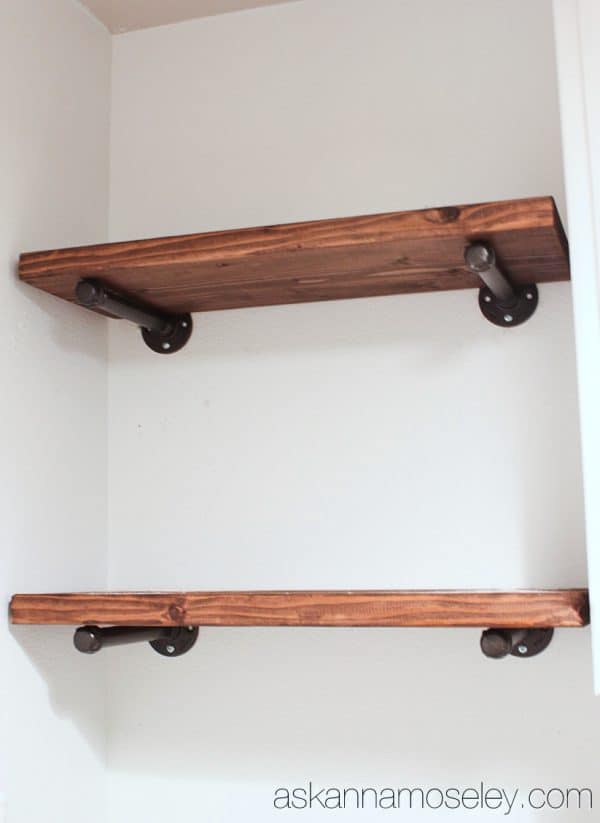
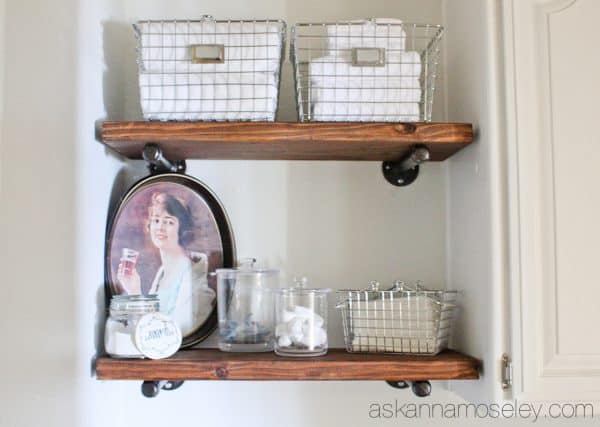
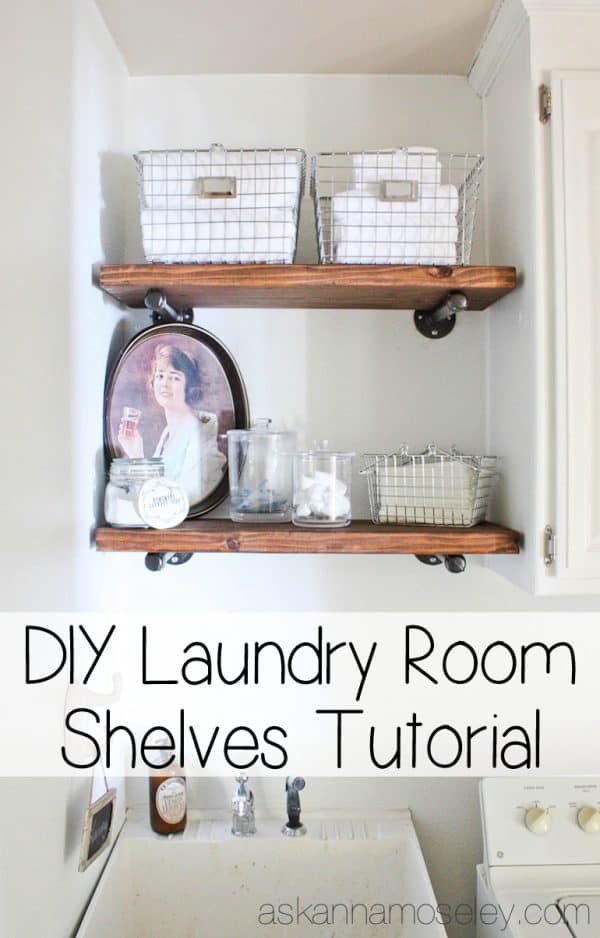
And here’s what they look like now.
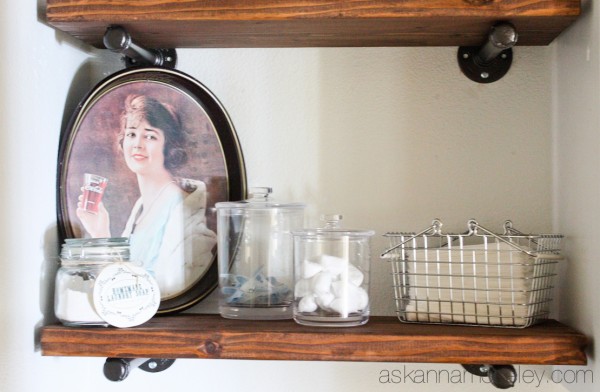
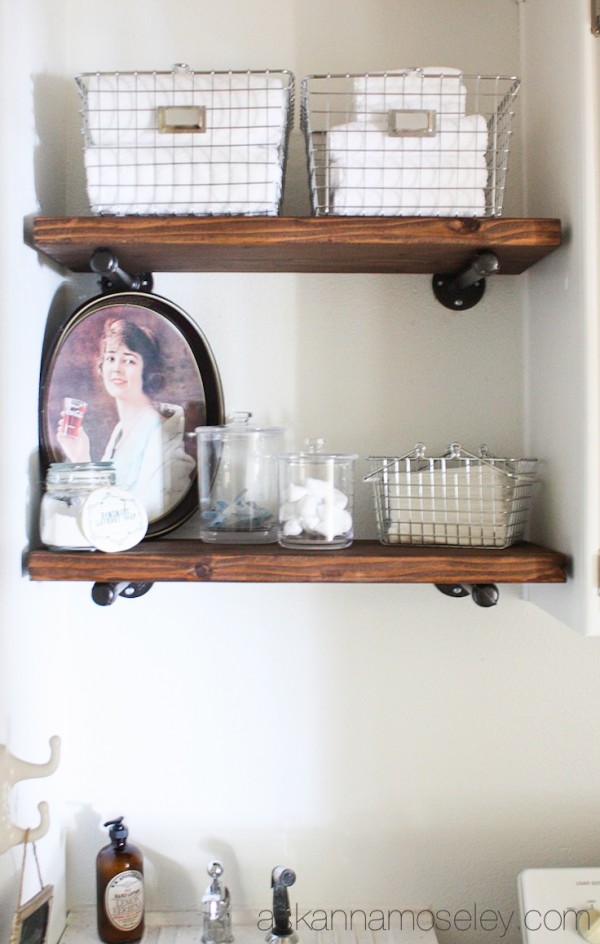
This really was a super simple project. We did it on a Sunday afternoon and it only took us a little over an hour. The longest part was waiting for the parts to dry after I spray painted/stained them. I’ll be honest though, this wasn’t the cheapest project. Purchasing the galvanized steel parts was a pricier than I thought but I decided it was worth it because it’s the look I want and the shelves will last us a long time!
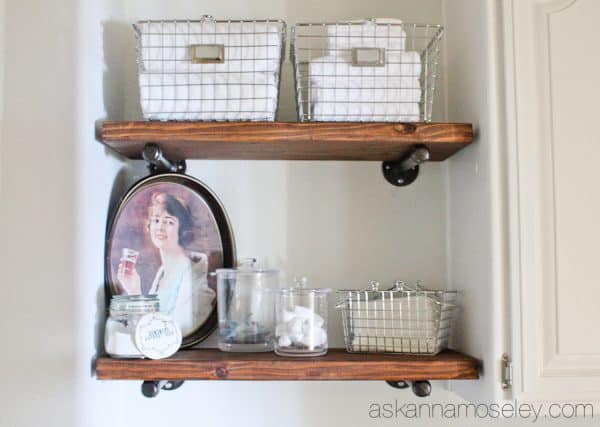
I’d say it’s a little better than before, a little more my style, don’t you think? 😉
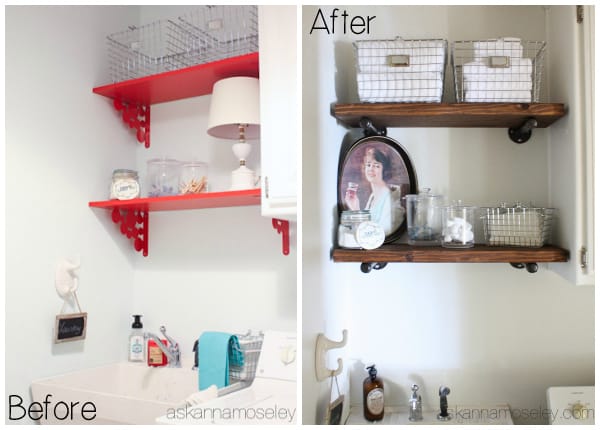
Stay tuned, more laundry room makeover (AGAIN) pictures coming soon! (Click here to see the finished laundry room!)
Hi anna – love this project! I have a real passion for industrial design (am an interior designer by trade) and as such was drawn to this when I saw it. Thanks for sharing – I may well give it a go in my own utility!
Thank you Chrissy! 🙂
Totally love this look.
Did the piping come in that size or did you have to cut it to the appropriate length?
I bought it in the sizes we needed. We didn’t have to cut it at all.