Thank you HomeRight for sponsoring this DIY tutorial and giveaway.
Have you ever used a heat gun? I never had but when I got one from HomeRight I was really intrigued by it. I started thinking about different projects I could use it for but I also wanted to do something super cool with it, something I hadn’t seen before, which is when I noticed a scrap piece of 2×4 in my garage, and knew exactly what I wanted to do!
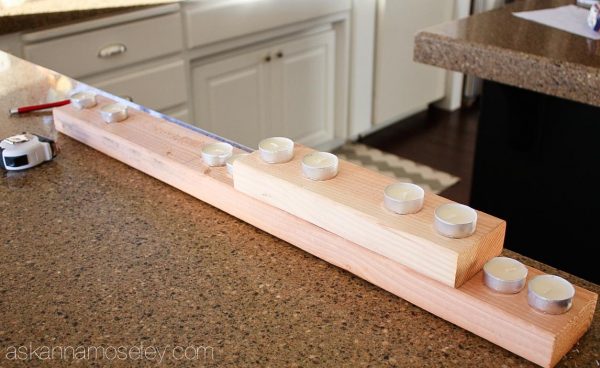
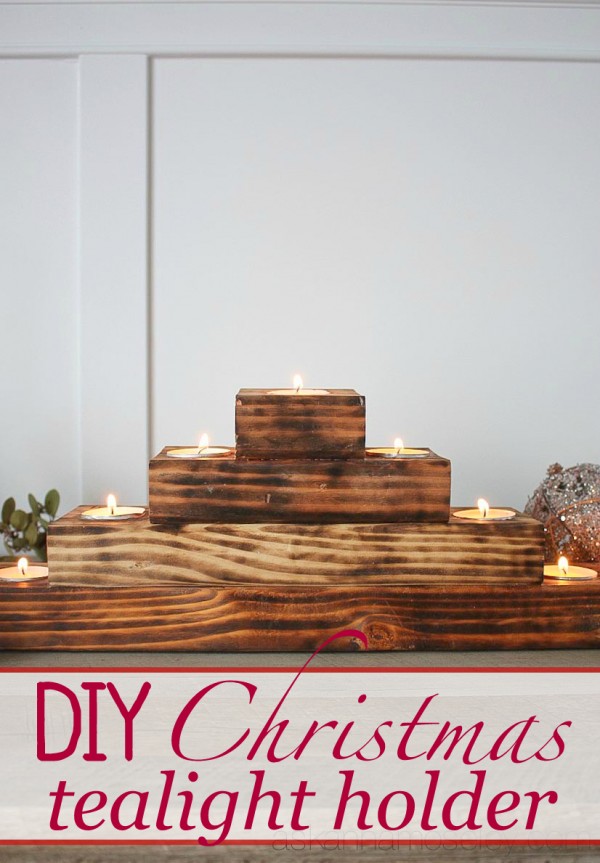
This time of year I love lighting candles, and with Christmas right around the corner, I thought it would be fun to make a Christmas tree tealight holder.
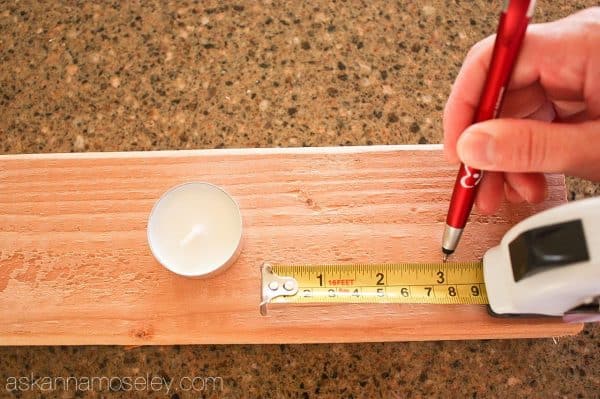
I started by laying out the candles to see how many I could fit on each layer of the “tree”. Then I measured where I needed to make my cuts. My bottom board is 19.5″ (which will fit 2 tealights on each side), the second one is 11.5″, the third is 7″ and the top of the tree is 3″.
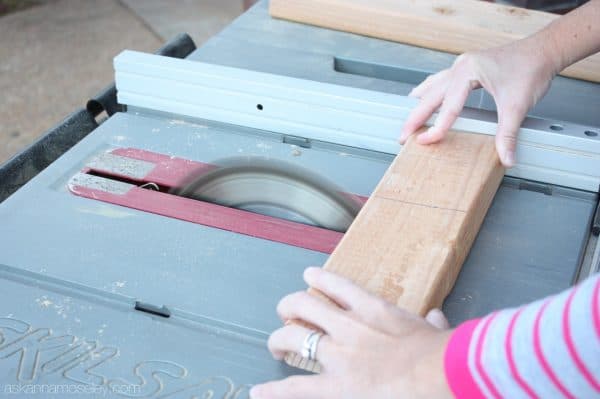
Then I got the table saw out and made my cuts. I always wonder what my neighbors think when they see me out there making cuts on the table saw and taking pictures of myself doing it. 🙂
Once all the board were cut I showed my idea to my daughter. She told me it looked like just a stack of old wood (don’t you just love the things 5 year olds say?) so that’s where the digital temperature heat gun comes in. I decided to burn the wood with the heat gun to give it a rustic look.
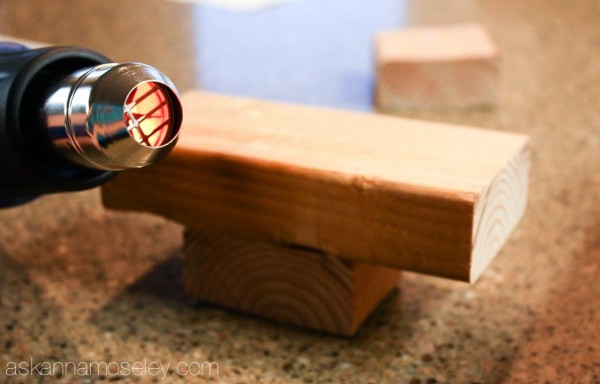
This thing has some serious burning power, it gets all the way up to 1020 degrees! I was a little intimidated by it but also kept thinking how cool it was!
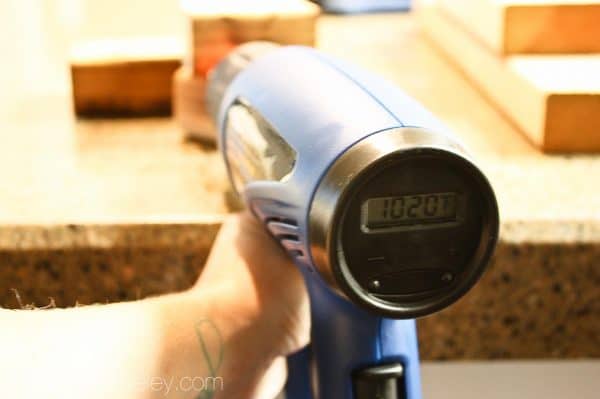
To burn the wood, I cranked it all the way up to 1020 degrees and then put the heat gun as close to the wood as possible. It was so cool to watch the wood burn as I moved the gun around.
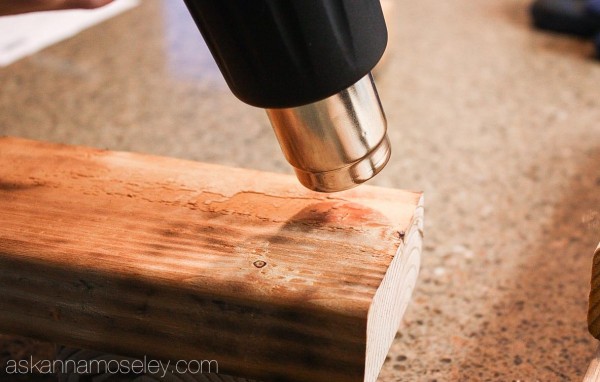
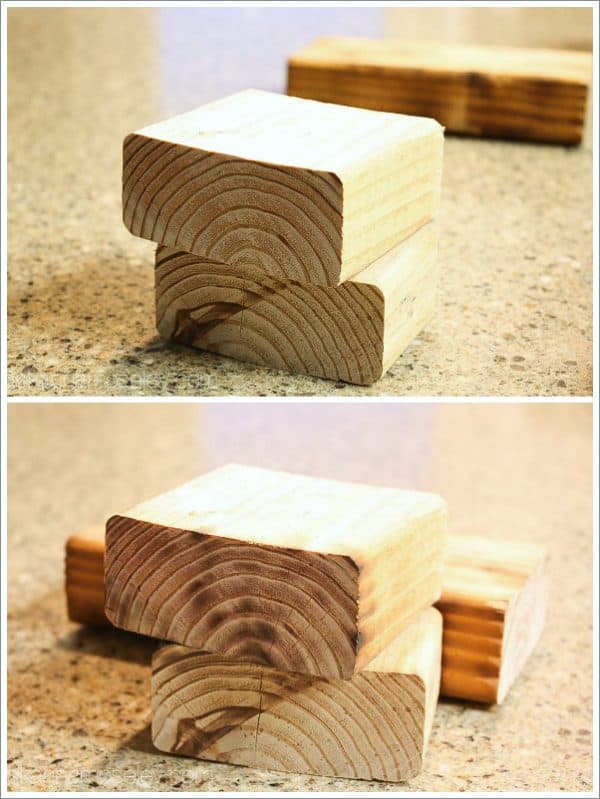
Here’s a before and after on one of the ends. Make sure to put another piece of wood, or something else that won’t melt, under the piece of wood you’re burning, so you don’t burn your countertops. I was thinking that I probably should have done this outside but it was too cold {and I was too lazy to move the project after I’d started it}.
After all the pieces were burned I clamped the wood to the counter and used a pencil to outline where I wanted the holes for the tealights.
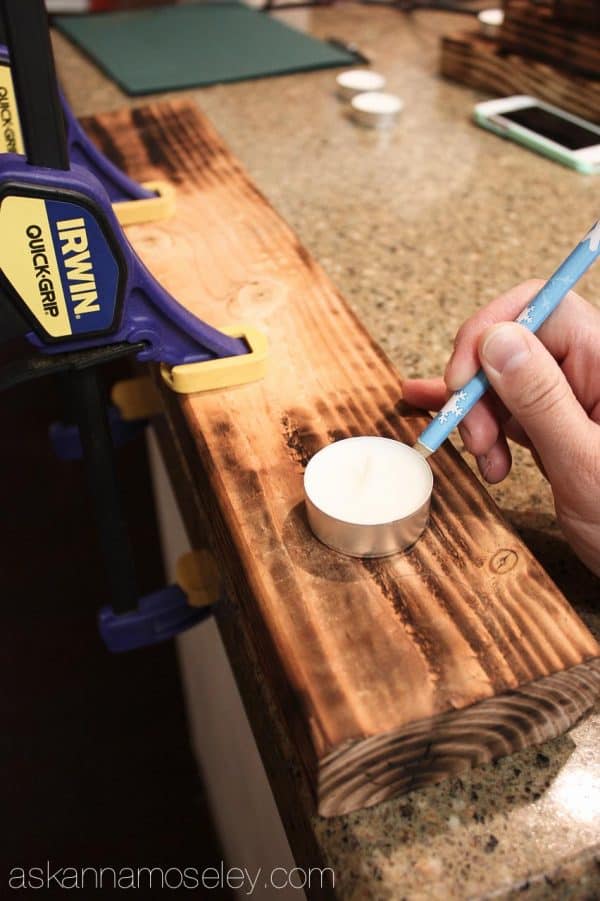
Then we used duct tape to mark how deep we wanted to drill the spade bit into the wood. This is a 1 1/2 inch bit, which is exactly the diameter of a tealight.
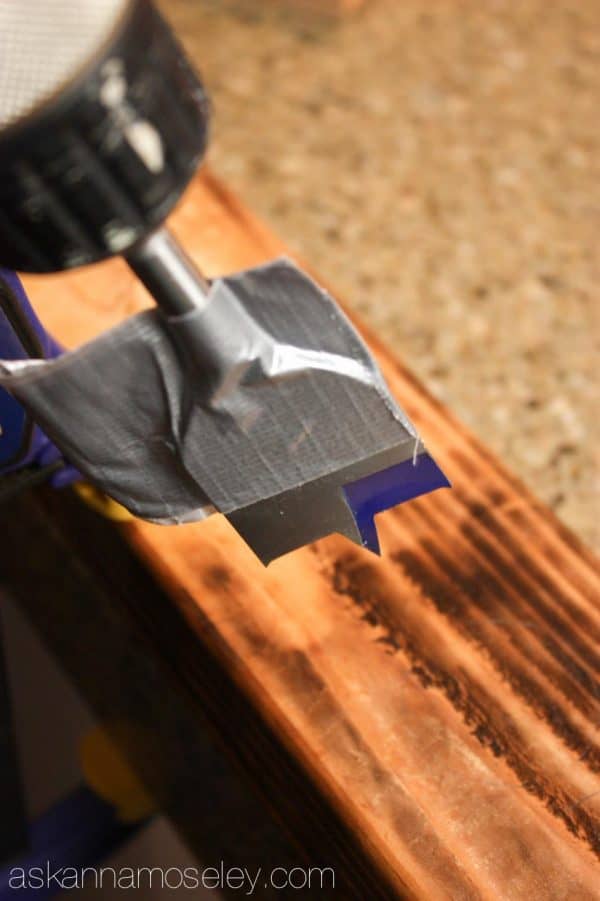
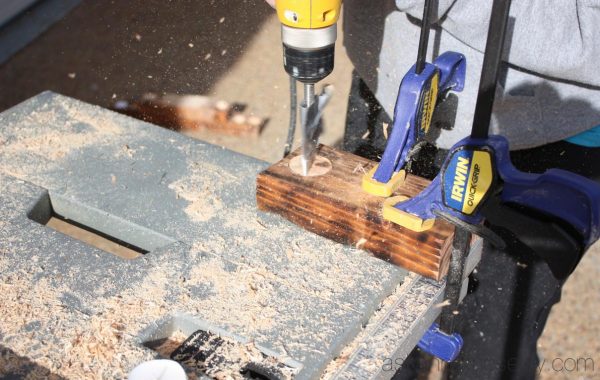
After marking all the holes we made sure the clamps were tight, so the wood wouldn’t shift while we were drilling, and we drilled our first hole. This part I don’t recommend doing in the house, after drilling one hole (and making a HUGE mess) I moved outside to drill the rest.
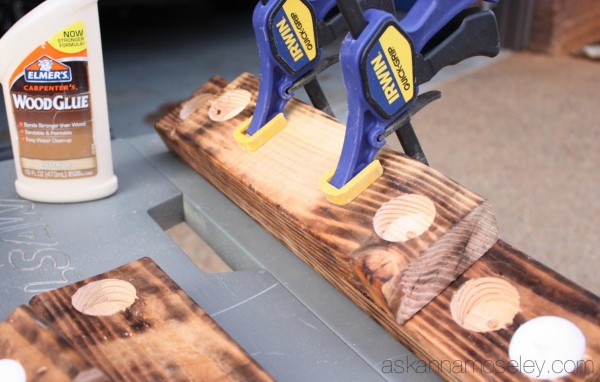
After drilling all the holes in the boards I used wood glue to stick them together. I glued two boards at a time, then I put all four of them together, each time clamping them and letting them dry for about an hour.
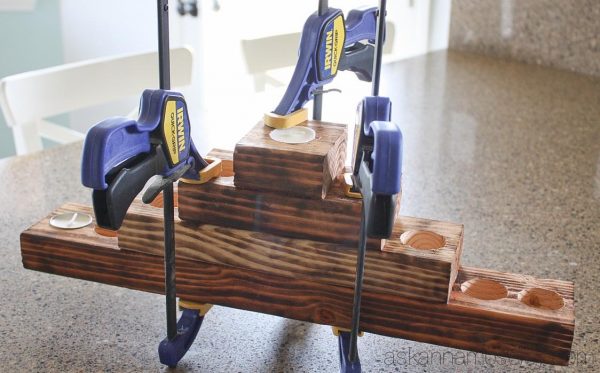
When all the glue had dried I placed a tealight candle in each hole. The holes are the exact diameter of the candle (it’s the largest bit they had) so I had to push them down into the holes, but at least I know they won’t fall out!
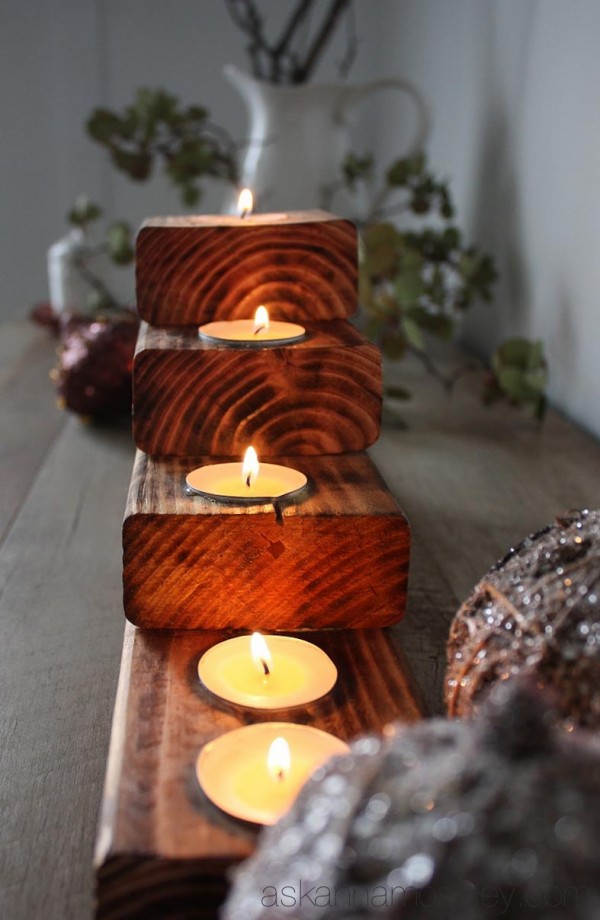
Here’s the finished product.
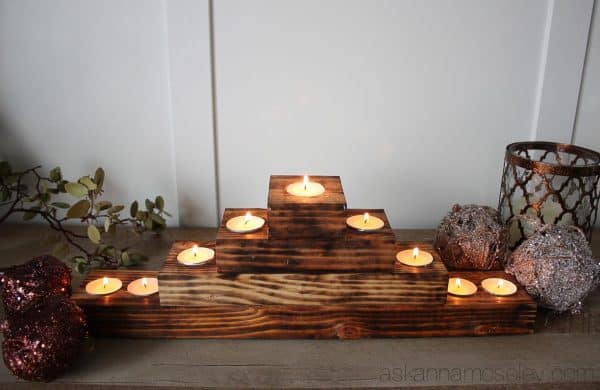
I love the glow of the candle on the burnt wood grain, it’s so pretty.
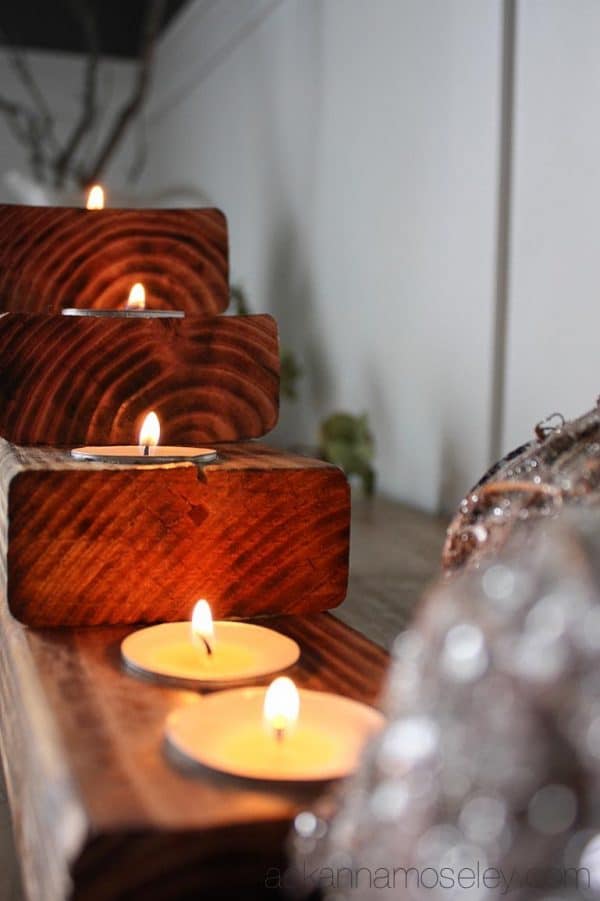
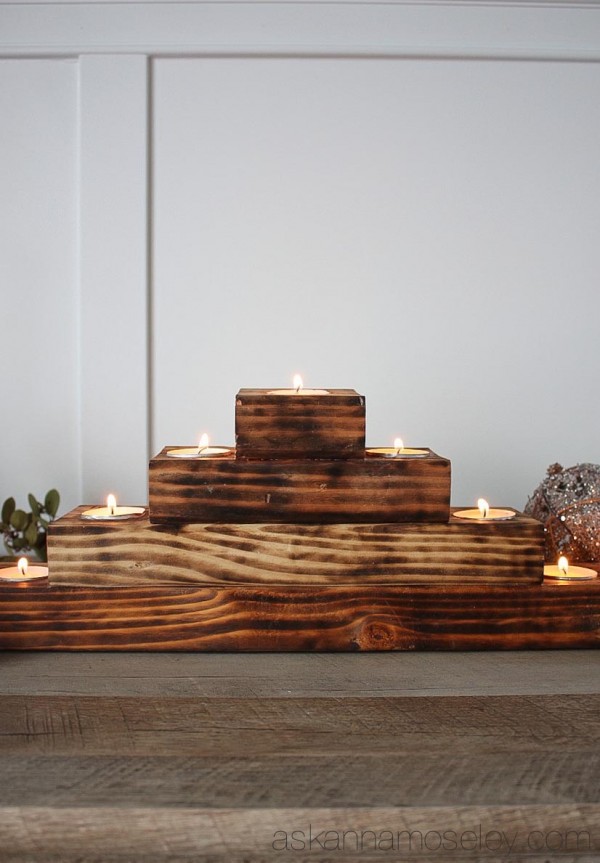
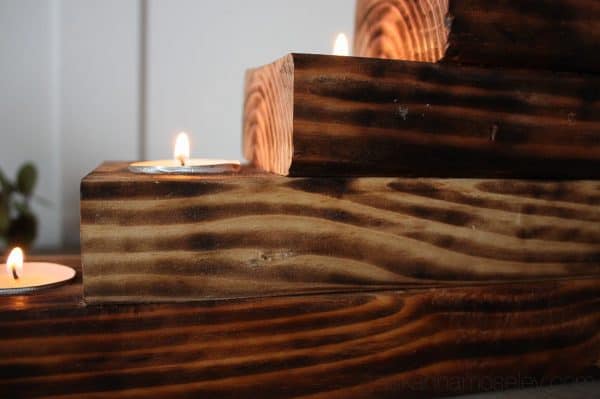
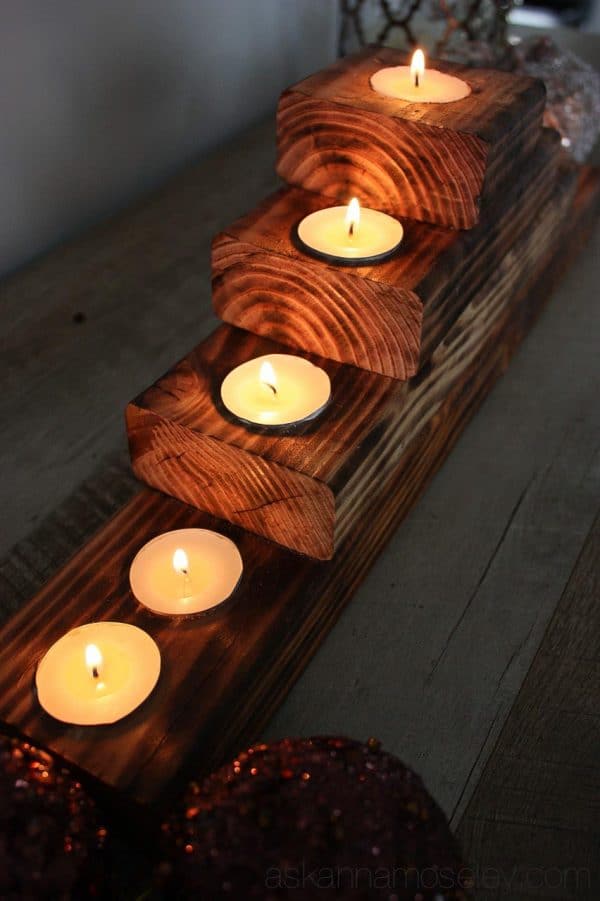
I love the way it looks from the top.
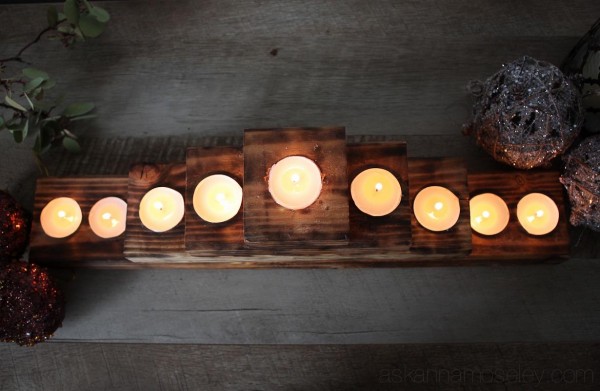
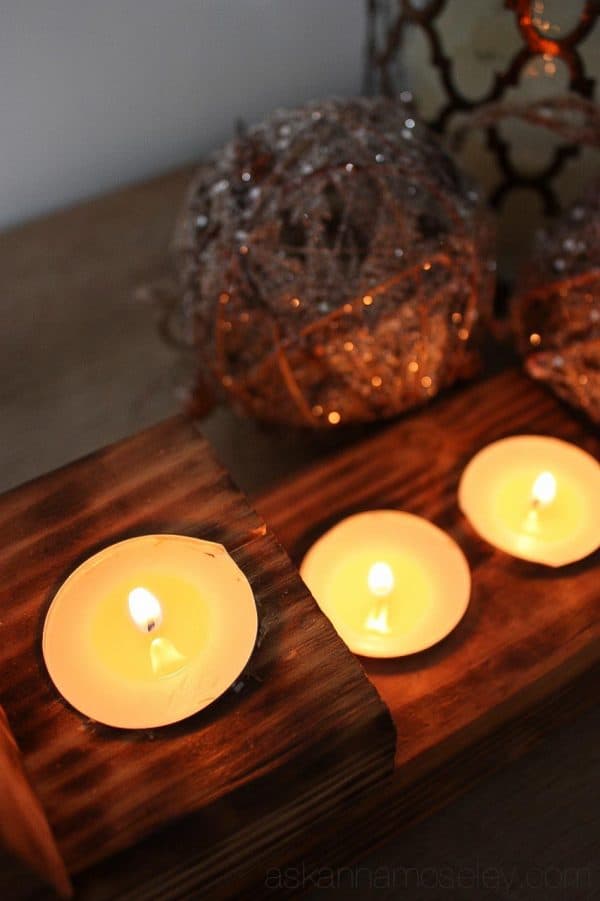
What do you think of my new Christmas tree tealight holder? It was super easy to make, if you have some scrap wood you could make one for your house! Enter to win your own heat gun by filling out the Rafflecopter form below.
Good Luck!

Disclaimer – This post is sponsored by HomeRight but all opinions are my own, as always. I will always tell you if I think a product is just “okay” but if I tell you I love it then it means I really LOVE it! Also, I have included a few affiliate links to the products I used in this project, if you buy through the link I get a small commission but you don’t pay a cent more than you normally would. Thank you for supporting Ask Anna!
That was interesting how the heat gun burned the wood all toasty brown. Tealights are so cheerful in the winter. Thank you for a chance to win!
I would use it to help with my Christmas wreaths and decorations.
FABULOUS!!!
This is awesome Anna!! I have GOT to try this! I love my little word burning pen, and this looks likes it’s giant big brother ; ) Great tutorial!
That is so fabulous Anna! I love it!
I’ve been wanting to put our family name on an extra Cello back piece I have from Hubby’s work, this would add a great extra touch!
Love this idea!! Now I want a heat gun! Pinned for later 🙂
This is absolutely gorgeous!!!! I love what you did Anna, I would love this piece in my home.
I love that … the look of the burned wood is SO neat! I have no idea what I’d make if I won but I’d love to experiment!
I love this so much Anna! Love the effect the heat gun has on the wood. Adds such warmth!
I would treat the wood instead of painting it before putting vinyl on it for gifts and decorations.
I can many ornaments made yearly with this Home Right Heat Gun.!!! TY
Anna,
The cut you are making on the table saw is EXTREMELY DANGEROUS! Never, ever use the fence when making a crosscut. If the workpiece gets caught between the blade and the fence it will kick back violently and may cause a severe injury to the operator. Always use a miter gauge or miter sled. And, for this project, a miter saw (aka “chop saw”) would be the best option.
It’s a good looking project and I might make one or two myself. It would be a very nice Christmas present. Thanks for the inspiration. ~Thomas~