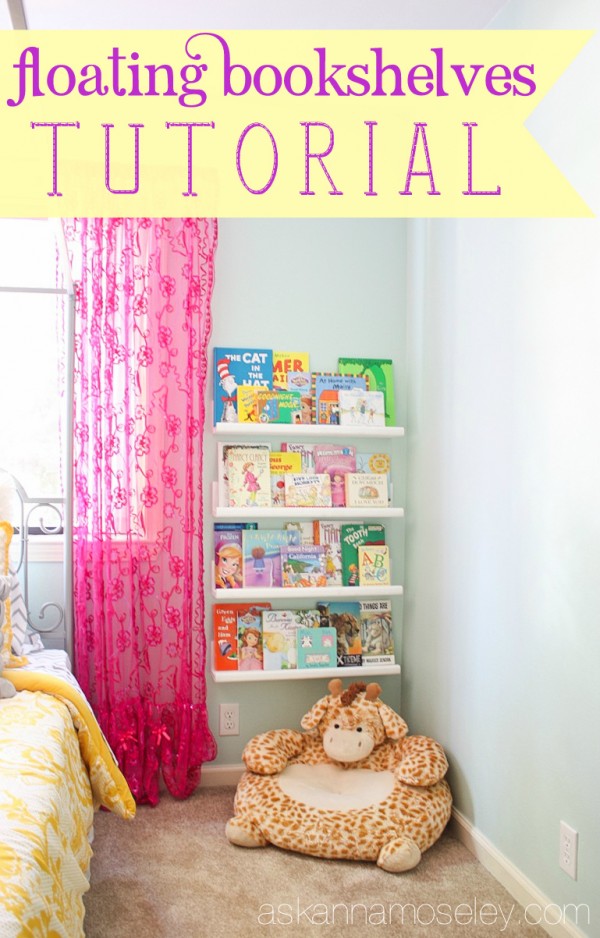
When I was decorating Malea’s room I knew I wanted to add a reading area because the girl loves to read! I was searching around on Pinterest and found this pin for a floating bookshelf tutorial. I didn’t have a whole wall for shelves, like they did, but I thought the corner next to her bed would be perfect.
Want to know what the best part about this whole project was? It was FREE!!! Yep, that’s right! Remember earlier in the summer when we took down the cabinet in our kitchen to put in the open shelves? Well we hadn’t taken it to the dump yet and I thought the cabinet shelves would be perfect for our bookshelves because they already had a lip on them so it totally cut out one of the steps from the tutorial on Pinterest!
Floating bookshelves tutorial, here’s what you need:
- Wood for the shelves (I reused our cabinet shelves)
- Liquid nails
- Clamps
- Nail gun
- Paint sprayer (here’s the one I used)
- Measuring tape
- Level
- Stud finder
- Screws and wall anchors
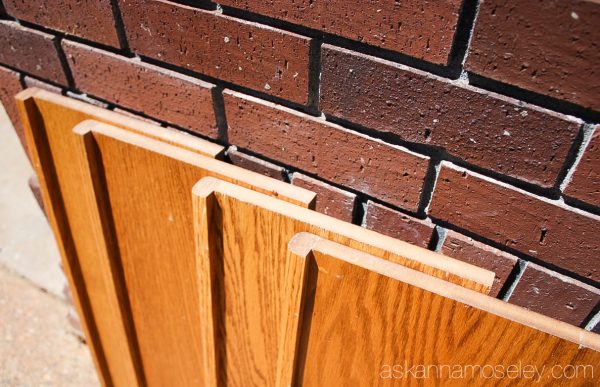
Starting with these shelves, here’s how we made the floating bookshelves.
Step 1 – Build
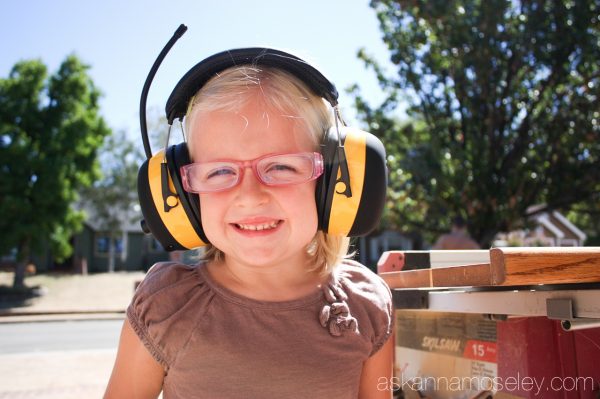
Measure how wide you want the bookshelves to be. We decided on about 5 inches wide and then we ripped all the boards using a table saw. Our trusty assistant made a great helper. 🙂
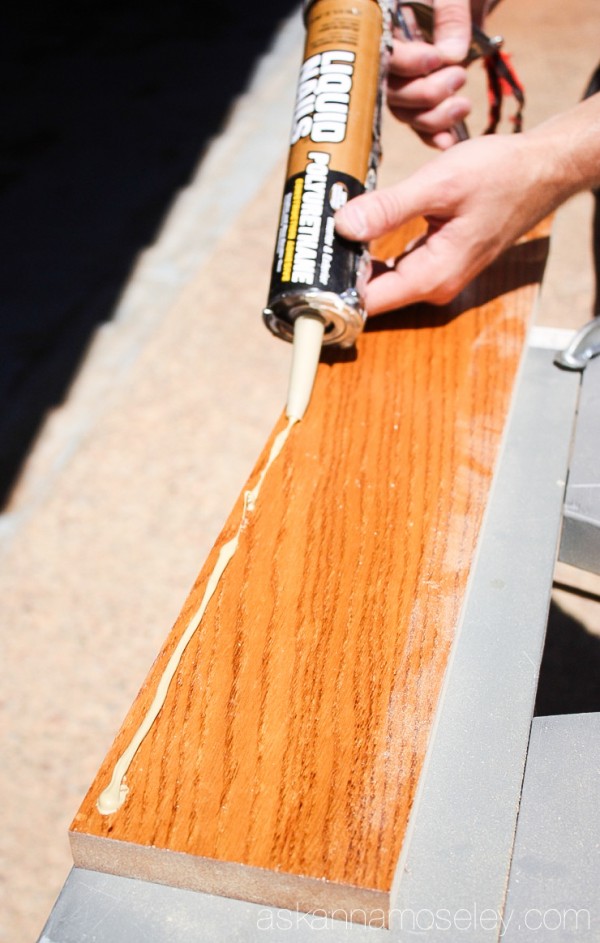
Next we ran a strip of Liquid Nails down one of the edges of the piece that was going to be the back of the shelf (the part that will mount to the wall).
Then we placed the bottom part of the shelf on the glue line and used clamps to keep it in place.
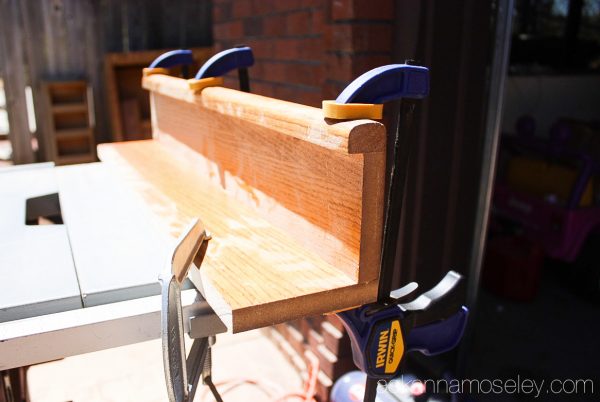
Carefully we turned the shelf over and used a nail gun (you could use screws if you don’t have a nail gun) to secure the two pieces of the shelf together.
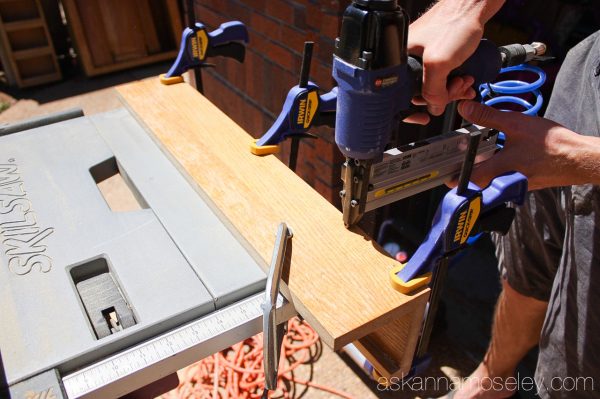
Step 2 – Paint
After all the shelves and been glued and nailed together I laid them out to paint. We have lots of old cabinet doors laying around so I used them to protect the grass from getting painted.
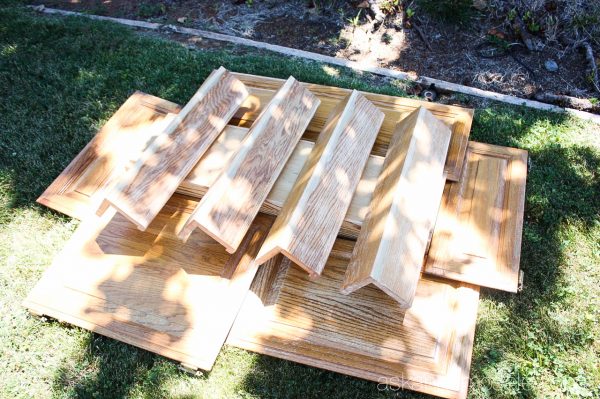
I used my HomeRight Finish Max Sprayer to paint the shelves because it gives a super fine finish and made it so that I didn’t have to sand them down. Yes, I’m all about taking shortcuts. 🙂
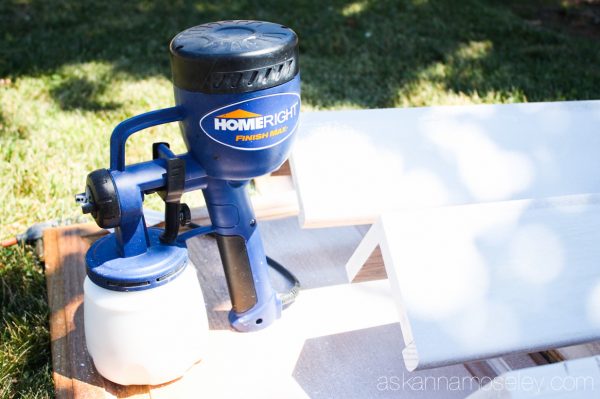
Step 3 – Install
To install the shelves I used one of Malea’s average height books to determine how far apart I wanted each one. I decided to put about 10.75″ between each shelf and then using a measuring tape and level I drew lines on the wall where I wanted to install the top of each shelf.
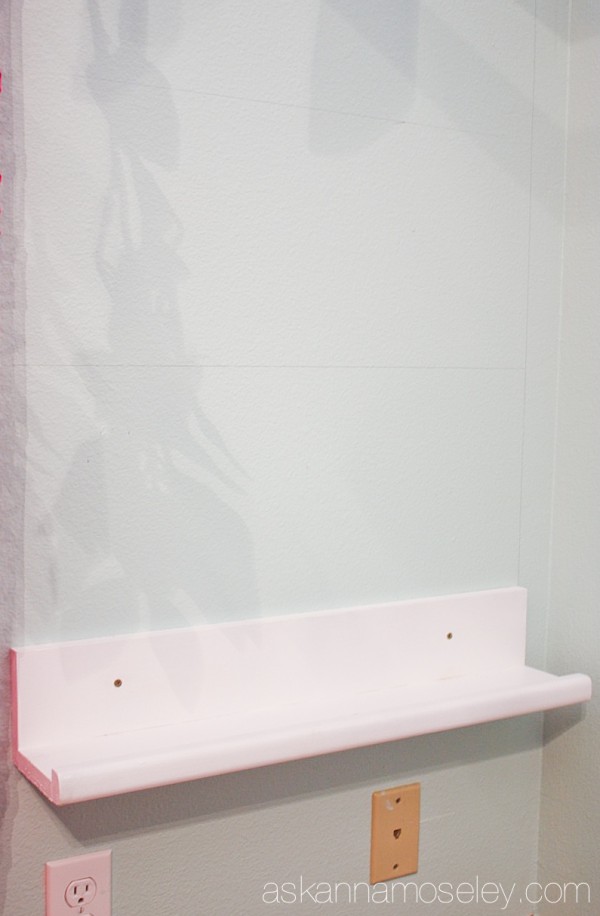
Next I used a stud finder to find 2 studs so I could screw the shelves right into the studs, instead of having to use drywall anchors. Using 4″ wood screws I secured them to the wall.
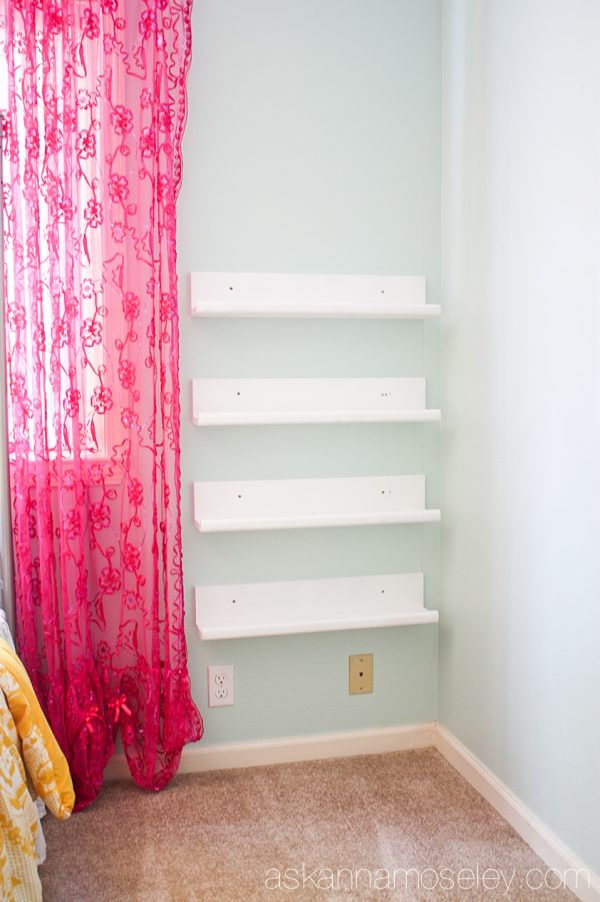
Next I added Malea’s books and her reading giraffe to the corner to make a cozy little reading nook for her.
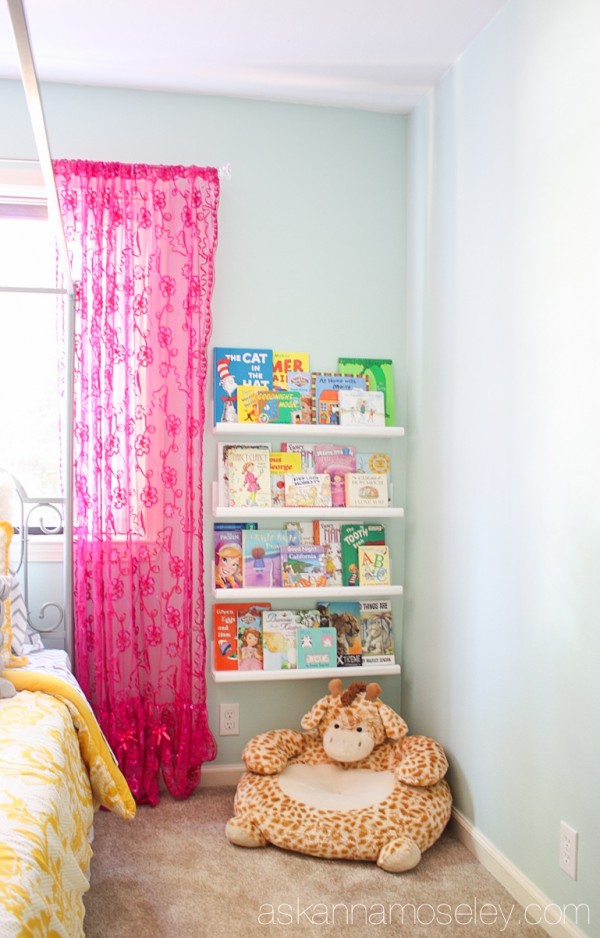
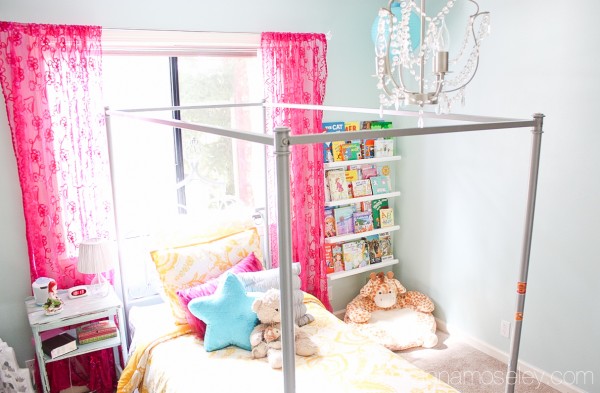
She loves it and I know she’ll spend lots of time reading there in the years to come! Now I kind of want to make one for myself. 🙂
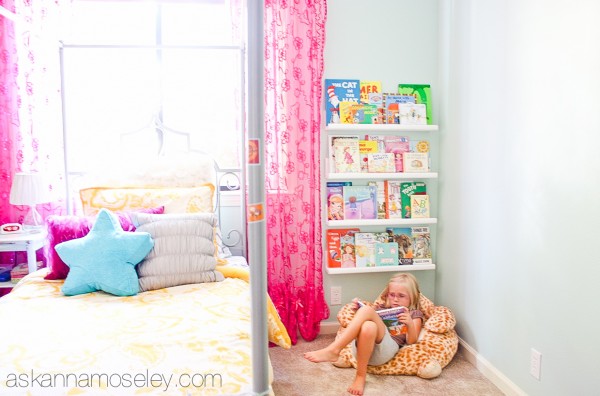
What do you think of her new little reading area? Can’t you just see yourself curling up with the giraffe and a good book? 🙂
This post contains some affiliate links, for your convenience. Click here to read my full disclosure policy.
I love this! I’ve done some floating shelves before, but these are so perfect for a kids room! Very cool. I really love the giraffe seat!
Wow! very nice! I bet she loves them in her room with her books so handy. Wonderful, easy to follow tutorial …it’s a keeper. Thanks!
This is GREAT! I especially like the shorter depth of the shelves so a child can see the front of the book rather than just the spine with the title. GREAT job!
They look so awesome Anna!! And Malea made absolutely the most adorable helper!
Thank you Vanessa. 🙂