When we moved into our new house I realized our old TV console was much too small for our new space. So I went on the hunt for a large dresser that I could turn into a TV console. I found this beautiful, solid hardwood dresser from a friend of mine who sells furniture and I scooped it up for a deal!
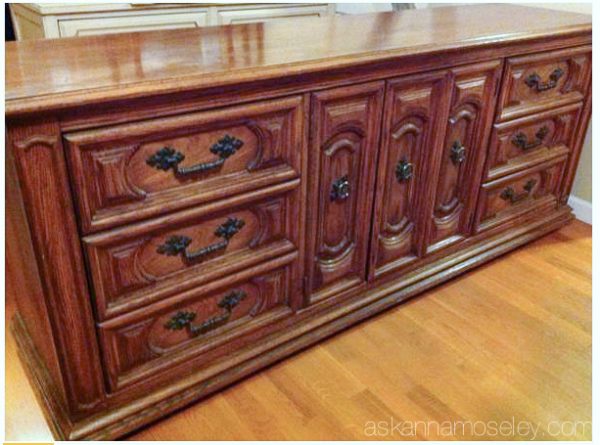
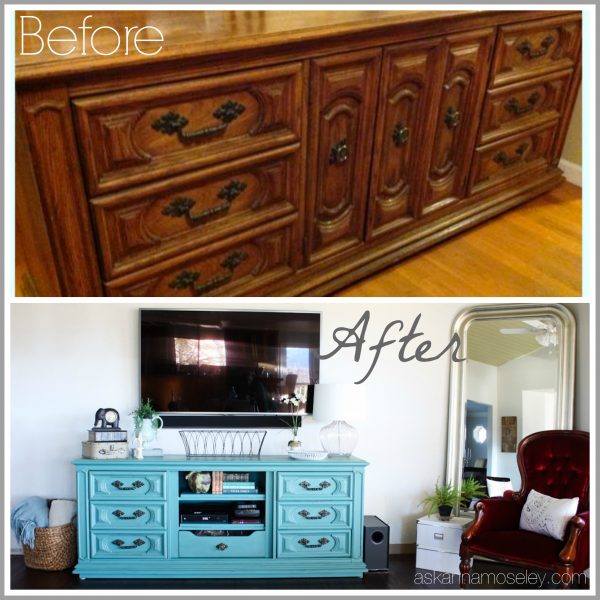
I hated the three doors in the middle but I new it had potential because of the beautiful molding on the drawers and the solid hardware.
When I got it home I took the doors in the middle off, and set it up in our living room. Behind the doors were 3 drawers but I needed a place to set our DVD player, cable hookups, etc. so I removed 2 of the drawers and my husband made shelves for them to sit on. I think removing the doors made a big improvement. My dresser to TV console makeover was under way!
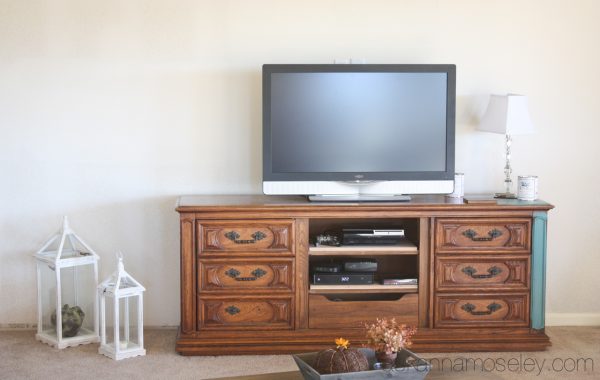
The coloring was still awful but I knew that could easily be changed with a little paint (see my color sample on the right).
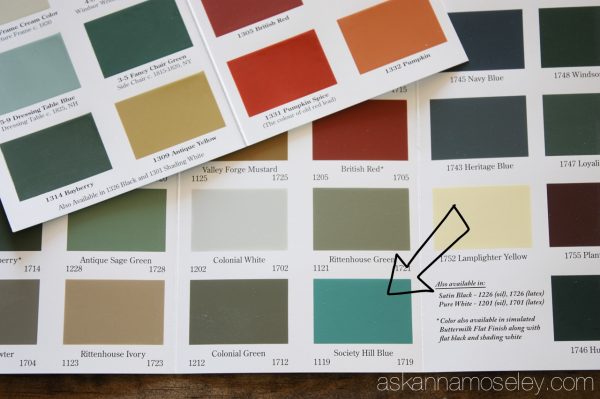
In our other house I had a dresser that I had painted teal and I loved it. I thought it was a great pop of color in our living room so I decided to paint this dresser a similar color. I contacted Old Village Paint to find the perfect teal for my new dresser turned TV console, because I love their high-quality paints.
After talking with them I decided to go with the Society Hill Blue, one of their latex colors.
I mixed the Old Village Paint with a little paint conditioner and used a foam roller to paint the dresser base. Then I used a paint brush for the drawers around all the molding.
Here’s what the dresser looked like just after Christmas, I didn’t have time to finish it until after the holidays were over. It was like this for about a month and it made me crazy having the wood color in the back of the dresser, and all along the base.
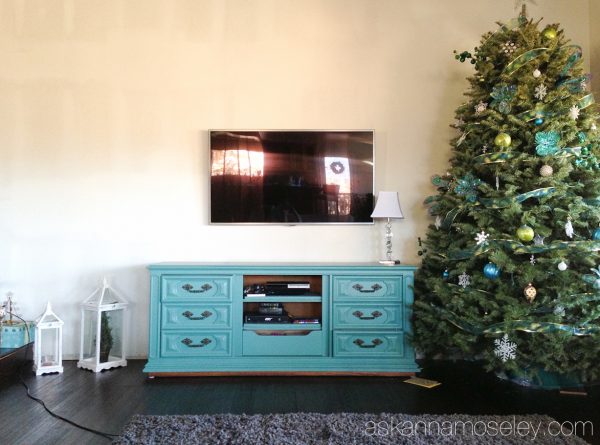
My husband also got a new TV for his Christmas/birthday present so we were able to put it on the wall instead of having it sit on the dresser (MUCH better).
After the holidays were over I finally had time to take it all apart and finished it. I painted behind the shelves, the sides of the drawers, and the base of the dresser.
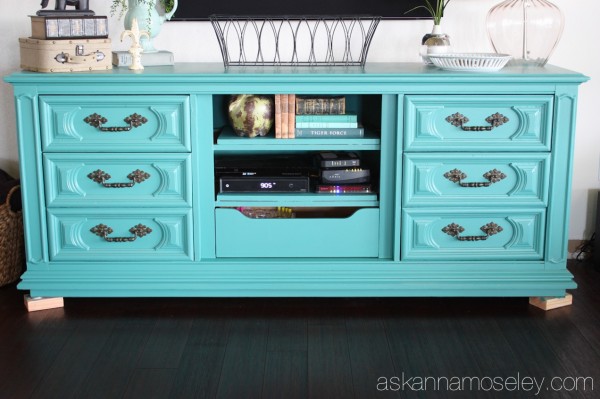
It looked so much better but I started thinking that an old piece like this one shouldn’t look so bright. So I decided to give it a little antiquing. For my decor I’m not into heavy antiquing so I did a light coat with this antiquing wax from America’s Paint Company.
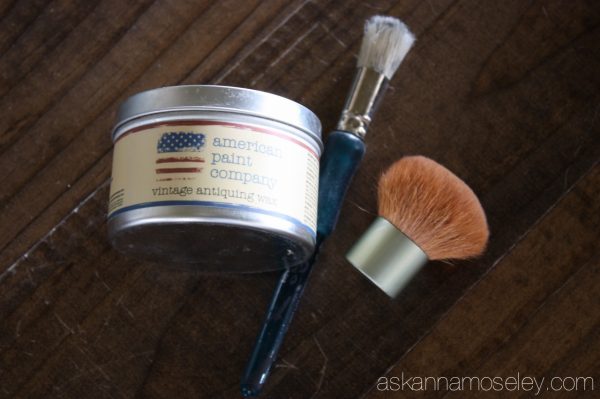
I also don’t have all the proper antiquing brushes so I did it ghetto style with an old makeup brush and a stiff paint brush. The makeup brush actually did a great job and I’ll probably use it again in the future unless one of the expensive Annie Sloan waxing brushes just happens to drop in my lap.
I waxed it really heavily and then went back and “cleaned it up” until I was satisfied with the results.
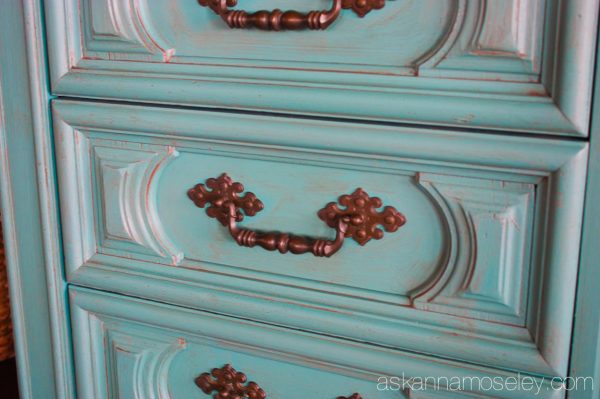
Here’s what it ended up looking like.
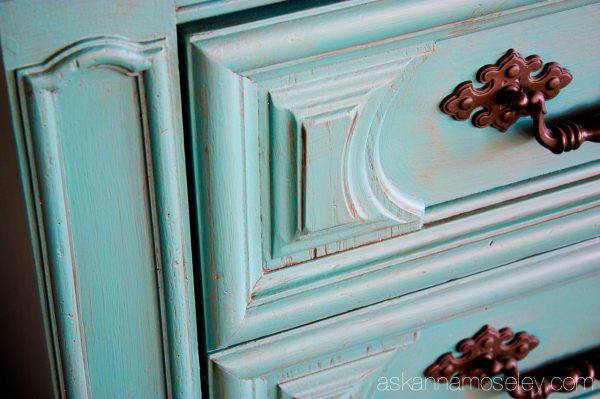
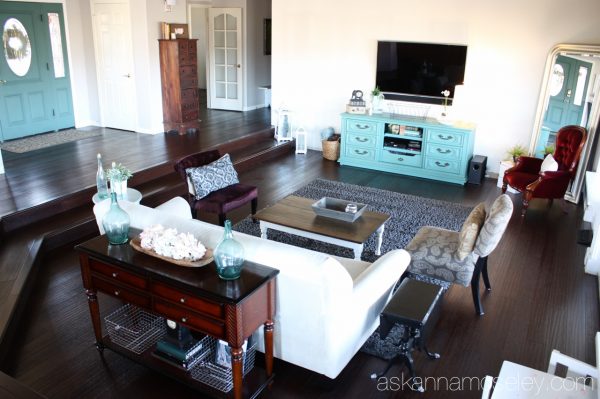
I’m extremely happy with the way it turned out and I love the pop of color on the new hardwood floors!
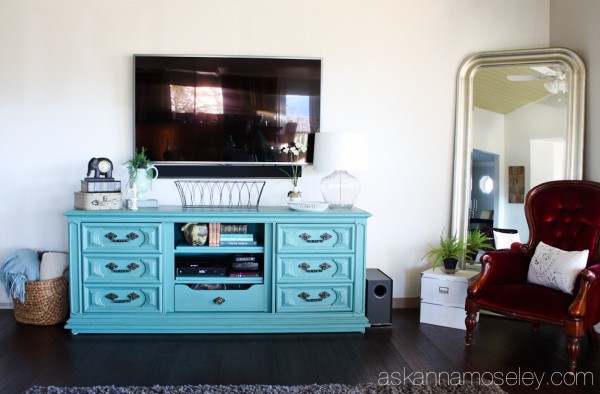
I think it makes a stunning addition to our newly remodeled living room and I absolutely love the color!

Products used:
Old Village Paint (Society Blue)
Antiquing wax (American Paint Company)
wow! I think you did such a great job on this piece. It looks so much better than before! Removing the three middle drawers did such a huge difference!
Thank you! 🙂
Anna, great job on the dresser/tv console. could you tell me what you did to prep the dresser before you painted it. I tried to do an old armoire, and used Kilz Max primer 1st,,,,was told no sanding was necessary . did the primer, then the paint,,,,but for some reason some of the paint has peeled off.
Bummer! I actually didn’t do anything, I just wiped it down to make sure it was clean and then painted it. The Old Village paint is REALLY thick and really high quality so it went right on and it looks great. I would highly recommend it for painting over old pieces.
It’s gorgeous Anna! What a transformation!
xo, Becky
Thanks Becky! 🙂
Very nice job. Love the color and the aging wax.
My wife is going to love this idea!
Cool blog…
hi anna, i have a piece that i would like to paint, you didn’t mention sanding, did you?
There were a couple spots I had to sand because there was some sort of build up on top of the dresser, but the sanding was minimal. The Old Village Paints paint is such good quality that it covers pretty much everything, giving you a nice smooth finish. 🙂
How big is this dresser? I have one that looks almost identical that belonged to my grandparents. It’s not my style and too big for my bedroom. I almost gave it away but can’t seem to for sentimental reasons. I’d love to repurpose it. I think I found next weekend’s project!
My dresser is 20″deep x 78″ long. I’d love to see pictures of yours after you redo it!
Looks great! Did you use the clear or dark wax from American Paint Company?
I used the dark wax but it’s hard to see in the pictures. It looks great in person though. 🙂
Can you share how you got the cable box and other electronics wires connected from the wall to the dresser? Did you drill a hole in the back of the dresser and thread them through?
Yes, that’s exactly what we did. 🙂