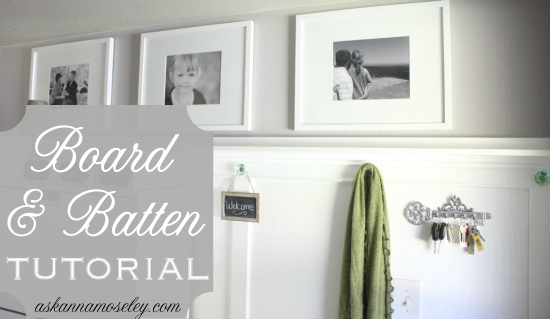
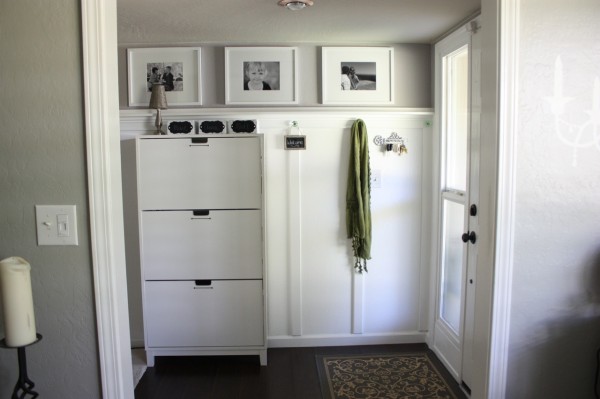
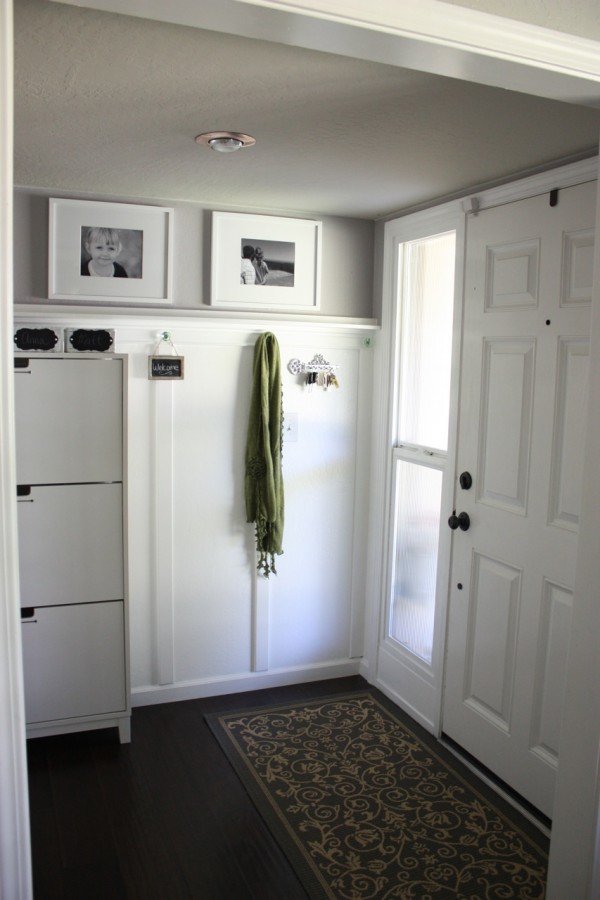
The other day I posted the reveal of my entryway but today I want to give you a quick tutorial of how we got the the board and batten look. I’ll tell you a little secret… we actually didn’t use batten, I just faked it with a lot of Valspar paint+primer. We set out intending to purchase batten {“a thin strip of solid material, typically made from wood, plastic or metal“} but when we went to purchase our supplies I couldn’t find exactly what I was looking for so I decided to fake it.
Here’s what we purchased:
* 2×2 board
* 1×4 board
* 4″ molding
* 1×2 boards
* Paintable caulking
* Putty
* Straight off the shelf white Valspar paint+primer
* Sherwin Williams, Ponder (gray) paint+primer
Step 1: Hanging the shelf
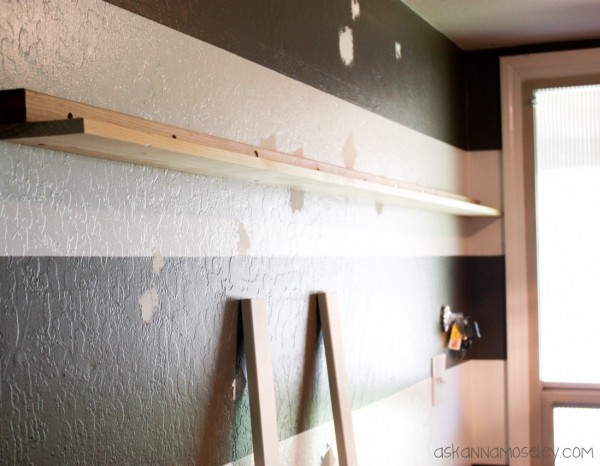
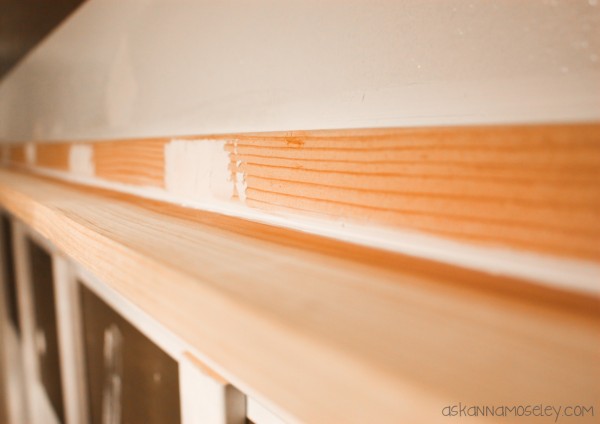
First we screwed the 2×2 board into the wall and then we attached the 1×4 to it, to create a shelf. I really wanted to have a shelf without brackets and we thought this would be the best way to do it. The shelf is about 6 feet high so I didn’t think many people would notice the 2×2. {Now that it’s painted and decorated you don’t even notice the 2×2 at all!}
Step 2: Hanging molding
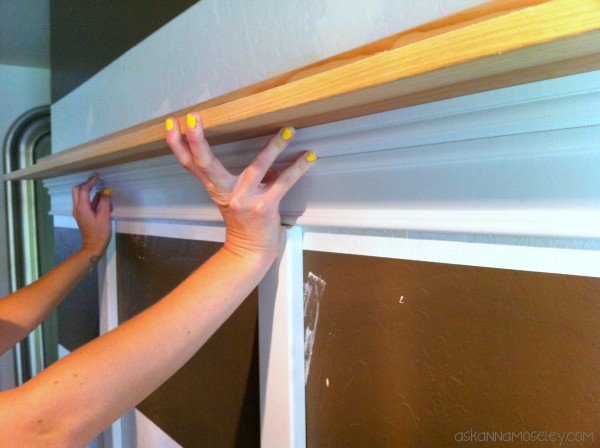
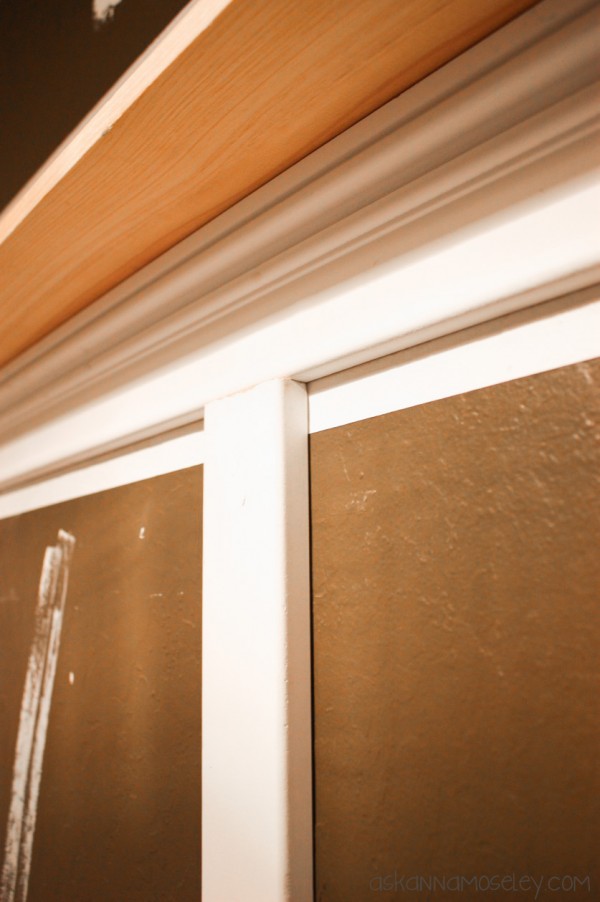
Next we attached the molding all around the room, to create the “top” of board and batten.
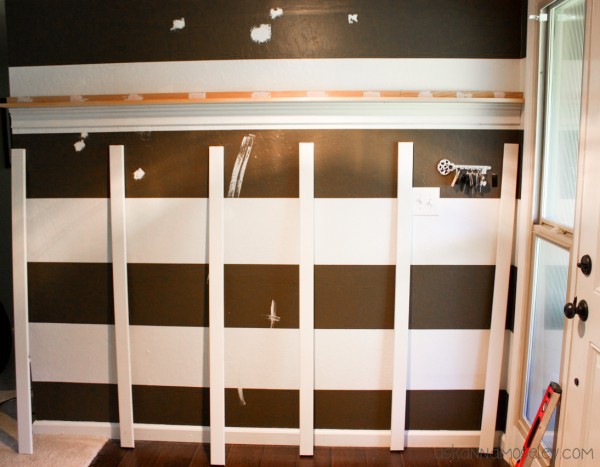
After we attached the molding we dry fit all the vertical boards to make sure they would fit.
Before hanging all the vertical boards I had Matt cut the bottom of them at about a 30 degree angle so they’d match up to the baseboards, rather than having them hang over by an inch. It’s not a perfect fit but I think the angle gives it a good transition look.
Step 3: Filling in the holes
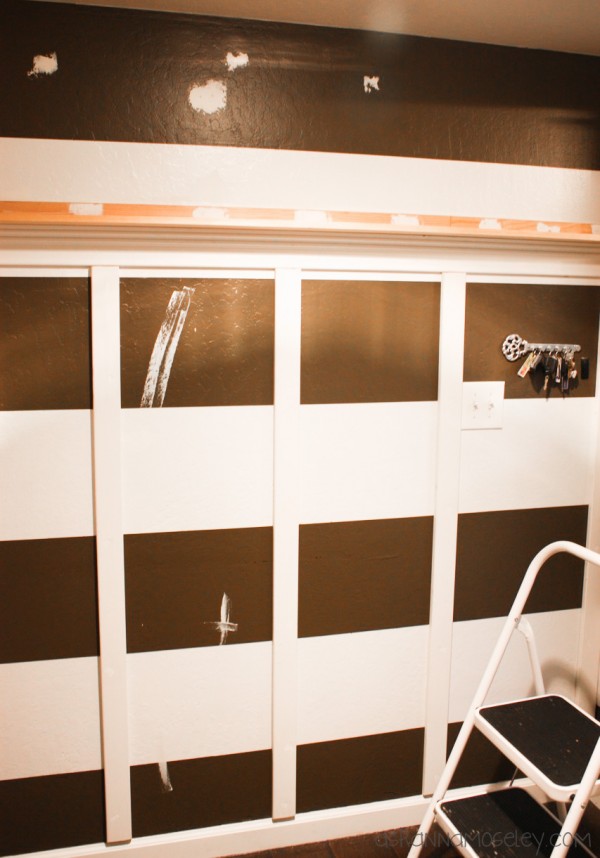
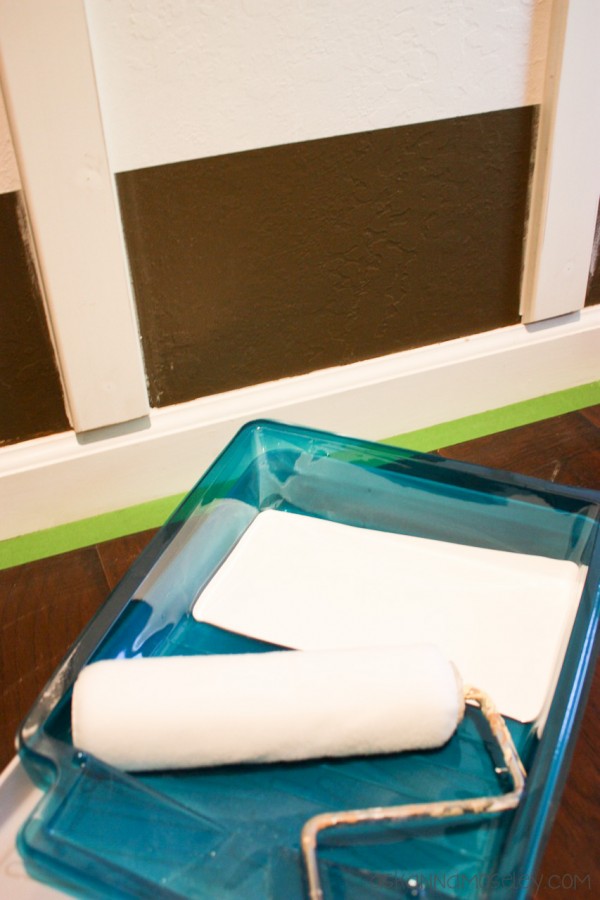
After all the boards were hung I puttied all the holes from the nails and screws. At this point the walls were stressing me out because there were stripes going in every direction. Doesn’t this picture make you a little crazy? I couldn’t wait for the putty to dry so I could paint over the horizontal stripes!
Step 4: Caulking
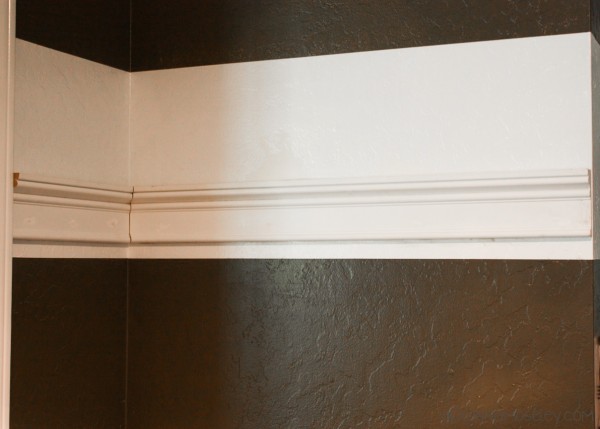
After I puttied all the holes, Matt went around and caulked all the seams. I know caulking is just part of the process but every time I’m so impressed with how much smoother and cleaner the caulking makes it look!
Before caulking…
After caulking…
Step 5: Painting
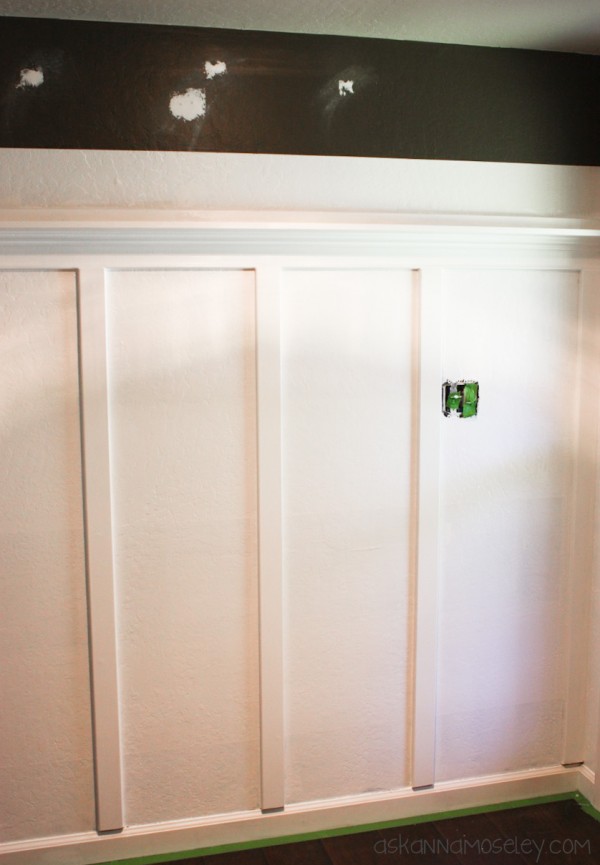
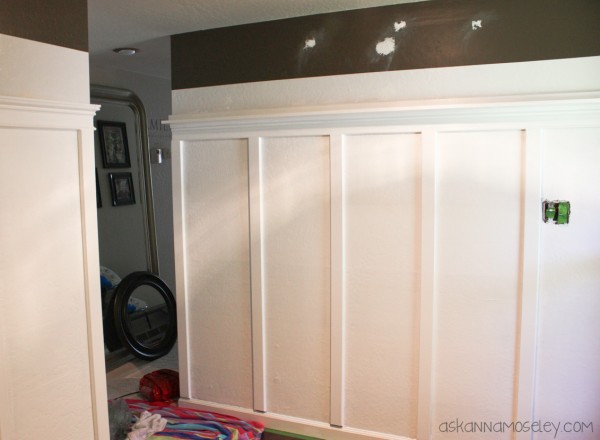
I knew I was going to have to paint a lot of layers to cover the brown stripes, but I had no idea how much I’d really have to paint! I literally painted 6 layers of pure white paint+primer to cover up the dark brown! Every time I painted another layer I thought, “surely this will be the last coat!”. You can see in the picture below how even after THREE coats of paint, you can still see the brown stripes!
With each layer of paint the stripes slowly faded away.
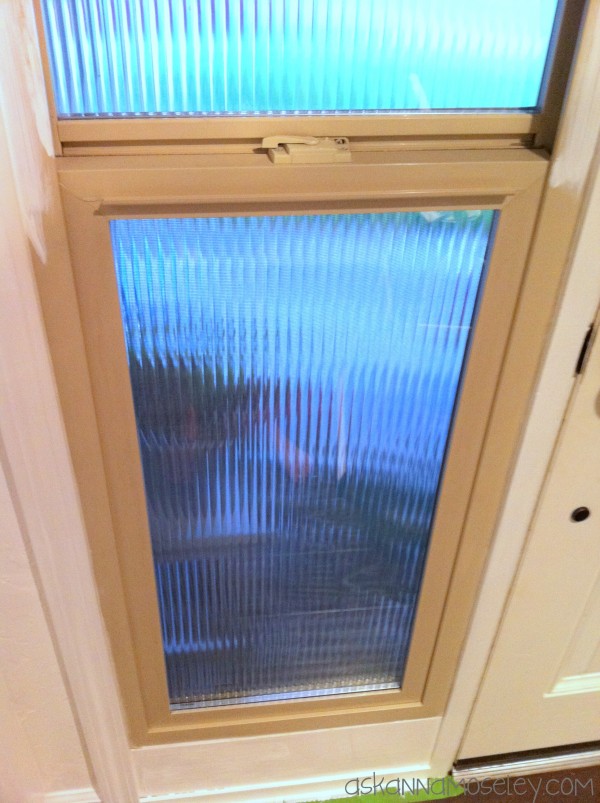
After painting the walls pure white, the beige-color window in the entryway, stuck out like a sore thumb! After getting Matt’s “o.k” to paint a window, I got to work on getting rid of the ugly beige! {I mean really, who puts in beige windows!?} After painting the window the whole room looked 100% better! I couldn’t believe the change just painting a window had!
After lots of wood, screws, nails and paint, here is the finished product. {See how good the window looks!}
I am so in love with the way this project turned out, I think it’s 1,000 times better than the old entryway! {For the full makeover tour click here}. I think the other reason I loved this project so much is because it was so easy! Hanging the shelf, molding and boards was way easier than Matt and I thought it would be. Honestly the hardest part of the whole process was waiting for the paint to dry in between each layer! If you’re looking for an inexpensive way to update an entryway, dining room, bathroom, etc. I would highly recommend adding this board and {faux} batten.
Have you ever hung board and batten before? Did you use batten or did you do the {faux} version? I’d love to hear your thoughts.
I heart board and batten so much and have added it to several places in our home. It’s just such a great, classic look, and I love how easy it is to clean up when kids run through with their hands inevitably slap against the walls. 😉 Yours turned out beautifully!!
Thank you Jenny! 🙂
Absolutely love it!!
Thanks Crystal!
I adore board & batten Anna! I just finished it in my office (to be revealed soon). It made such a beautiful difference in your home! LOVE IT! (I had to share your awesome tutorial, so I pinned it and shared on G+ too! )
Thank you Kim! I appreciate the shout outs. 🙂
Love your new entry!
Thank you. I love it too. 🙂
Hi Anna! I love your entryway. I have a home with shorter ceilings also and I was curious what your ceiling height is and how high up you went with your board & batten. I believe you commented about 6 feet in the post but wanted to double check.
Thanks!
The ceilings in our entryway are only 7′ tall and we did the b&b 6′ tall to make the room look taller. It totally worked, the room looks much more open. 🙂
Hi Anna! I loved your project so much that I used it as my inspiration! Thank you. I was wondering–was there any reason that you put the shelf underneath the 2×2? I’ve wracked my mind as to why you would/wouldn’t do it and my guess–just going out on a limb–is that one’s eye is drawn to the board and batten and you want it to look as seamless as possible. Is that it? It’s such a fun, terrifying process–all at the same time! Thank you!
It was just a personal preference. I wanted to have a ledge there for seasonal decorations. Most of the year it didn’t have anything on it but it was nice to be able to put garland, lights, etc on it for the holiday seasons. 🙂
Thank you, Anna! I’m almost to the painting stage. I’ll try and send pictures when I finish. It has been so, SO much more work than I thought but I know I will love it in the end. Yours is beautiful and I thank you for the inspiration. I had seen other pictures before but you gave such clear, specific instructions that it put me over the top. 🙂
Yay!! I’m so glad! Yes, please email me pictures when you’re done, I’d love to see them!!
I found your blog when I was looking for board and batten tutorials. I know it’s been awhile but can you tell me how you painted that window? We redid our kitchen in what and gray it looks great except for the same type of beige window. It’s driving my daughter and me crazy!!! We said the same thing, who would ever choose that window?
Also, love your board and batten!
thanks so much,
Carey
Thank you Carey! It’s been years since I painted it but I’m pretty sure I used a high gloss paint to still make it look like a vinyl window casing. We only lived there for a few years but I never had any issues with it peeling or anything like that, and it looked SO much better once it was painted. 🙂