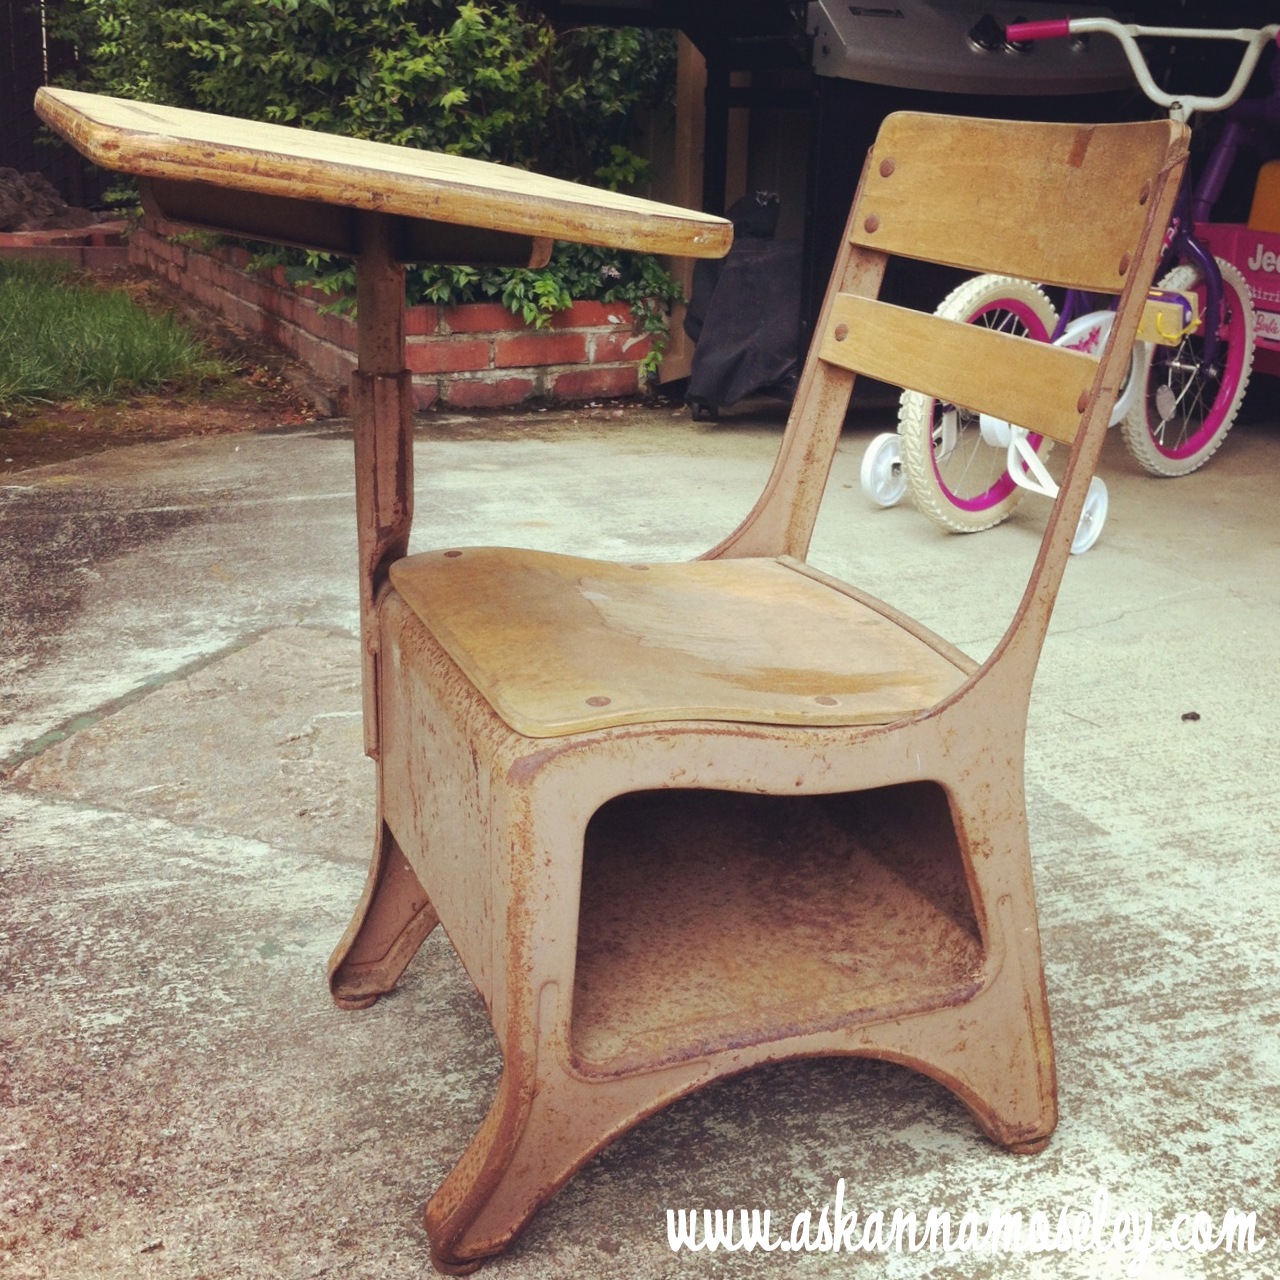
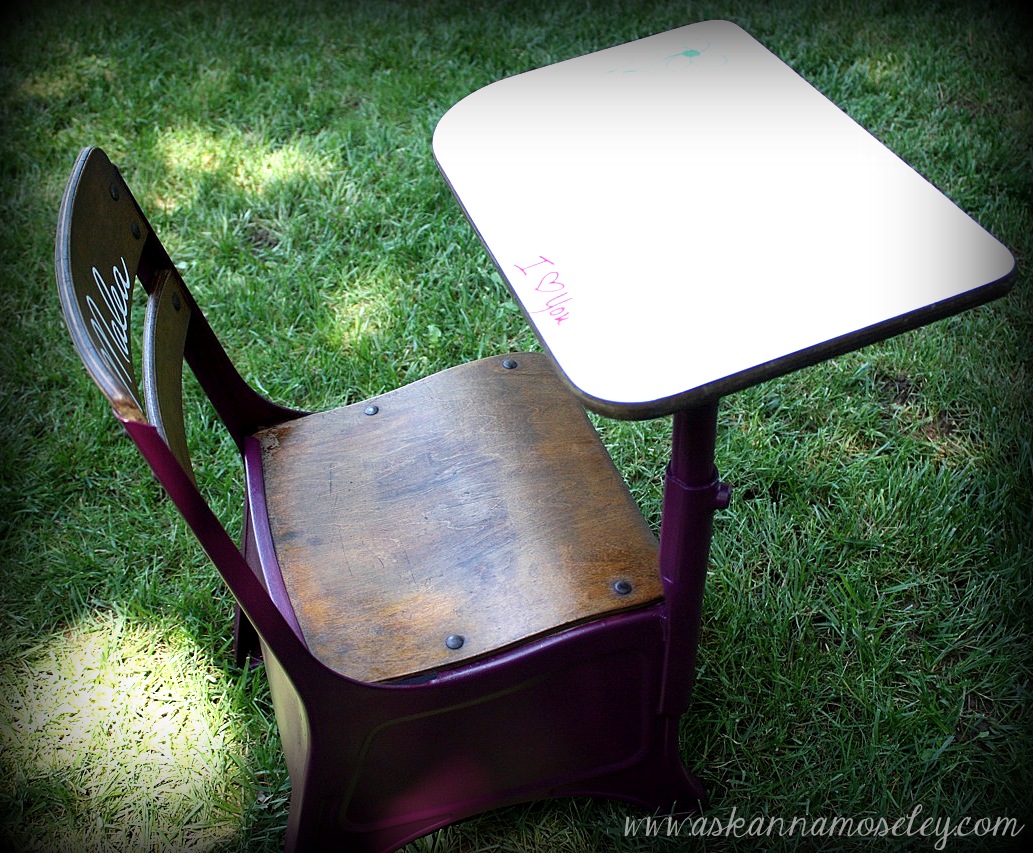
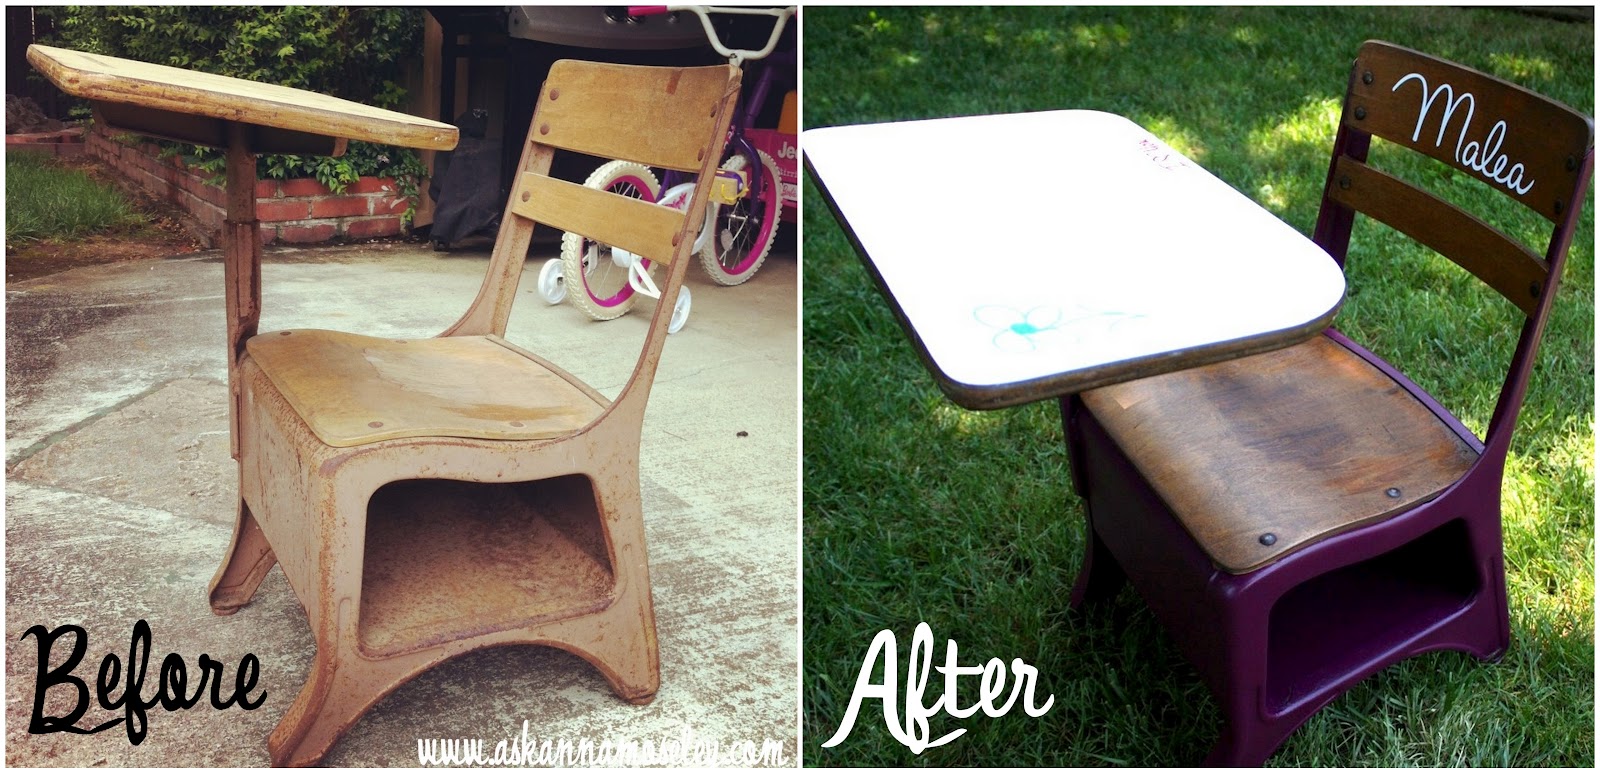
I was at a trade show about six months ago and found this cute vintage desk. I had hopes and dreams of fixing it up for Malea but as the months went by I was beginning to think that I’d never have time to get to it. However when I started my office makeover a few weeks ago I decided the desk would make a fun addition to my office. It’s the perfect size for Malea and it would be a great spot for her to sit and color while I work.Here’s how it started out…
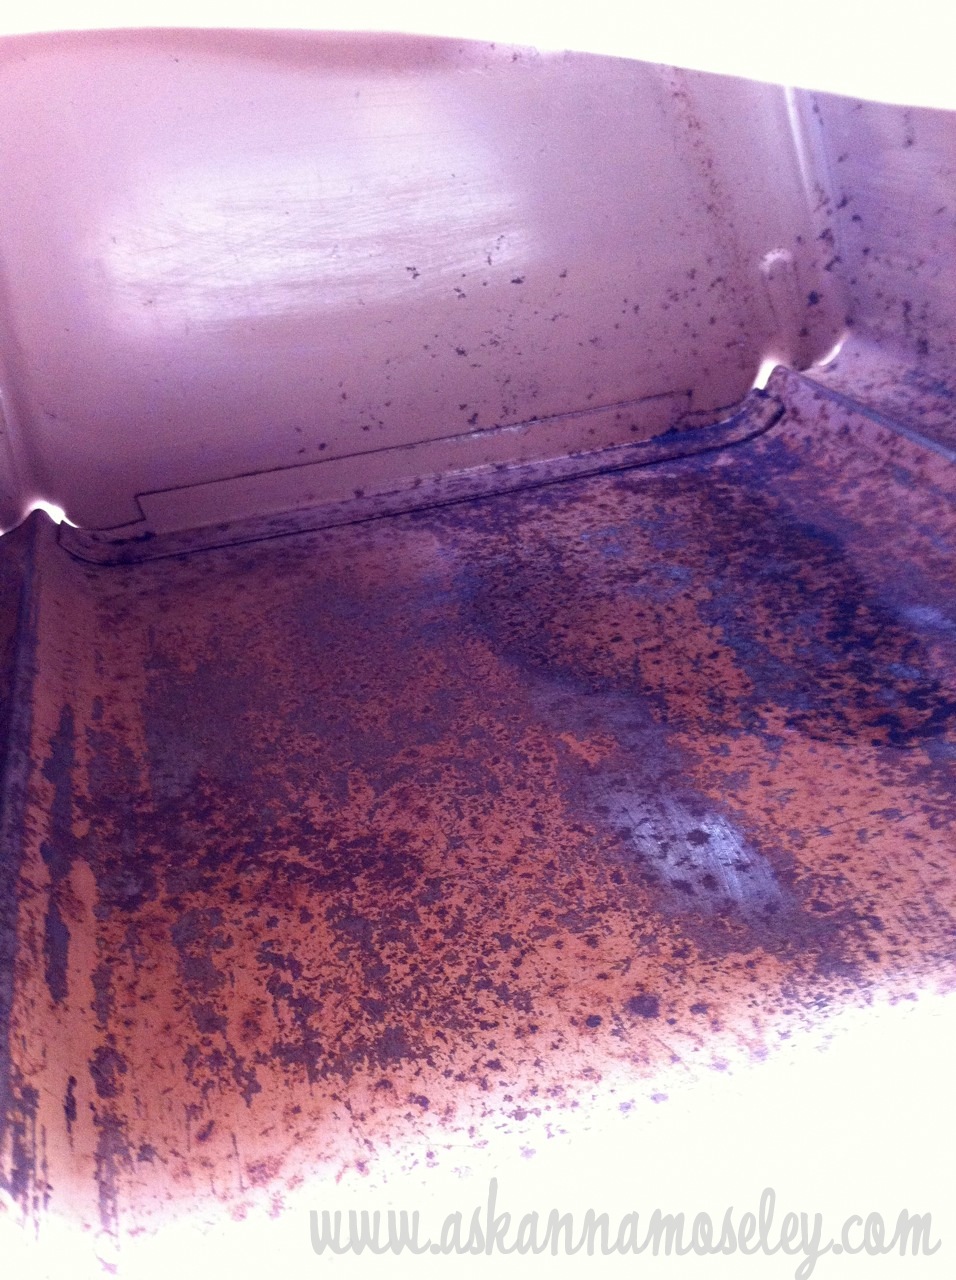
It was very rusty! I was covered in orange dust when I got done sanding it down.
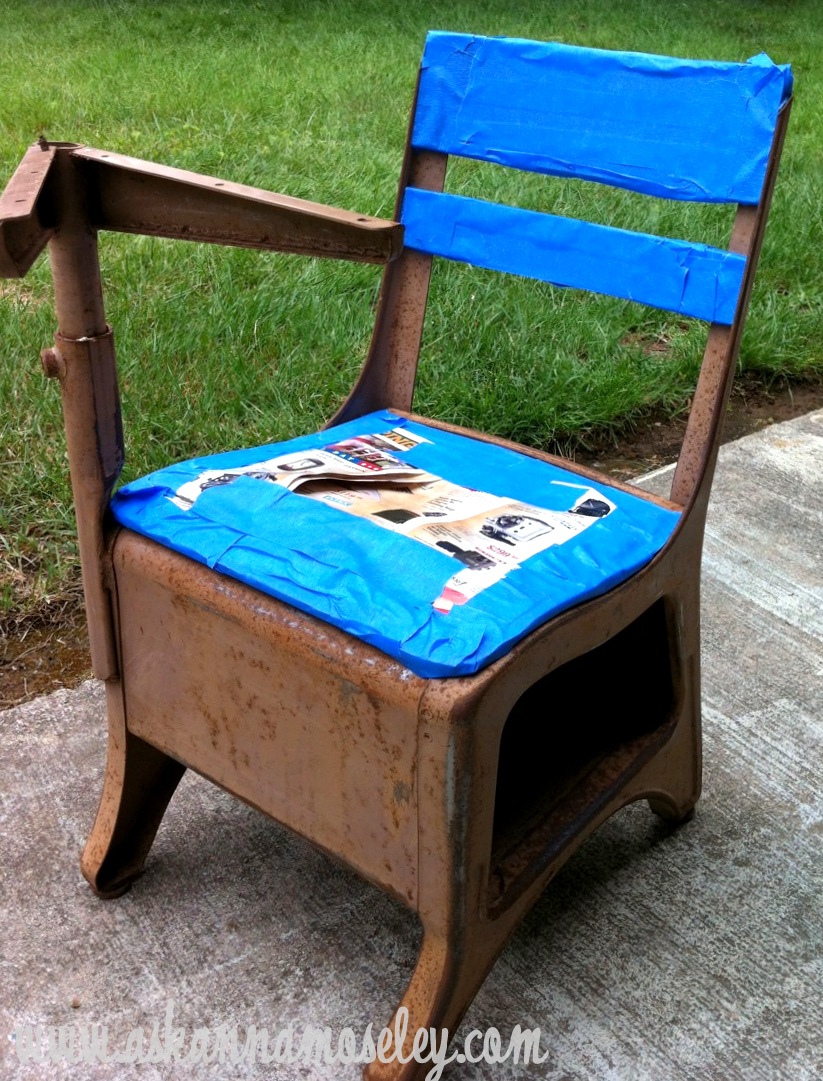
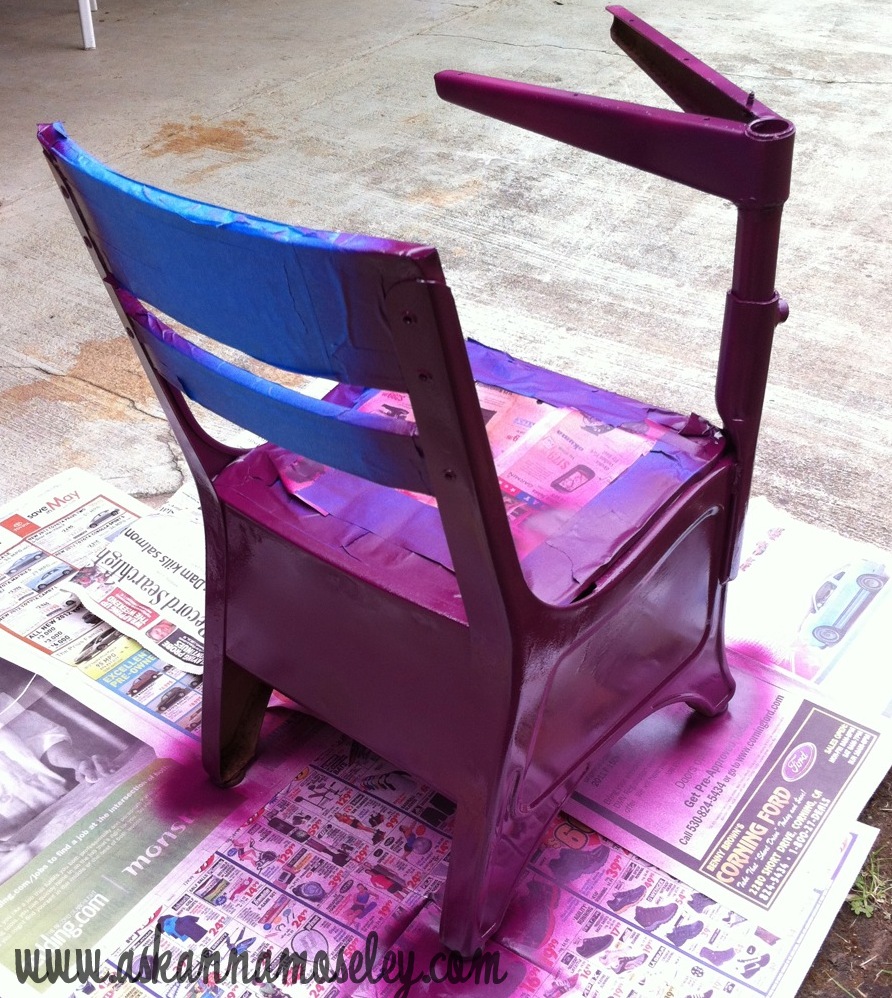
After sanding the majority of the rust off, I taped off all the wood.
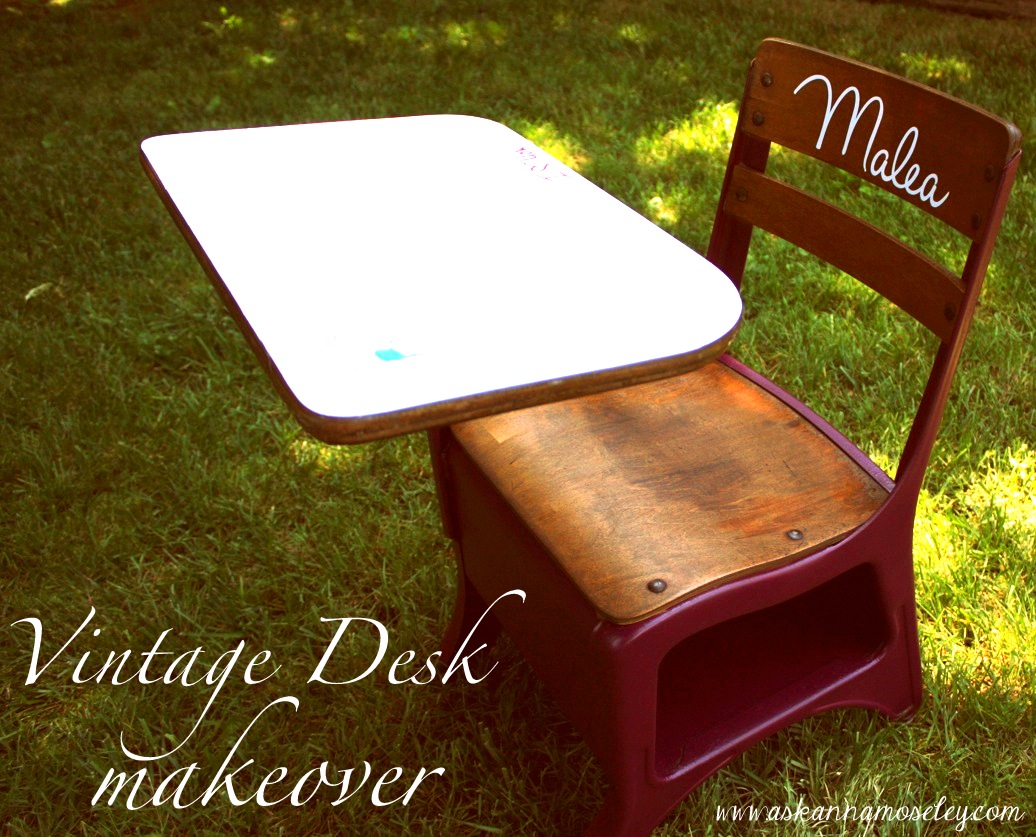
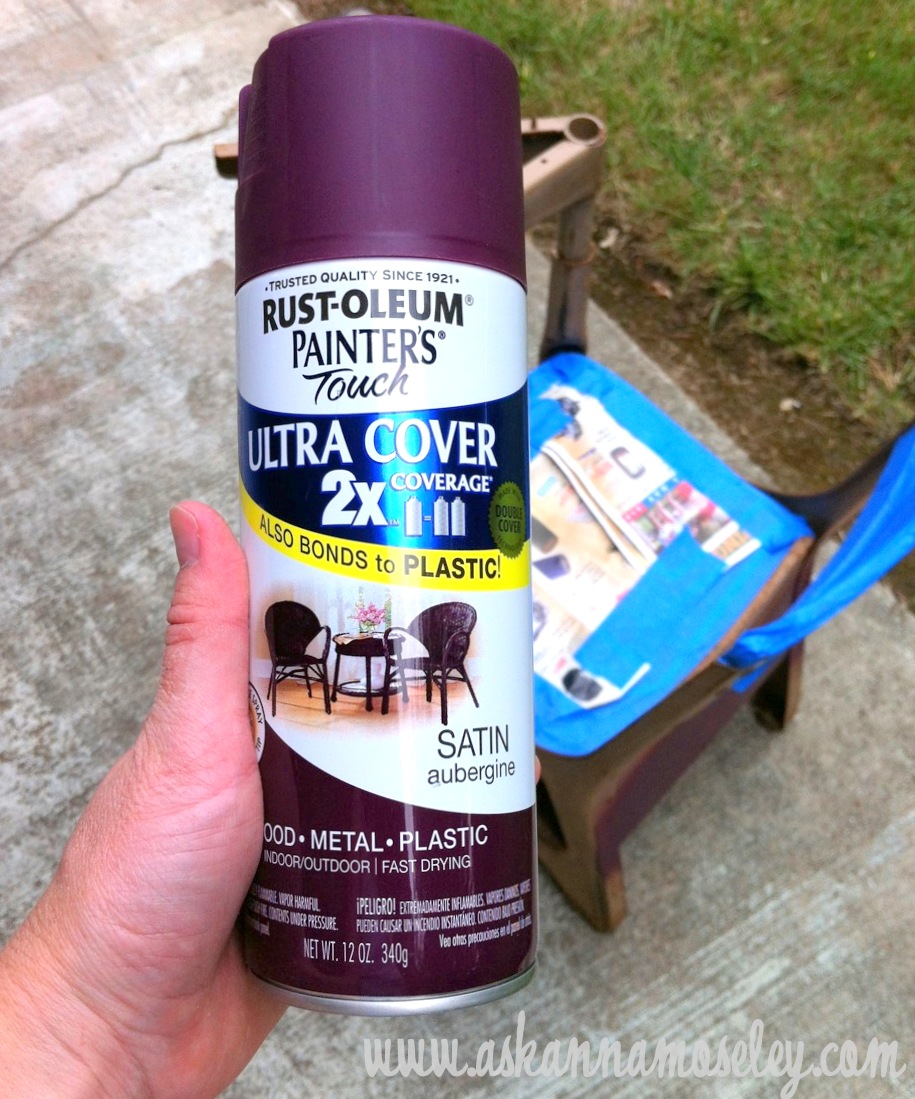
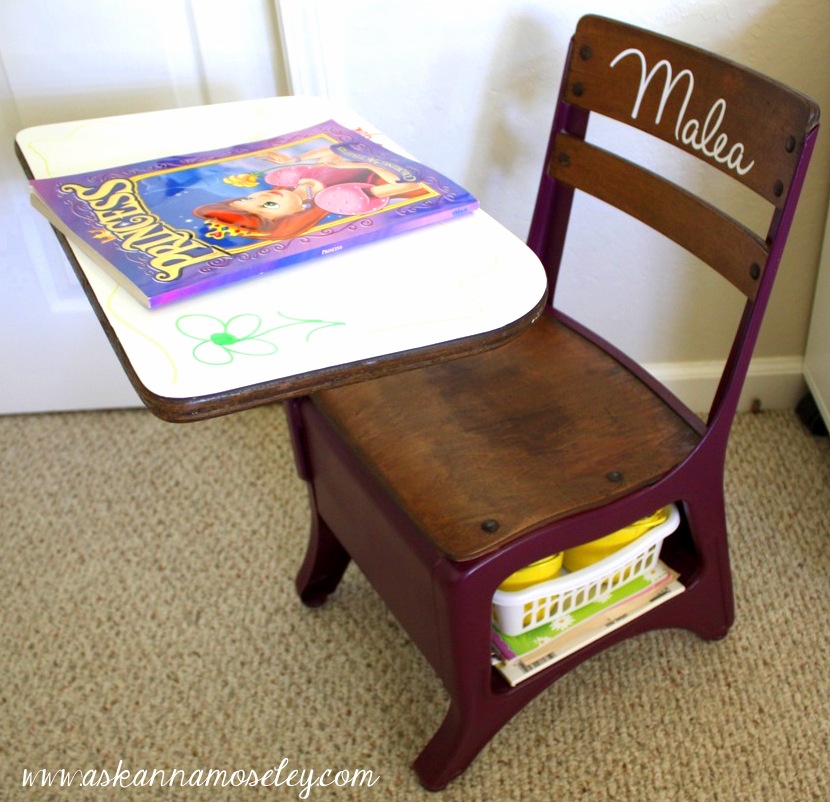
I decided on this pretty Rustoleum color because what 3 year old princess doesn’t love purple!?
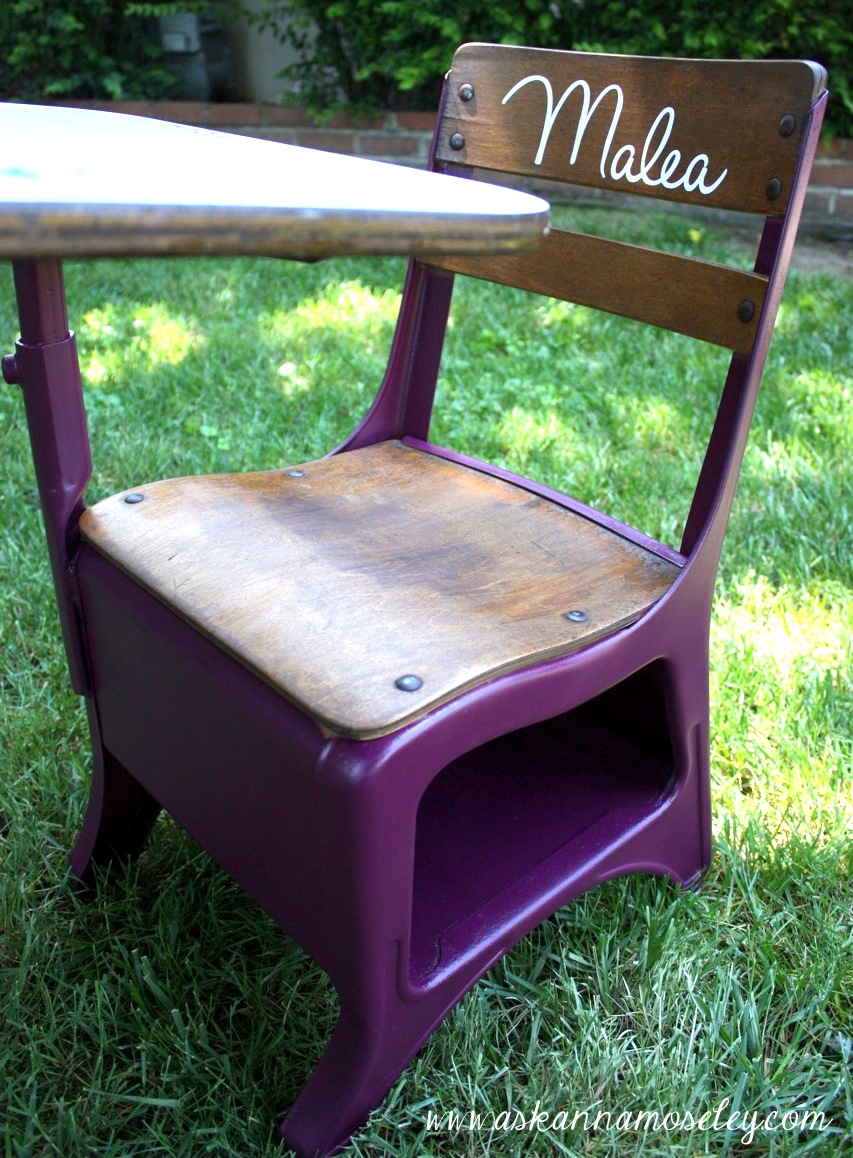
After the paint dried I sanded and re-stained the wood a darker color.
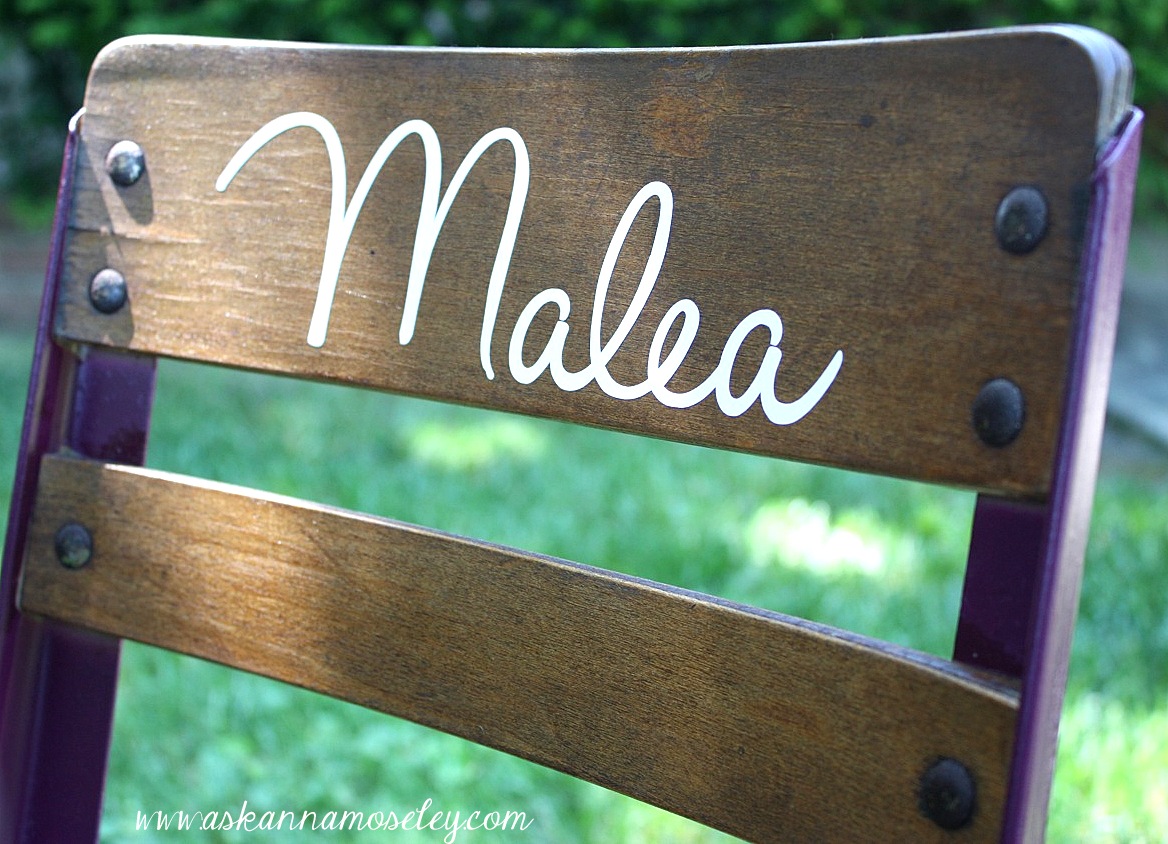
I also added her name to the chair just for fun. 🙂
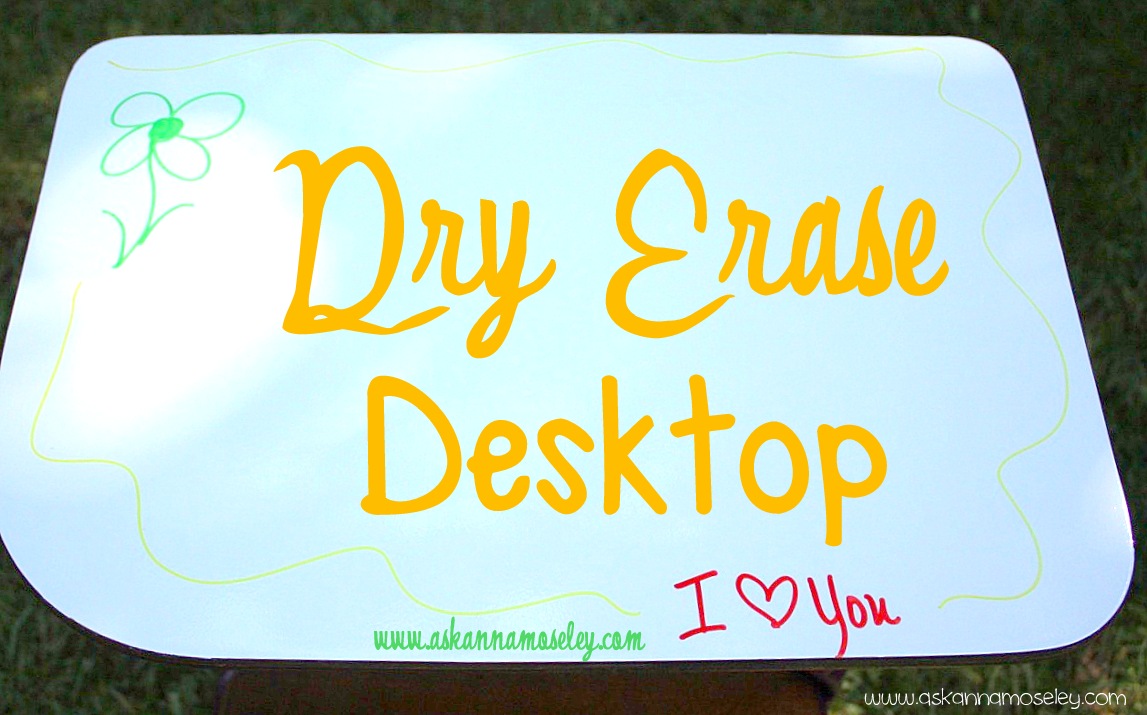
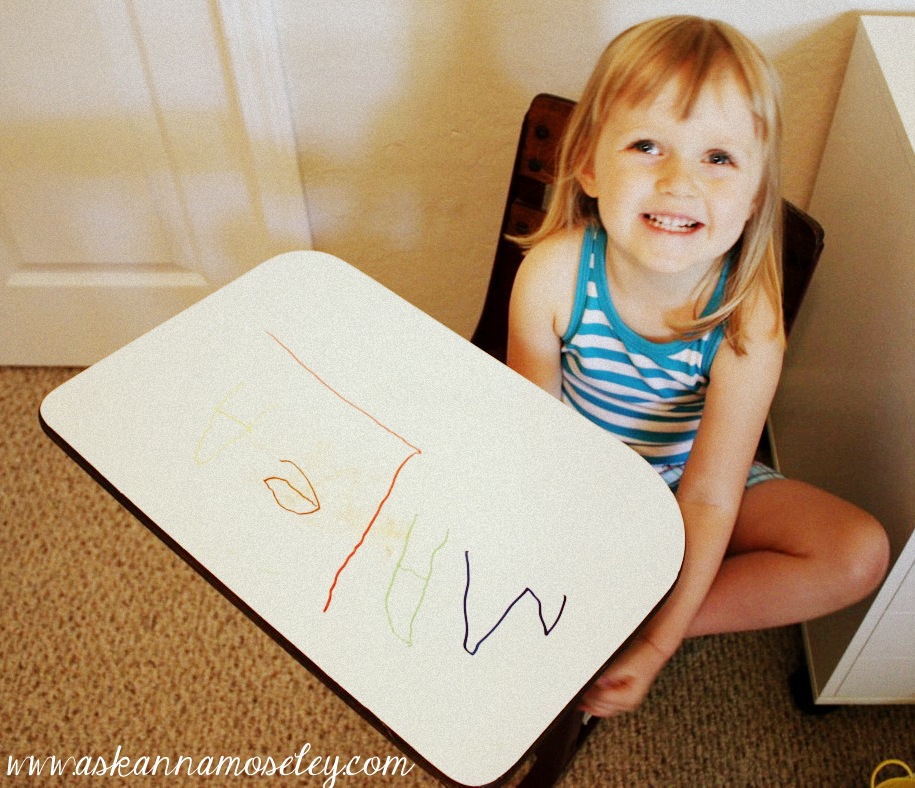
I knew I wanted to do something fun with the desktop too, I considered chalkboard paint, but then I decided to go with a dry erase desktop. I thought it would be fun for her to get to write, and color, right on her desk!
Now that the chair is done it sits happily in my office.
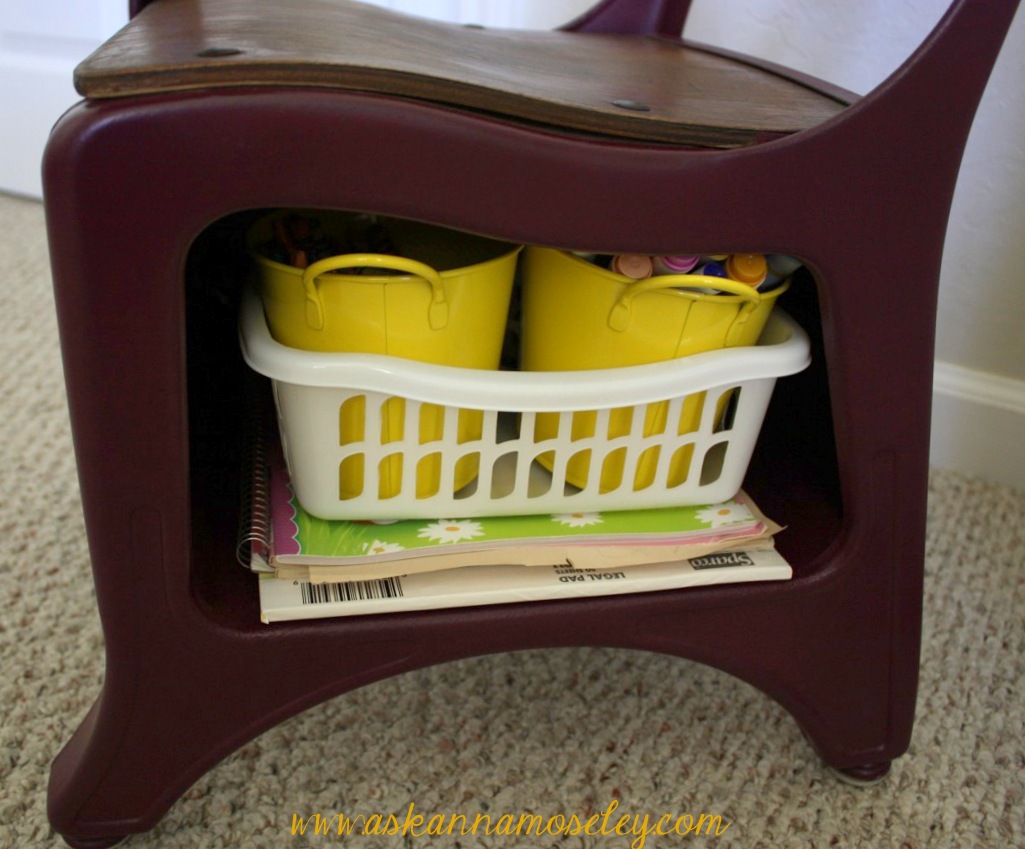
I also grabbed these baskets from the Target $ bins, to organize her crayons, pens, etc. They are handy because she can pull them out and put them back all by herself!
Practicing writing her name… I love how proud of herself she is! I just love this little girl!
What do you think?
How did you do the dry erase part of the desk? My mother in law just found a desk after we saw this and I am looking to do the same thing for my daughter. Thanks!
I bought it online at Hobby Lobby, here’s the link: http://shop.hobbylobby.com/store/item.aspx?ItemId=187365. I cut out a large square and applied it to the desktop just like you would a vinyl. Then I used a razor blade to trim all the edges. It was really easy, super cheap and my daughter LOVES it! 🙂
Anna
Thank you so much Anna!! Now I can pass the message along to go ahead and purchase!! I’m excited now!!
One more question…..
When “covering” the desk top with white board stuff, did you remove the previous top of the original? The one we found has 2 chips off of the edges and without being with it, I’m thinking ahead as to what would happen with the chips being there. I hope that makes sense. Thanks again.
Where did you get the dry-erase board and how did you get it to fit?
I made it. I bought dry erase contact paper and put it over the original school desk.
Where did you find the stencil letters?
I printed them with my Silhouette. They have some good Martha Stewart ones at Michaels though.
Do you mean you wrote it yourself? I am a real “need to know the step by step details” kind of girl. I have actually completed three desks using your process except the stencils. 🙂
Hi! How did you attach the dry erase to the top of the desk?
It’s dry erase contact paper, it’s awesome! Here’s the link: http://www.amazon.com/gp/product/B0027HJ52I/ref=as_li_qf_sp_asin_il_tl?ie=UTF8&camp=1789&creative=9325&creativeASIN=B0027HJ52I&linkCode=as2&tag=askan01-20
I have one i want to redo for my son. The desk top has chips and i was hoping to do it with chalkboard paint, but am at a loss for how to fill the holes without the paint looking funky. I know u did dry erase, but do u have any sugestions?
Hi, Jessica! I’m Anna’s assistant, Bethany. Anna suggested that you get some wood filler and patch the chips in the desktop just like you would patch a wall. Let it dry fully and then sand down the whole desk top so it’s even and smooth, wipe it down, and then paint over it! It should create a nice smooth surface for you to paint over. Hope this helps!