I am SO excited to finally get to show you our guest bathroom makeover!!! But before we get started let me just show you some “before” pictures.
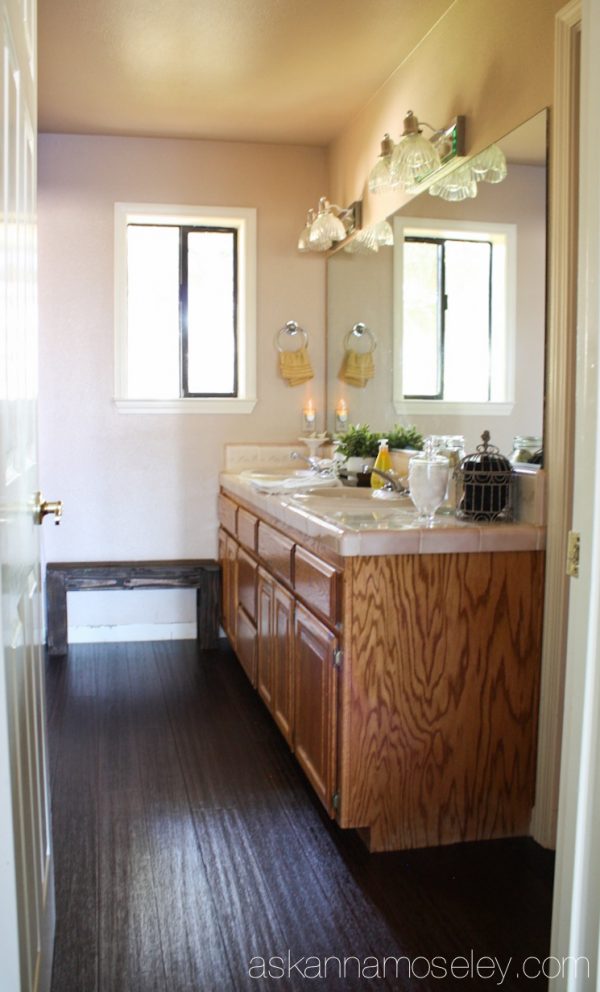
This is a good before picture of what the cabinets, and up, used to look like but of course I forgot to take a picture before we replaced the floors! However I did find this gem, from when I was taking pictures with my phone, before we moved into our house. I just had to show you the carpet! Yes, CARPET in the bathroom!!!
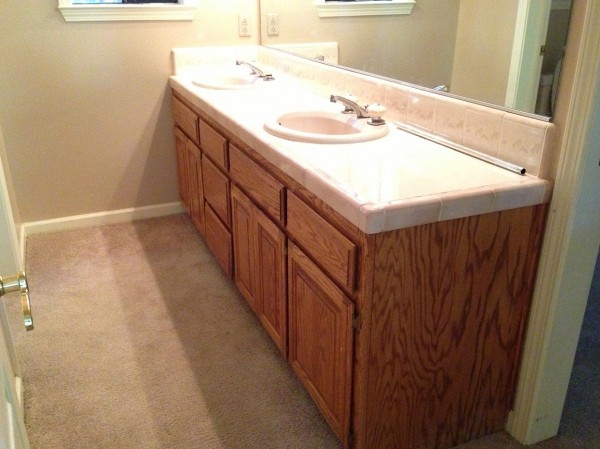
Oh the memories… I do NOT miss any of the mauve from this room! It was COVERED in it, from the painted ceiling, the walls, switch plates, sinks, flower faucets, tile, tub, carpet, even the toilet!!!
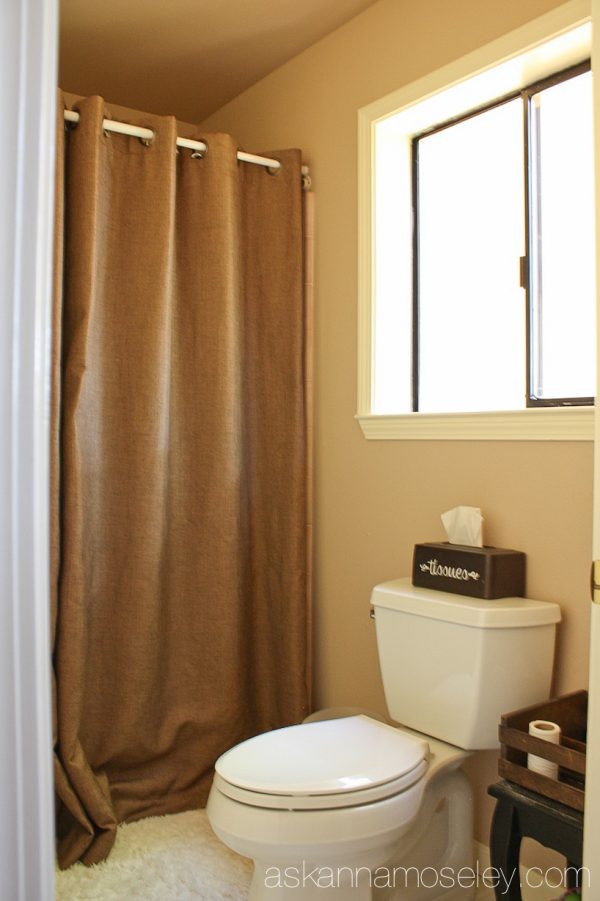
We replaced the toilet early on but here’s a before picture of what the shower/toilet room looked like. It was so dark with all the mauve and the shower curtain from our other house’s guest bathroom.
The shower was also mauve, surprise! Here’s a before picture of what it looked like.
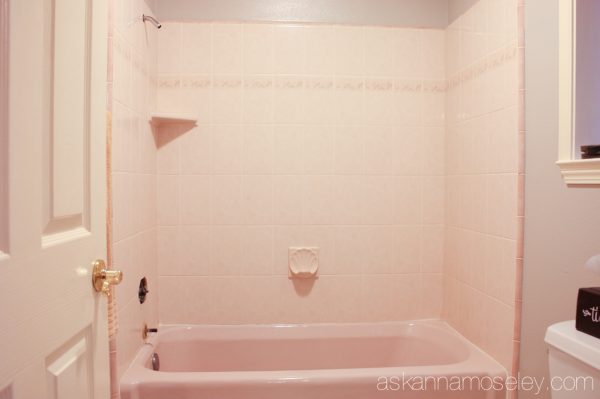
I seriously hated this bathroom from the minute we moved in. It’s a great space but it was SO ugly!!! It needed a makeover! The first thing we did was paint the ceilings white and the walls gray. That alone made a HUGE difference!
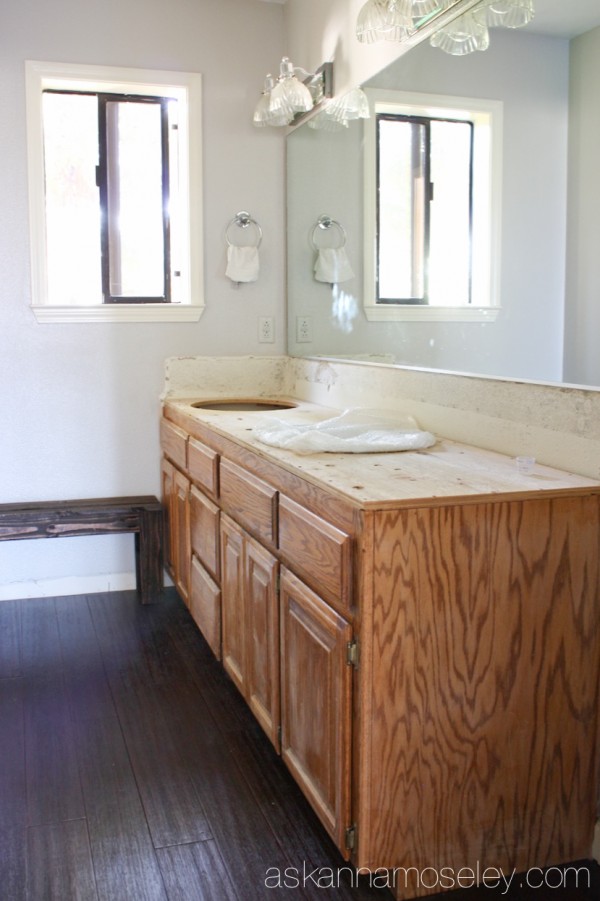
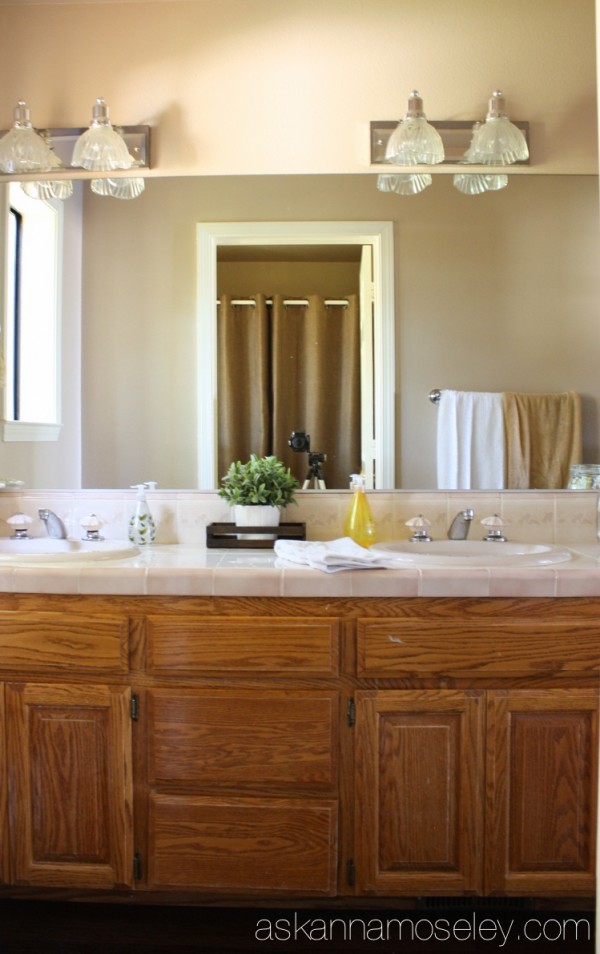
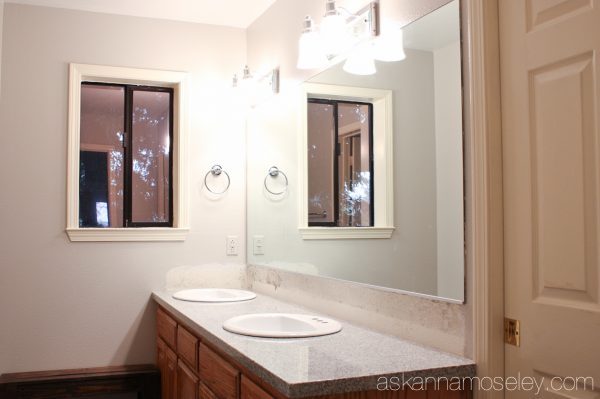
Then my husband tore out the pink tile and sinks on the vanity. We purchased a pre-fabricated granite slab, from a local company, and bought new white sinks, which updated the bathroom 100x over! I also bought new glass covers to update the light fixtures without having to spend a lot of money on new ones.
The only mauve left in the bathroom was the tub and shower surround, which had to go. It would have cost us a lot to tear the whole thing out, so instead I used Rust-Oleum’s Tub and Tile Refinishing kit (click HERE to see that makeover). Instead of spending hundreds on a new shower, for $26.00 it went from this…
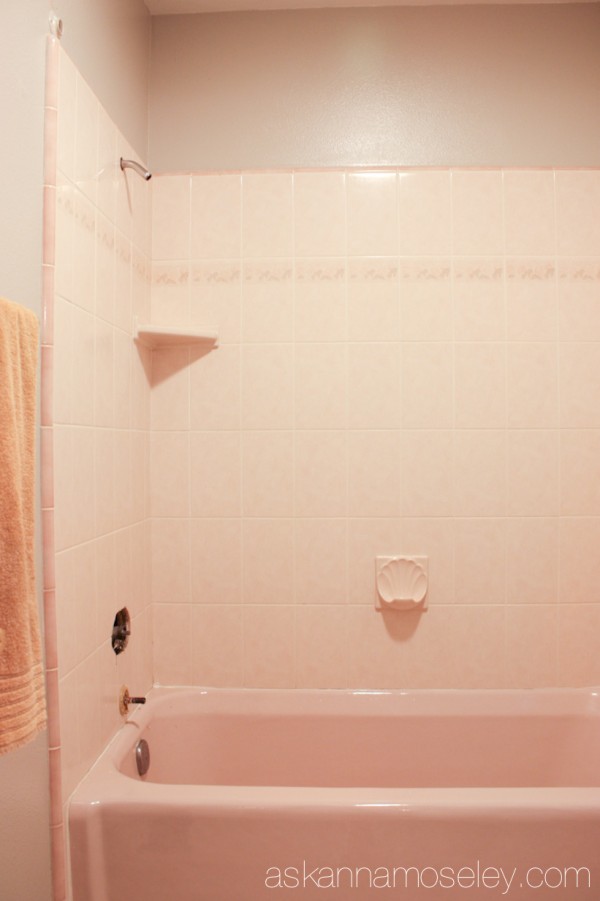
To this…
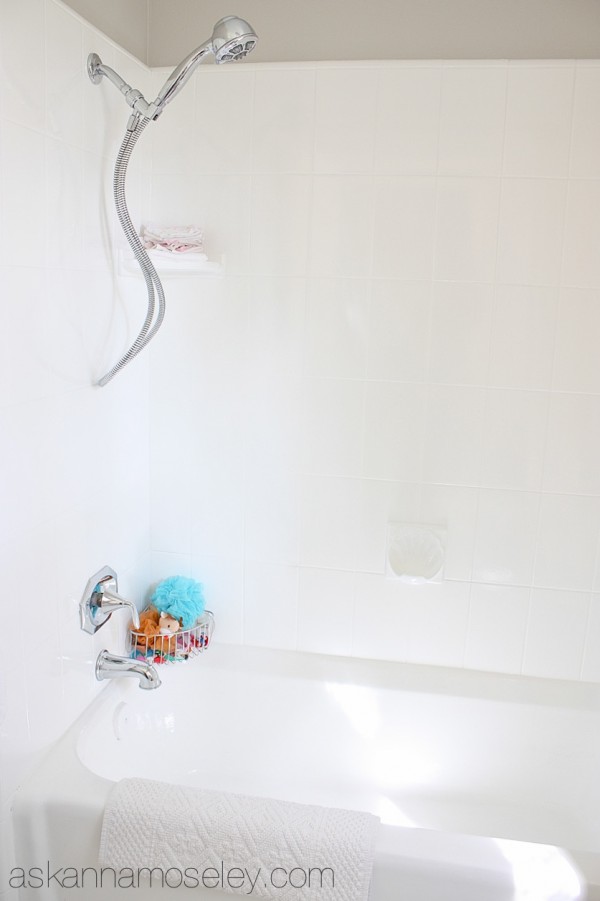
Isn’t it AMAZING!?!
Meanwhile, back at the vanity, we finished installing the new faucets from Price Pfister, framed the mirror with a MirrorMate Frame but the oak cabinets were killing me since everything else was looking so nice and updated! I knew I didn’t have it in me to paint them so instead I got Old Village Paste Stain & Clear Glaze and stained them Ebony.
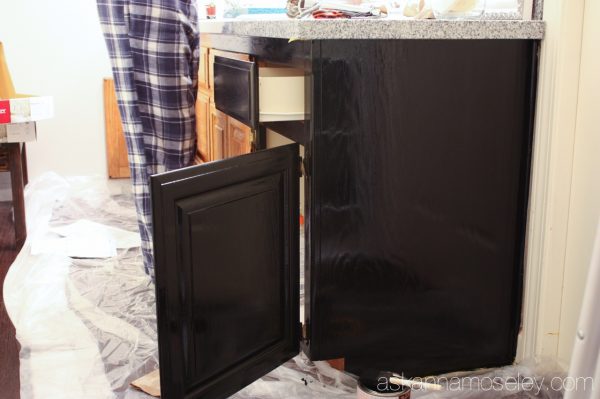
You like Matt’s flannel PJs? 🙂
The black looked so clean and so sharp, I was actually giddy while I did this part of the project. When I was finish I let them dry and then added these gorgeous knobs and pulls from D. Lawless Hardware.
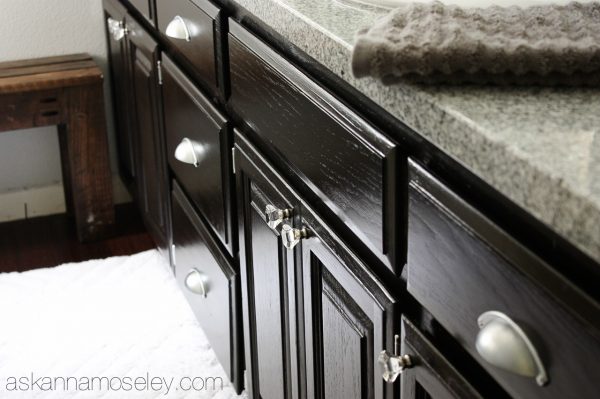
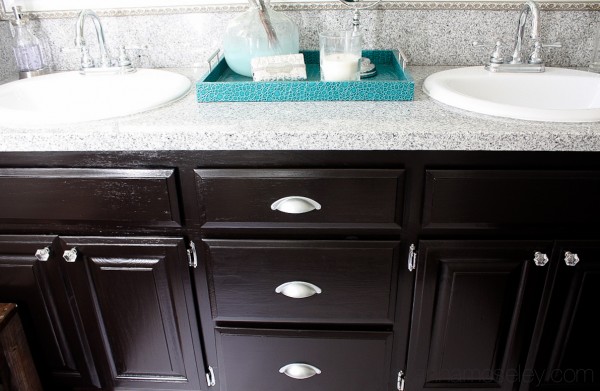
Once the hardware was on I went shopping at TJ Maxx to accessorize the bathroom. I added a few finishing touches and when it was all put together I wanted to cry because I was so happy with the outcome! What do you think of our new guest bathroom?

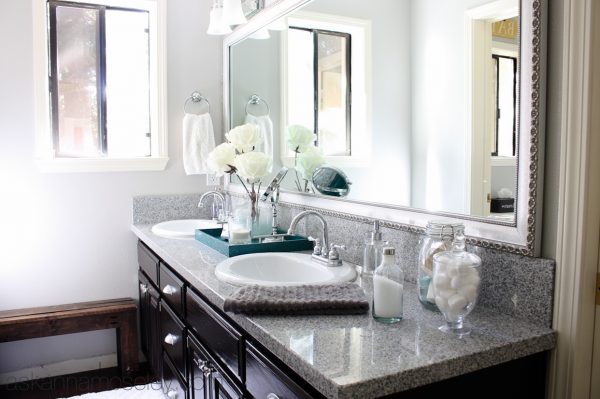
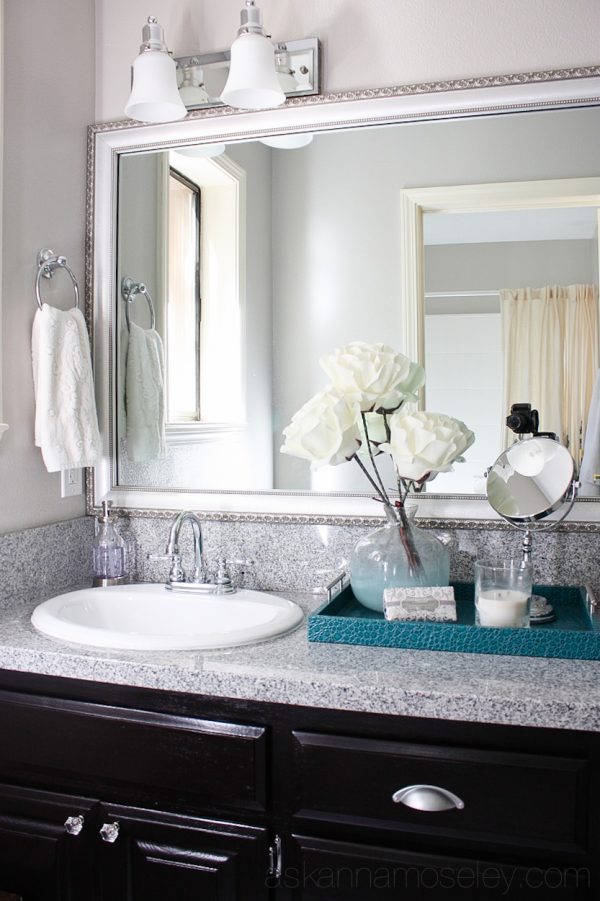

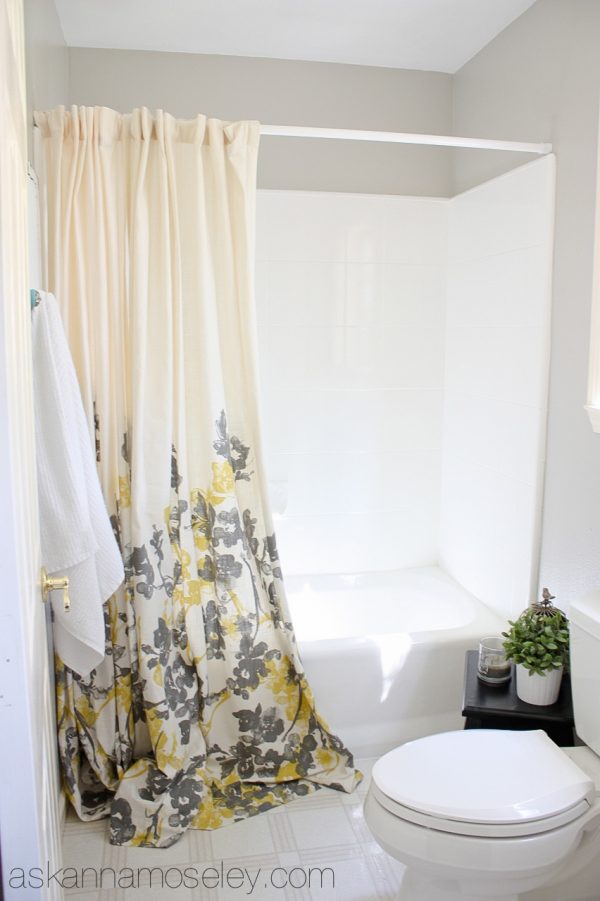
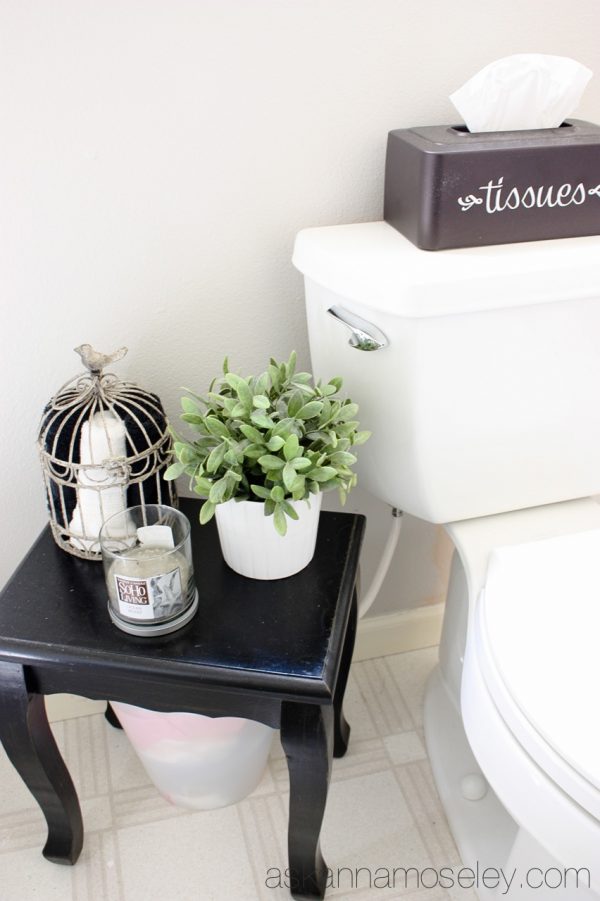
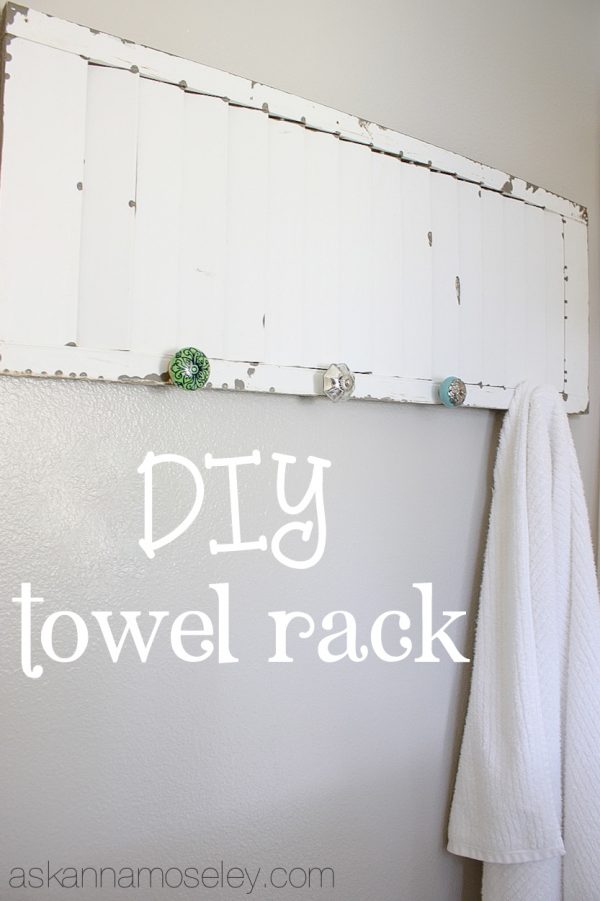
Since I love a good before and after picture here are two more glimpses at how far this bathroom has come!
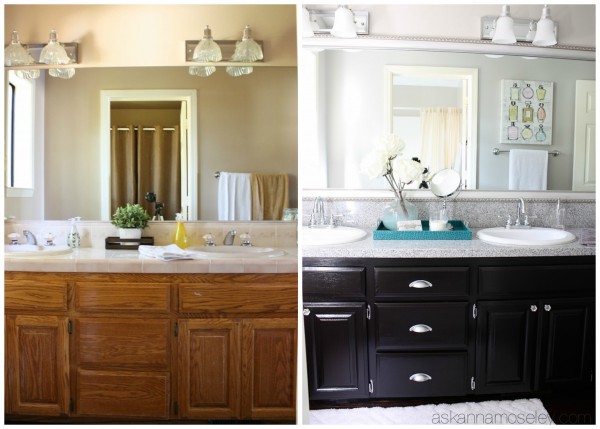

What do you think of our new, updated bathroom? I absolutely love it and sometimes just go in there to look at how pretty, bright, and NOT pink it is! 🙂
Product list and links:
- Flooring – Lumber Liquidators
- Cabinet stain – Old Village Paints
- Cabinet hardware – D. Lawless Hardware
- Granite slab – Design Time and Tile
- Sinks
- Faucets – Price Pfister
- Mirror Frame – MirrorMate Frames
- New glass covers on light fixture
- Paint – Partridge Gray by BHG, BHG808 (Found at Walmart in the Glidden section)
- Shower curtain – Target window panels
- Tub and tile paint – Rust-Oleum Tub and Tile Refinishing Kit
* This post contains affiliate links.
Very pretty! Love everything 🙂
Now, THAT is a makeover! We too had carpet in the bathroom. I will never understand it. Great job! Loved seeing the transformation
Did you sand your cabinets before you applied the stain? Did you use a brush to apply and a rag to rub it in? I am dying to paint or stain our kitchen cabinets black. THe whole bathroom looks beautiful!
I did a light sanding on the cabinets beforehand, just enough to get the glossy finish off. I used a foam brush and I didn’t have to rag off the black, but if you were using a regular wood stain, you would probably have to.
Wow I’m so amazed at what you’ve done with this space nice work!
Wow! This is beautiful! Your guests are really going to enjoy using this bathroom!
Do you know how long the tile paint lasts? I’ve looked into this in the past but heard it doesn’t last long. I’m hoping what you used is more up to date and lasts longer. I want to do it! We have eveything lavender rather than pink. 🙂
I have these almost exact same cabinets in both of my bathrooms, as well as in my kitchen and utility room. Did you also change out the door hinges on the cabinets? I, too, have thought about painting my cabinets black.
Yes I switched out the hinges and it made it look so much better! Instead of painting them black I’d recommend staining them, it’s way easier.
So fun! I’m amazed at transition. We have the same cabinets and I’m so scared to paint them but wanting to try. How much of the stain did you use for your cabinets?
It really didn’t take that much, I still have a lot of stain left over. 🙂
Your bath is sooo pretty, what a transformation.
Do you suppose the rustoleum would adhere toFIBER glass tub and walls..mobile home yellow?????
Yep, absolutely!
I am dying to have a quick fix like this for my cabinets but they are white? would staining them look near this or would I have to paint them??
That’s a good question. Are they real wood painted white or some other type of material?
Very nice
You did a fabulous job…your bathroom is absolutely gorgeous!!! Is that a combo of faux wood and linoleum on the floor? Did you lay both yourselves? I too wonder about how long the paint in tub/shower would last, especially on a daily-used one….I would LOVE to do that in my bathroom!!
Love the remake. It is a DEFINATE improvement. One thing, why the dark flooring with the dark cabinets? They seem to be “fighting” with each other. I would think a lighter floor would make the cabinet stand out more.
Thank you Deborah!
We just decided to keep the wood in our house a darker finish and the walls light. I didn’t want the cabinets to be a focal point, so we kept them dark too. Thanks for your input!
Hi Anna did you have to do any grout cleaning before redoing the tub and tile? What did you have to do to prep the area befor hand? I understand removing caulking and all but did you have to do any work to the grout to prepare it or is it pretty straight forward?
You just have to clean it really well and make sure to kill any mold. Fortunately our grout was pretty clean so I didn’t have to do too much work to prep it.
The bathroom looks gorgeous!!! I love reading your website! I just stumbled on it and am hooked! Thank you for all the articles and pics and tips.
Diane
Did you remove the varnish on the oak vanity before using the Old Village stain? I have vanities with that same oak finish but I don’t want to paint them. I’m thinking of darker, but not black. Thanks very much for your reply.
Yes, I sanded them down to take off the shine/seal, then I stained the raw wood. It has held up great too. 🙂
Hi, Anna! I am trying to decide whether to paint a old dresser turned vanity with Chalk paint (in black) or the gel stain that you used in this project (ebony)? Since you have worked with both, which did you prefer?
Hi, Abigail! I’m Anna’s assistant, Bethany. I’m so sorry for the delay in responding. For your dresser, Anna recommends chalk paint because it’s not shiny. The gel stain definitely has a shine to it, which Anna feels works well in a bathroom, but for a dresser it might be too shiny. It all depends on the look you’re going for, but Anna said that if it were her, she would go for the chalk paint. Hope this helps! 🙂