
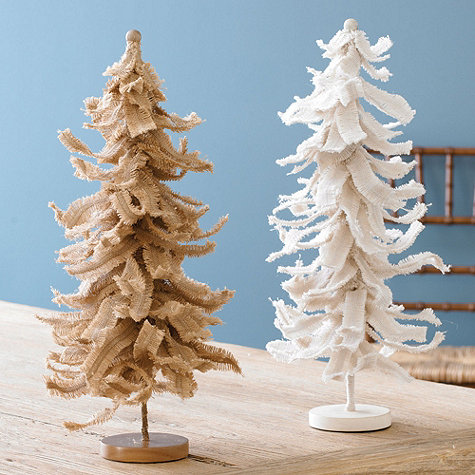
I was flipping through my Ballard Designs catalog when I saw these cute burlap Christmas trees.
I’m not usually very crafty but I thought, “I could totally make those!” These trees are $49 each {crazy!} and there was no way I was going to spend that much on something I knew I could make for a few dollars!
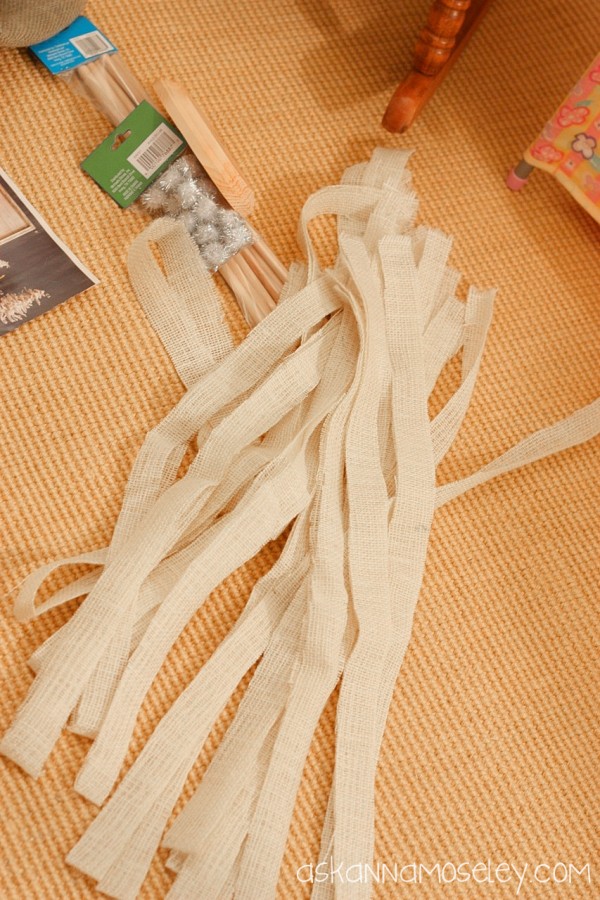
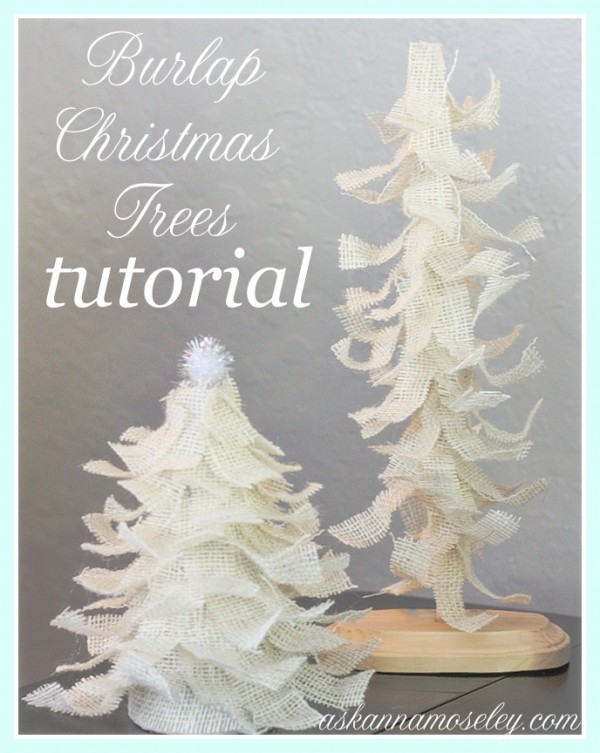
So I headed to the craft store and purchased some burlap, a package of wooden dowels, a wooden base and some silver poofs for on top of the tree.
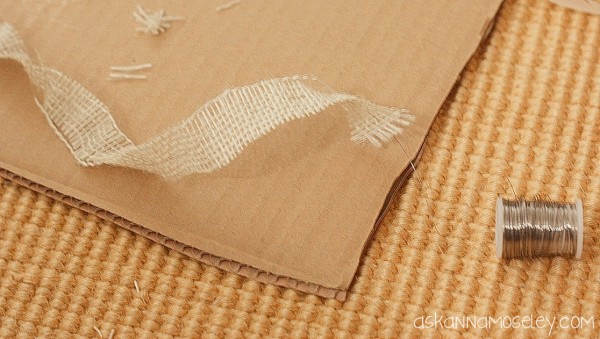
Step 1: Cut the burlap into strips. I started out cutting them into 1 1/2 inch strips but then ended up cutting them down to about an inch.
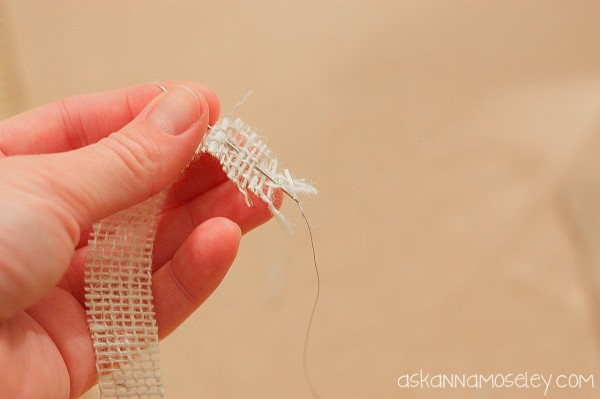
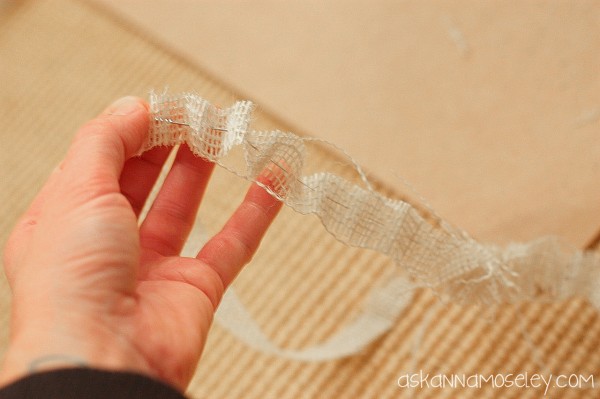
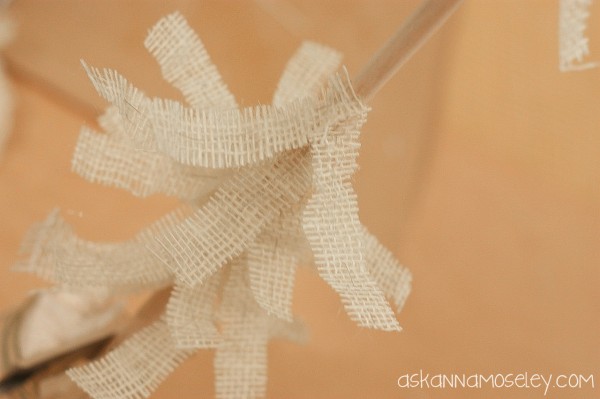
Step 2: You want to be able to shape, and “fluff” the tree so I decided the best way to do that was to thread the burlap with wire. I used a really thin wire that I bought years ago for making necklaces.
Thread the entire strip of burlap and then cut the wire.
Step 3: Cut and glue. Once you’ve finished threading the burlap strips cut them into smaller pieces. I cut mine into a variation of sizes, larger for the bottom of the tree and shorter for the top of the tree.
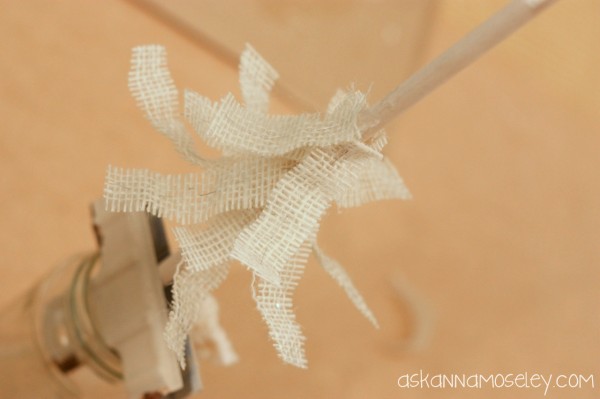
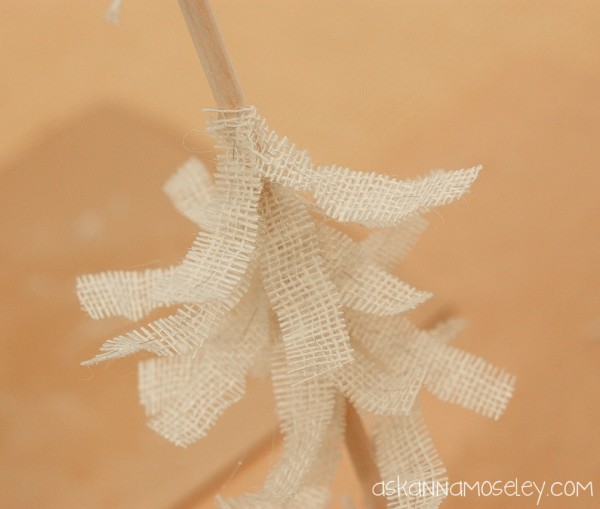
Once you have all the strips cut, use a hot glue gun to attach them to the wooden dowel. It won’t look much like a tree at first but the more strips you glue on, the more it will start to take shape.
Start at the bottom and then work your way up the tree, filling in gaps along the way.
Once you’re done gluing all the strips to the dowel, shape the burlap strips with your fingers. Most of mine I curled around my finger but I left some of them straight.
Step 4: I totally forgot to take a picture of this step {because my husband did it for me} but once your tree is done you will need to attach it to the wooden base. I had my husband drill a hole in the base, the size of the dowel, and then he inserted the dowel with a little wood glue, to hold it in place. Make sure the tree is straight and then let it sit for about 12 hours, or until the glue is completely dry.
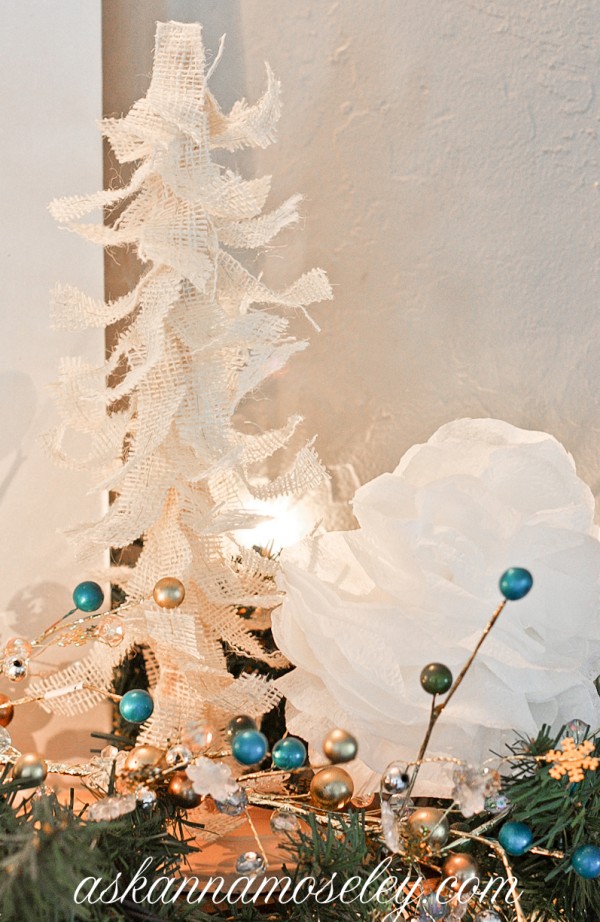
Now all that’s left to do is enjoy your work of art!
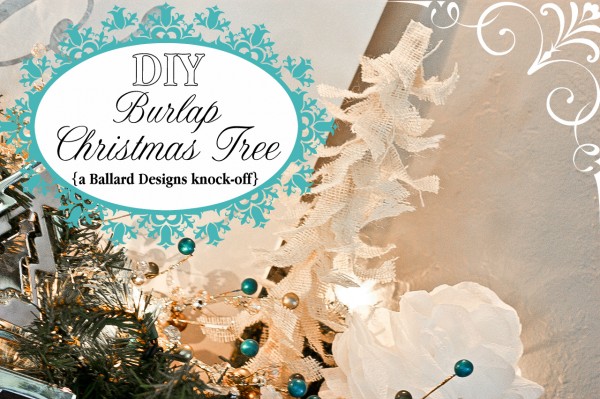
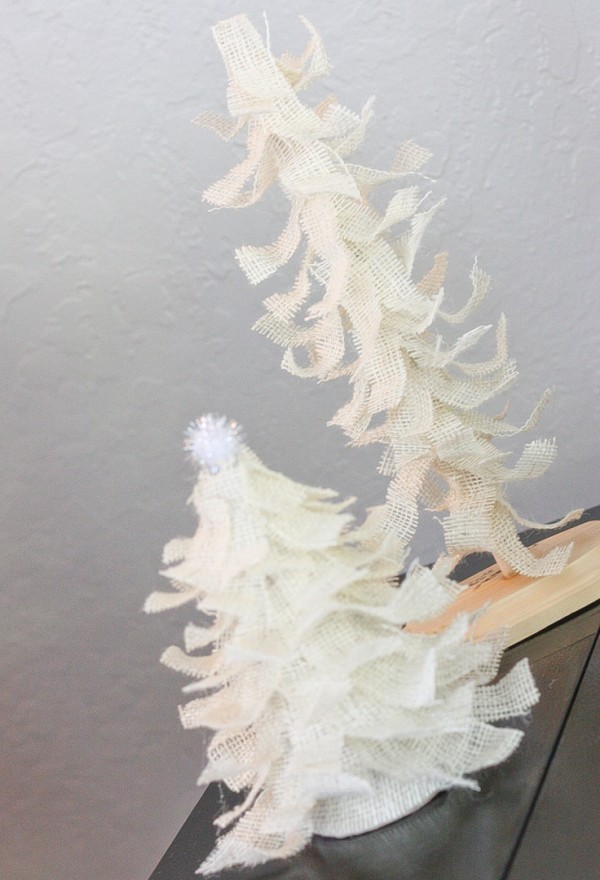
I had a small foam tree form laying around so I made a second one using that. I like my original one best, but the other one is cute too.
I made both of these for less than $10, a much better price tag than the Ballard Designs tree!

Linking up here:
Pretty Handy Girl
That’s incredible!! I love DIYing stuff I see in magazines.. Especially Ballard!!
Those are SO cute!
I’m gonna have to try that!
XO,
Jourdan
This is a terrific tutorial. Yours turned out even better than the one from the store. xo
love the burlap xmas trees
Those are really cute Anna. Way to break down the cost barrier on the Ballard trees. I can’t believe how much they charge for some things ;-). Thanks for sharing.
Thank you Brittany! Thanks for taking the time to stop by and comment. 🙂
très joli
I like that you used wire to give each branch some shape. I was afraid there would be some kind of goop involved! Pardon the technical term there–can’t remember the base of the product, used to use it to make ghosts and such.
The wire was a tedious project, but it worked great, and 9 years later the tree still looks good when I pull it out at Christmas time. 🙂